How to assemble a tiled PDF Pattern
If you’ve never assembled a tiled pdf pattern before, refer to this handy tutorial for how to do it correctly.
A tiled pdf pattern means that a group of pattern pieces are tiled across a number of pages that you print out at home and assemble into one large sheet. This allows you to print pattern pieces at home that are bigger than the US Letter or A4 printer you probably have.
(Pattern shown: the Looper Quilt (get it here!))
PRINTING THE PATTERN
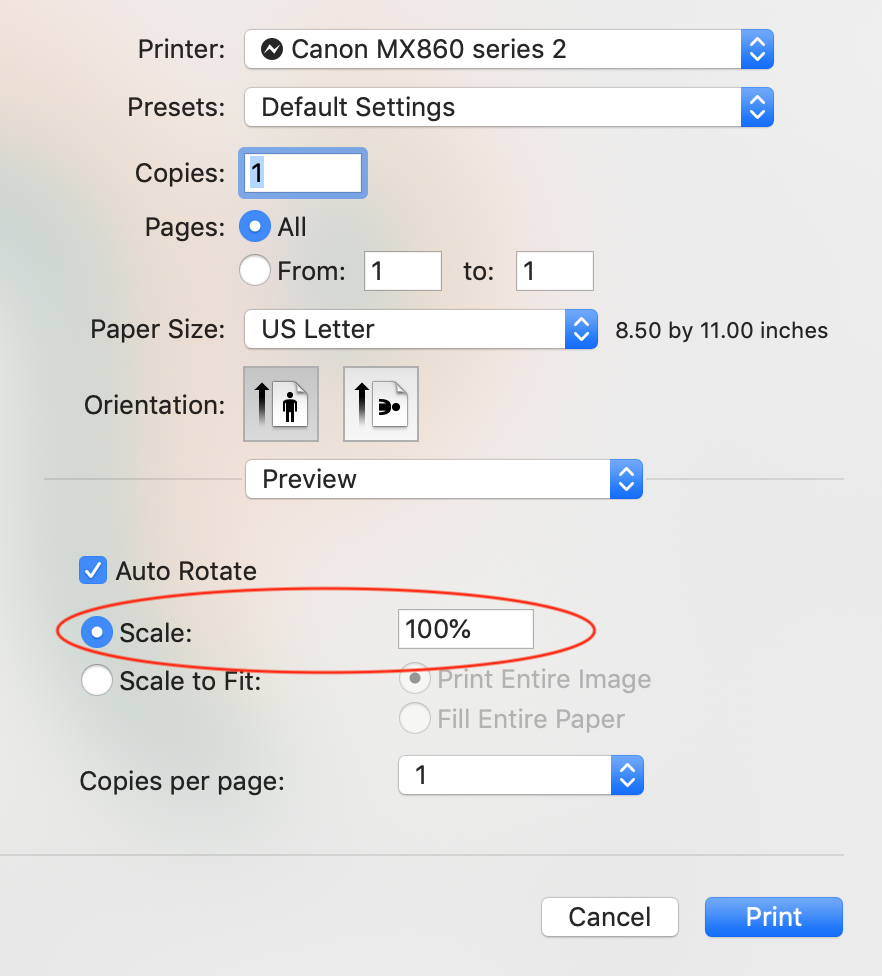
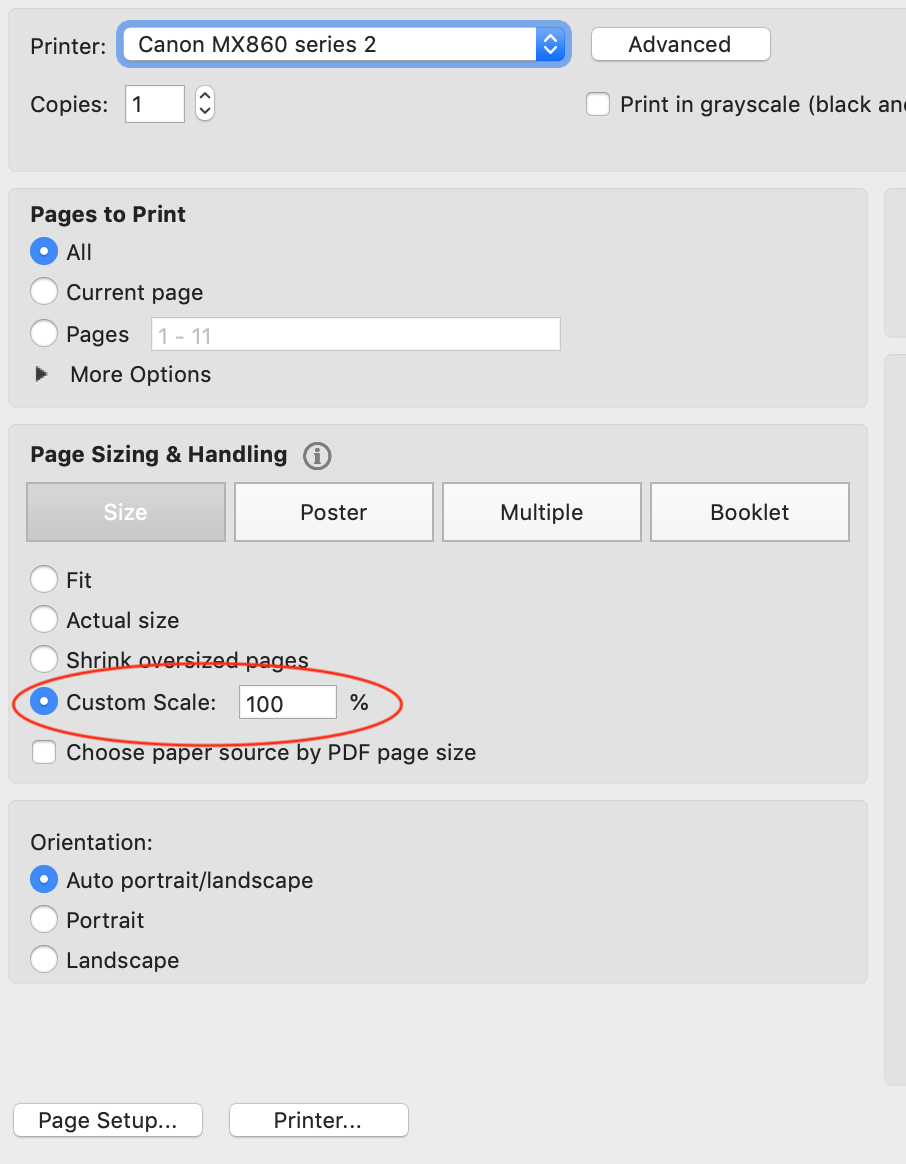
The most important part of printing your tiled PDF is that it prints at 100% scale. This is because you want to make sure the sizes of all of the pieces is accurate so that the size of your finished blocks is accurate.
There are a range of different programs and computers out there that you might be printing from, but there should be a setting somewhere that addresses print scaling. You either want to set the print scale at 100%, or check a box that says “do not scale.”
Once you print out the pattern pieces, find the 2” square boxes (they are mini Looper blocks) and measure them to check print scale. If they are not 2”, your scale is not correct and you need to reprint at 100% scale.
Bonus: print your template pages on card stock for extra durability.
ASSEMBLING THE PATTERN
The first page of the LOOPER pdf is not a part of the tile, so you can set that aside.
On the remaining 9 pages, trim off the left and top edges along the dotted line. (Tip: you can skip the top edge on pages 1-3).
Overlap the trimmed edge of page 2 with page 1 and align dotted lines. Tape in place.
In the same manner, attach page 3 to page 2.
Try to be very straight and accurate while assembling. Continue taping, following the schematic in the instructions to assemble the 9-page template sheet.
Cut out the pattern pieces. You’re ready to start cutting your Looper!


