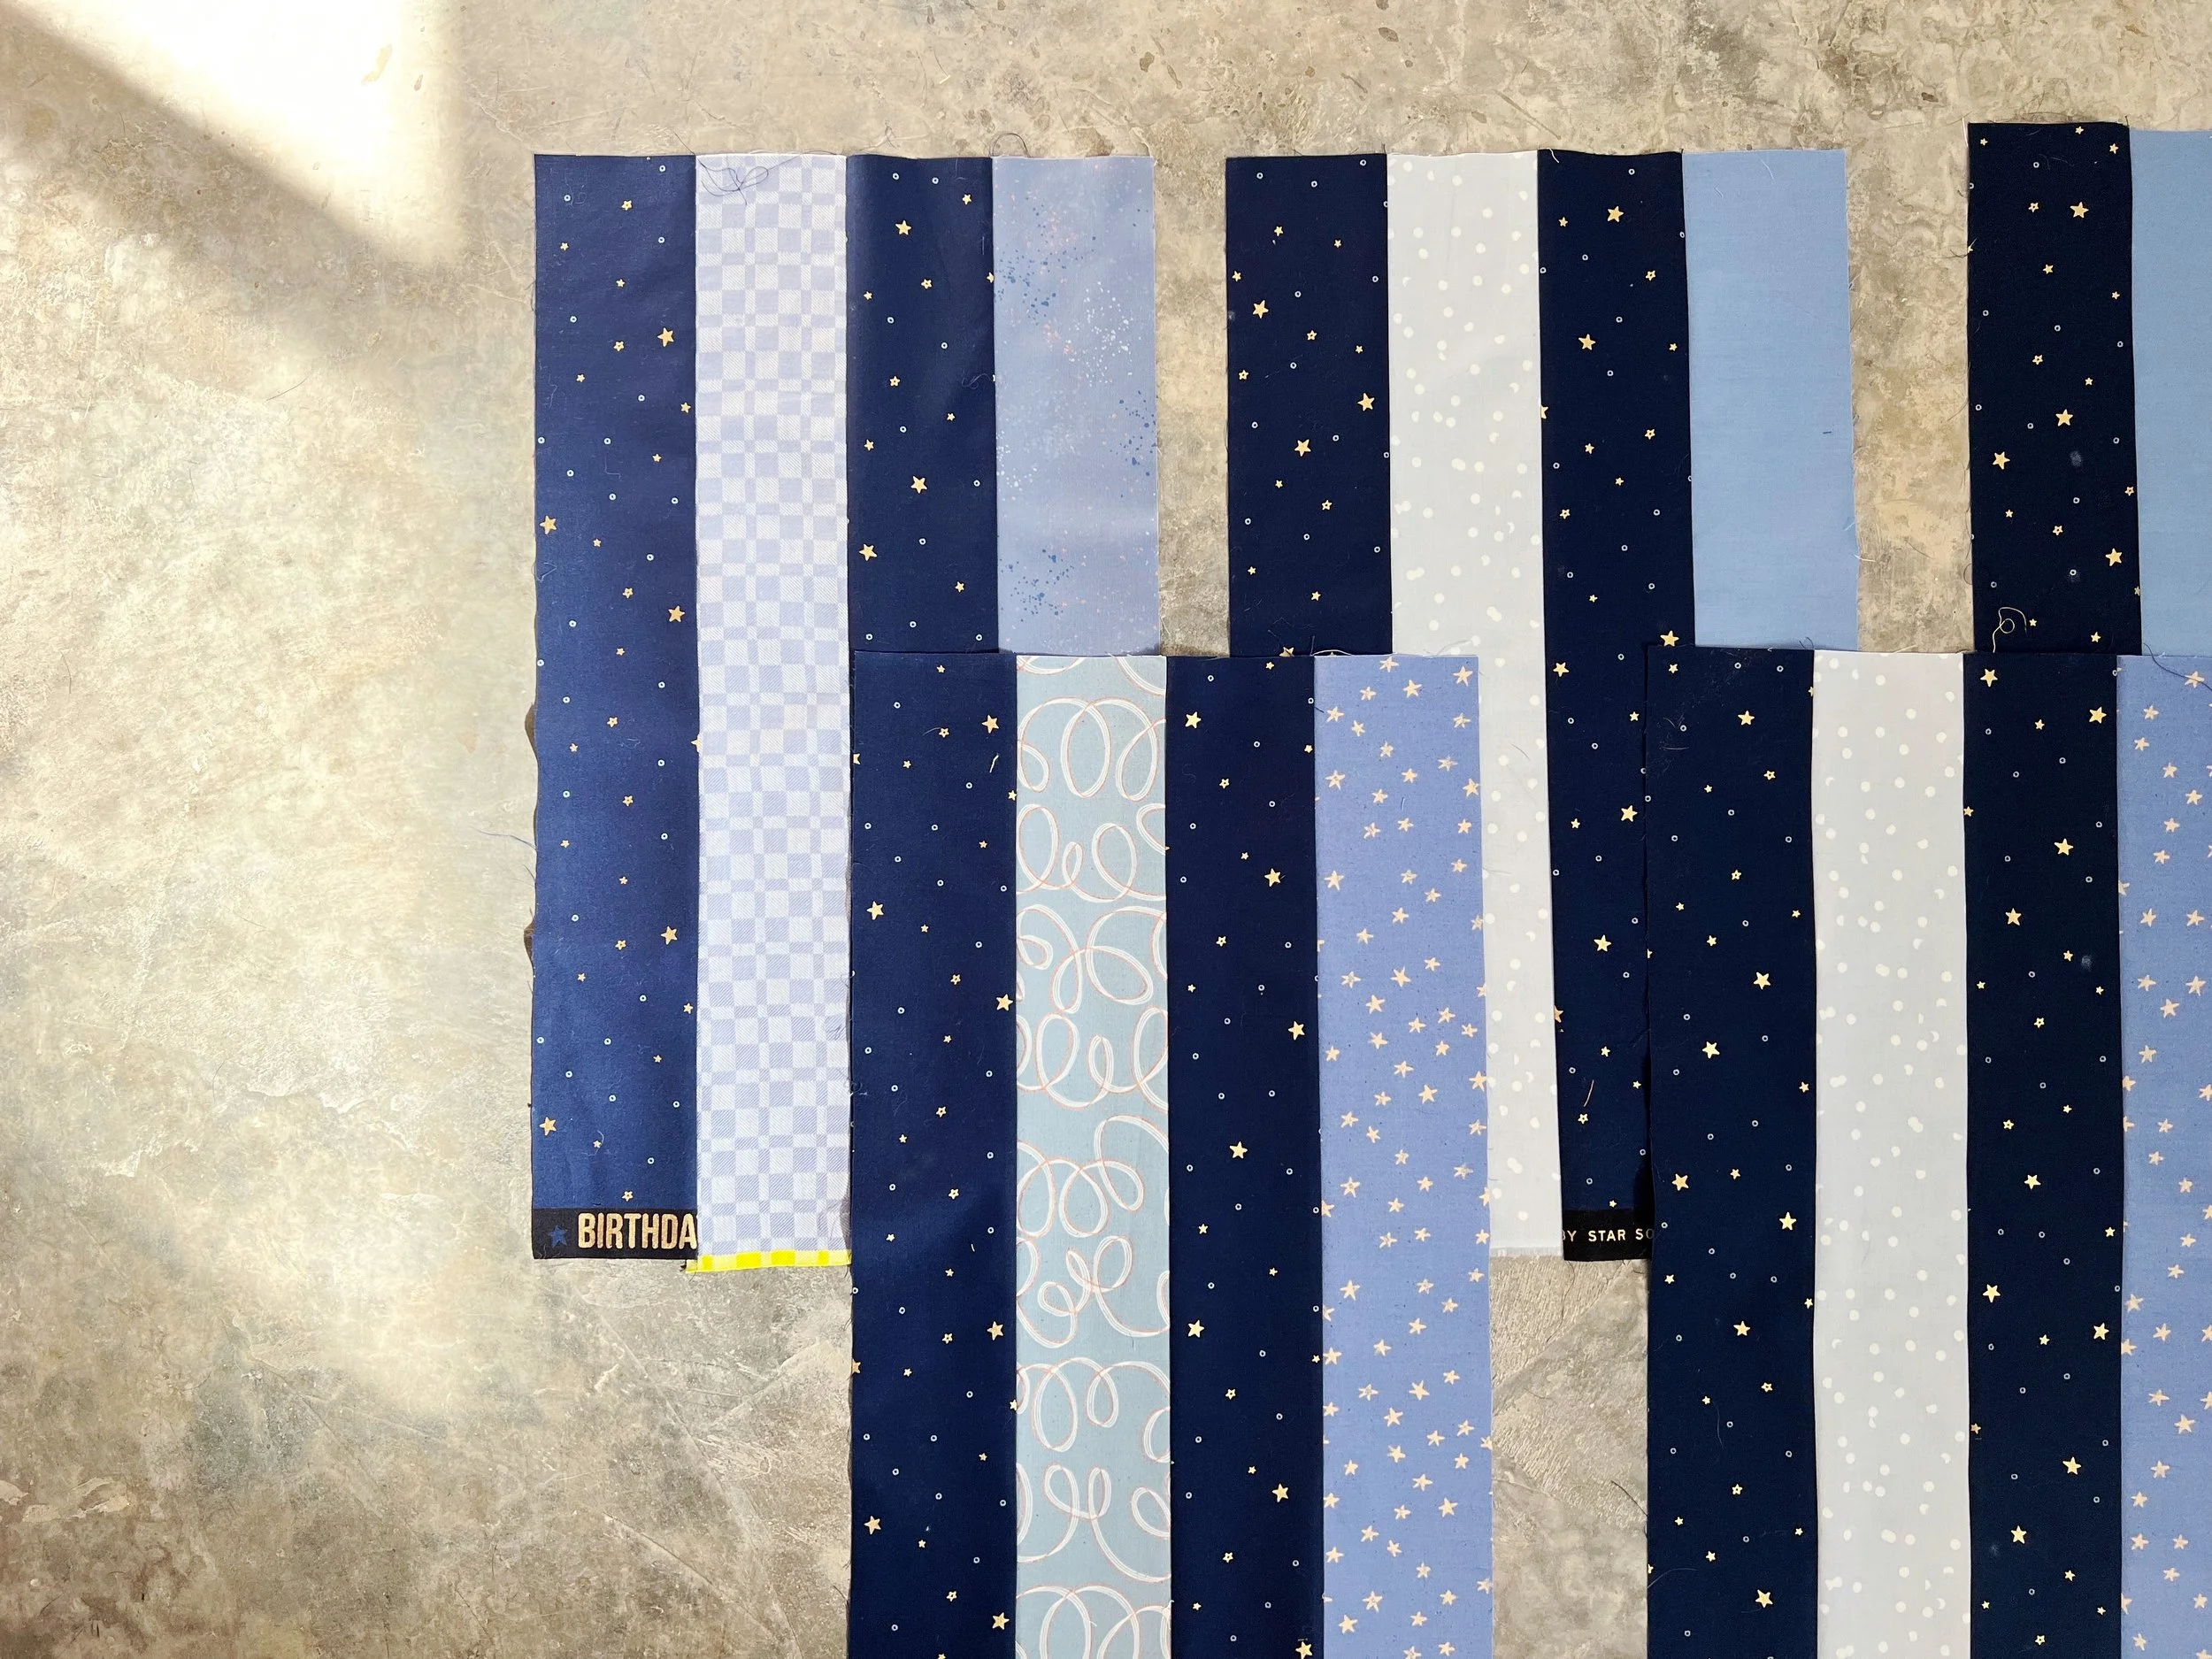
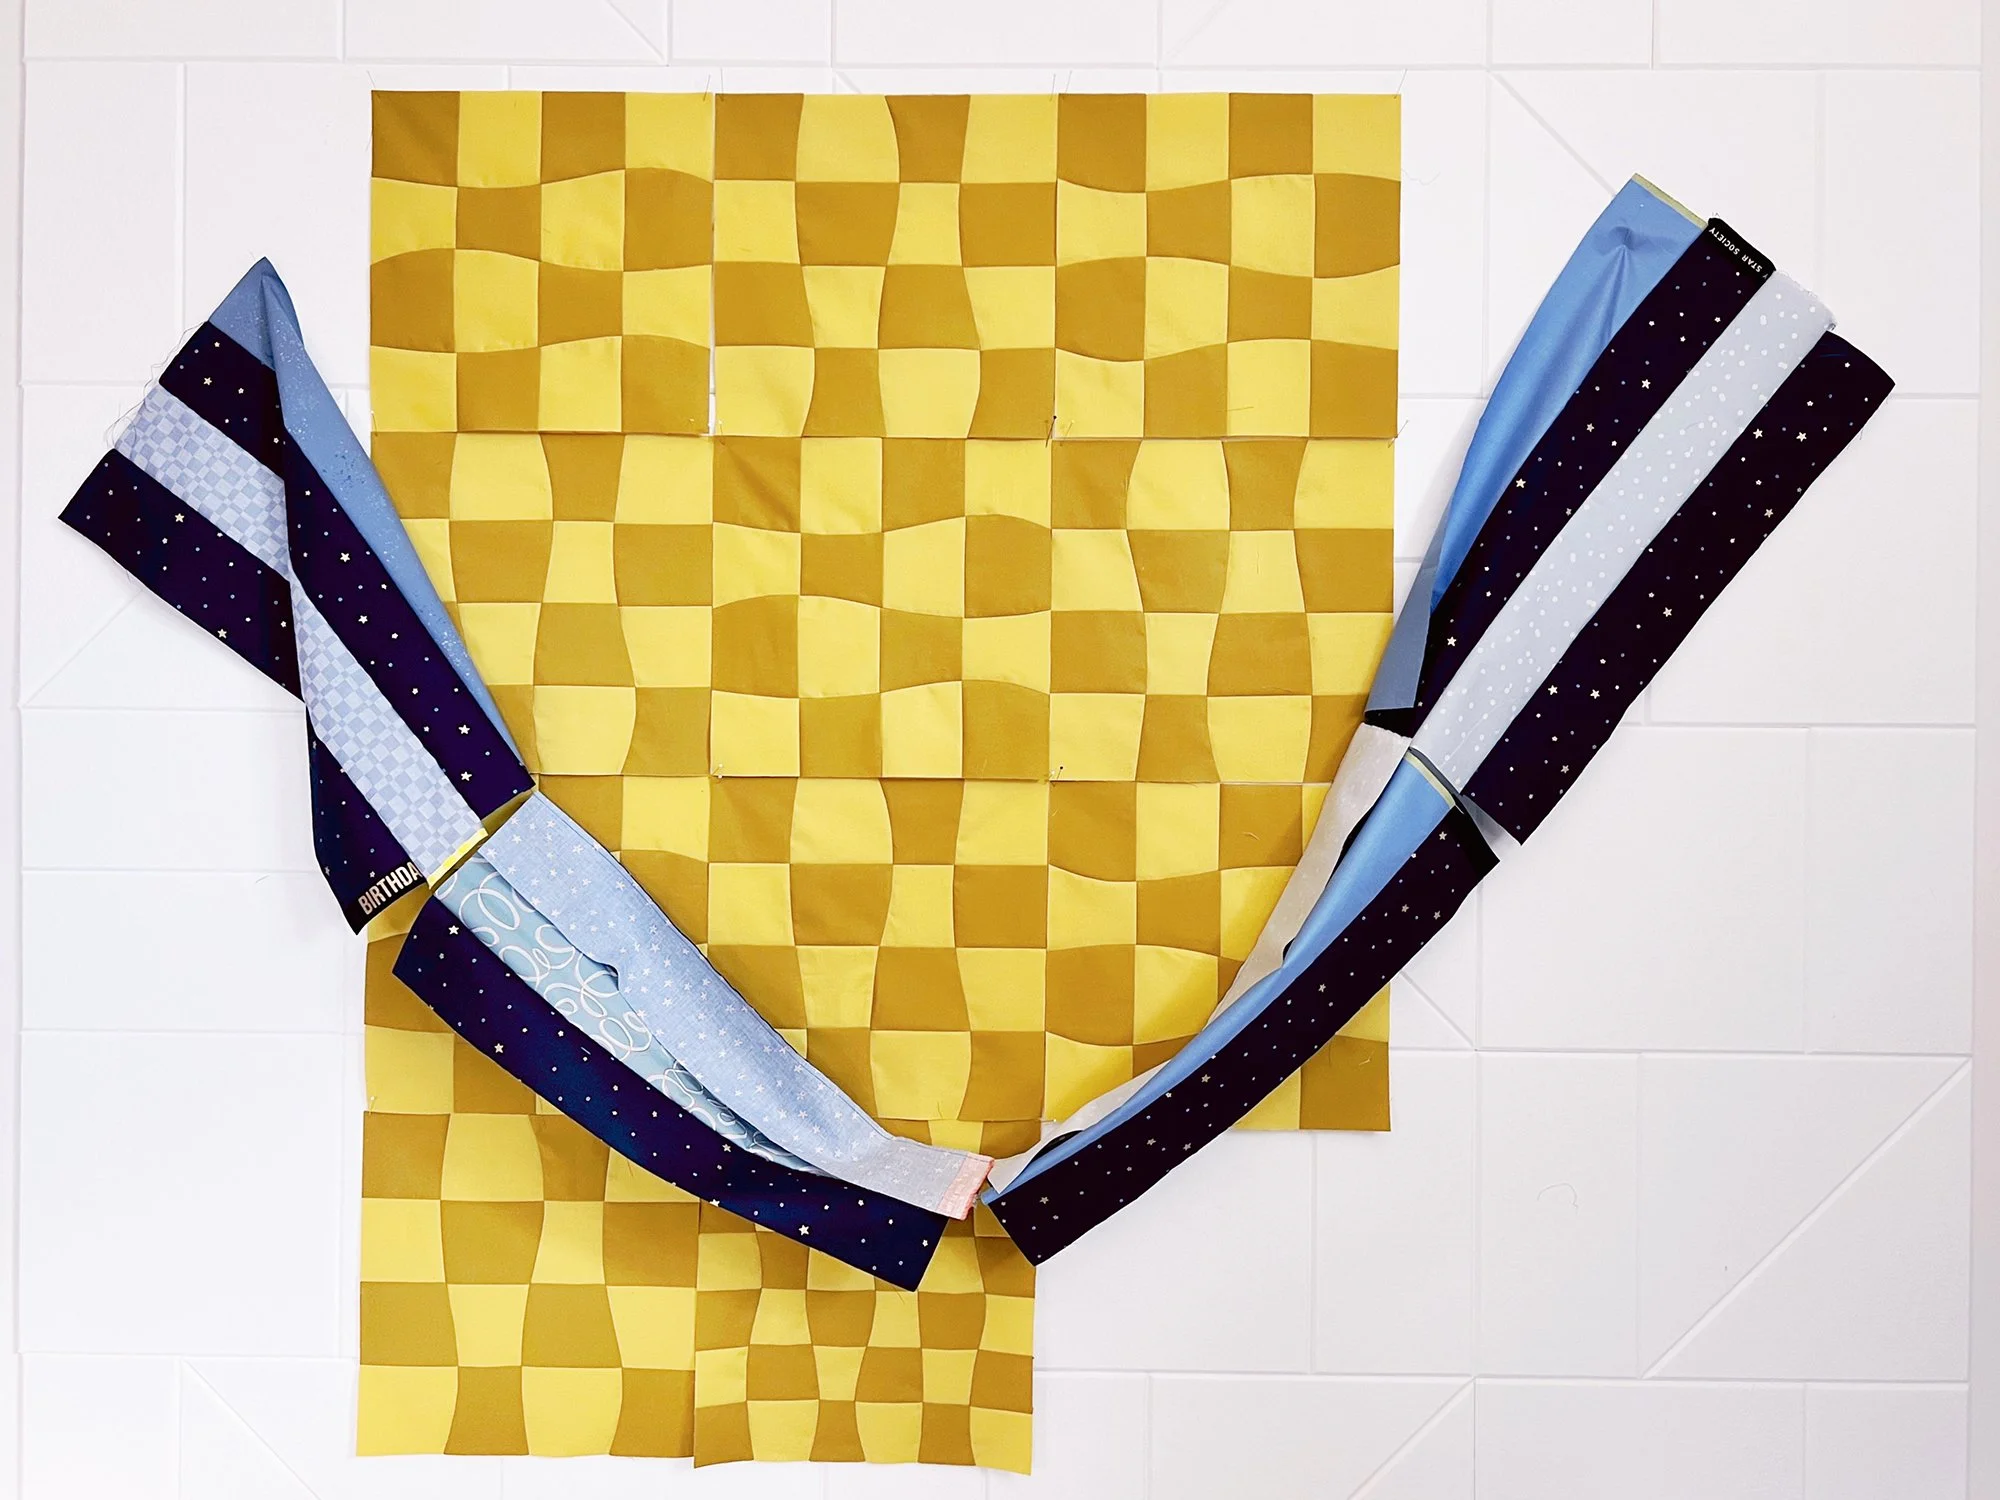
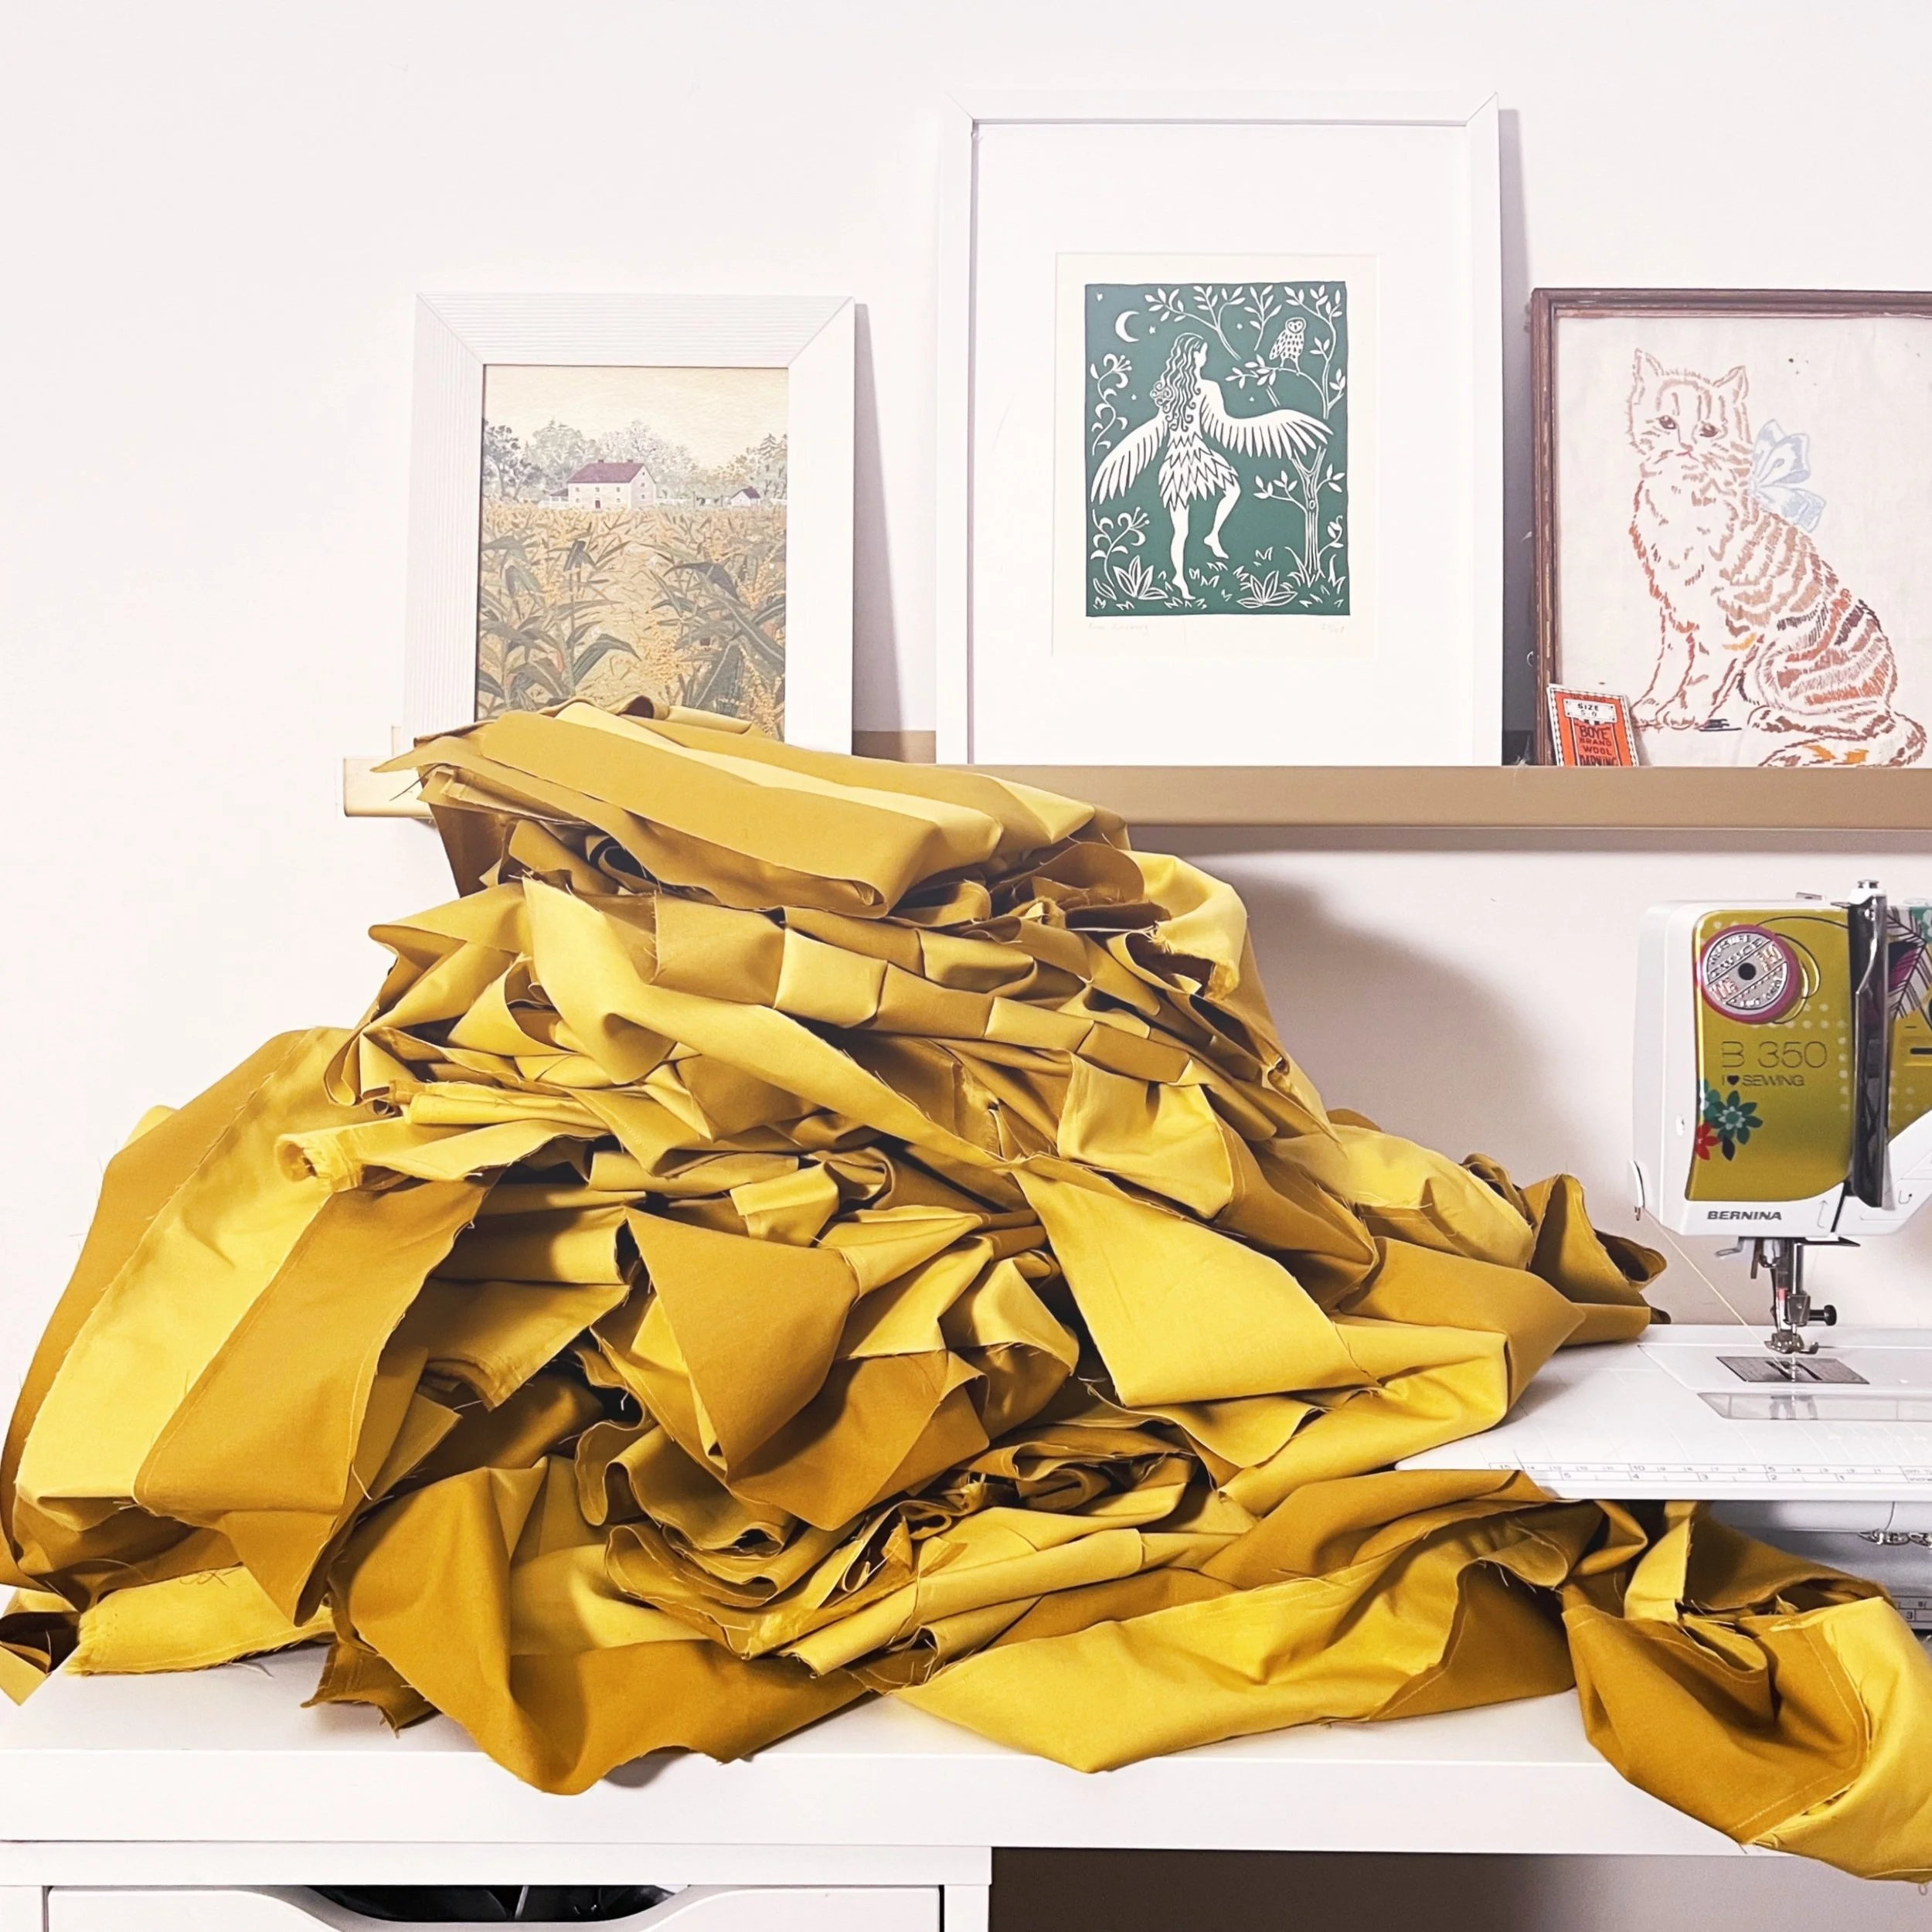
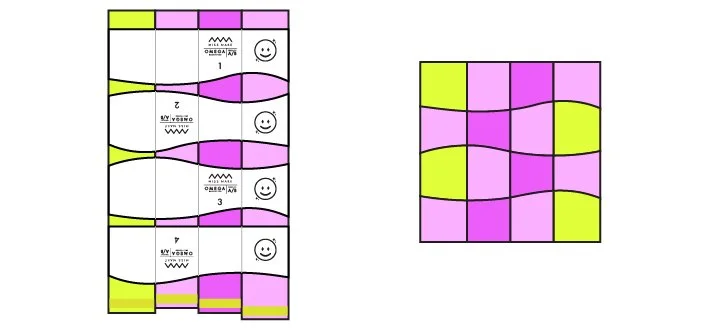
WEEK 2: Cut strips, strip piece all units
We’re ready for Week 2 of the Omega quiltalong! This week we are going to cut our fabric and do all the strip piecing we need to do for our Omegas. Below is the full six-week schedule for a review. First week checked off!
Note that from today onward, all the quiltalong posts go super in depth about the steps for each week, but the text from the instructions is not replicated in its entirety here, so you will still need to refer to the instructions for things like quantities and cutting diagrams. In other words, keep your instructions handy as you read through!
WEEK 1 (Jan 30): Fabric selection, prep templates
WEEK 2 (Feb 6): Cut strips, strip piece all units
WEEK 3 (Feb 13): Cut & piece all Block A (Cut all and piece half of Block C, Improv only)
WEEK 4 (Feb 20): Cut & piece all Block B (Piece half of Block C, Improv only)
WEEK 5 (Feb 27): Pressing & catch-up week
WEEK 6 (Mar 6): Assembly
Before we dive in, let’s talk about prizes. The Week 1 random winner was @thechrystalgates!! If this is you send an email to devon@missmake.com.
This week, our prize sponsors are By and By, a fabric shop in Tuscon, AZ; and Ponderosa Creative, maker of rad thread gloss with amazing scents. One lucky person will win a $50 gift card to By and By and a set of 2 thread glosses from Ponderosa (winner’s scent choice). All participants can also use discount codes generously provided by By and By, Ponderosa Creative, Autumn Moon Quilting, Stitch Lab Quilting, Thai Charm LLC, and Wild Phil Quilting to save some money on fabric/supplies/longarm quilting. Be sure to scroll to the end for all the prize/discount info!
cut your fabric
Here we go! The first step to making Omega is going to be cutting your fabric. In all directions below, any instruction page numbers referenced will be listed as (booklet)/(PDF).
In order to create all those wonky squares without spending a million years cutting and piecing each one individually, Omega utilizes strip piecing. Strip piecing means cutting strips of fabric and sewing them together into units, then cutting those units apart into the sizes you need, like slicing up a loaf of bread. So this week, we’ll cut strips, then sew them into units. (Unless you’re making the Truly Scrappy version, where each square is a separate scrap. Look for the Truly Scrappy sections in the instructions below.)
TWO COLOR VERSION (BOTH LAYOUTS)
You will be cutting your fabric strips across the width of the fabric (AKA, width-of-fabric (WOF) strips), with the fabric folded in half just like how it comes on the bolt. Then you’ll cut off the fold of each strip to make two 1/2-WOF strips. (The width of the fabric is the fixed dimension, so, selvage to selvage; the length is how much yardage you buy.) The selvages should be parallel to each other before cutting. It’s ok if they are parallel but not totally lined up, you can just start cutting. If they are not parallel, you should press out the center fold and refold the fabric on grain.
To fold on grain, grab about a yards-worth of the fabric, holding the two selvages together. Hold the fabric up in the air, letting the folded edge hang down, and scoot the selvages back and forth parallel to each other until the fold edge is nice and flat. If the bottom fold edge is bunchy or, for lack of a better term, “weird looking,” the fabric is not folded on grain. Keep scooting until it is. Once on grain, continue folding the entire piece.
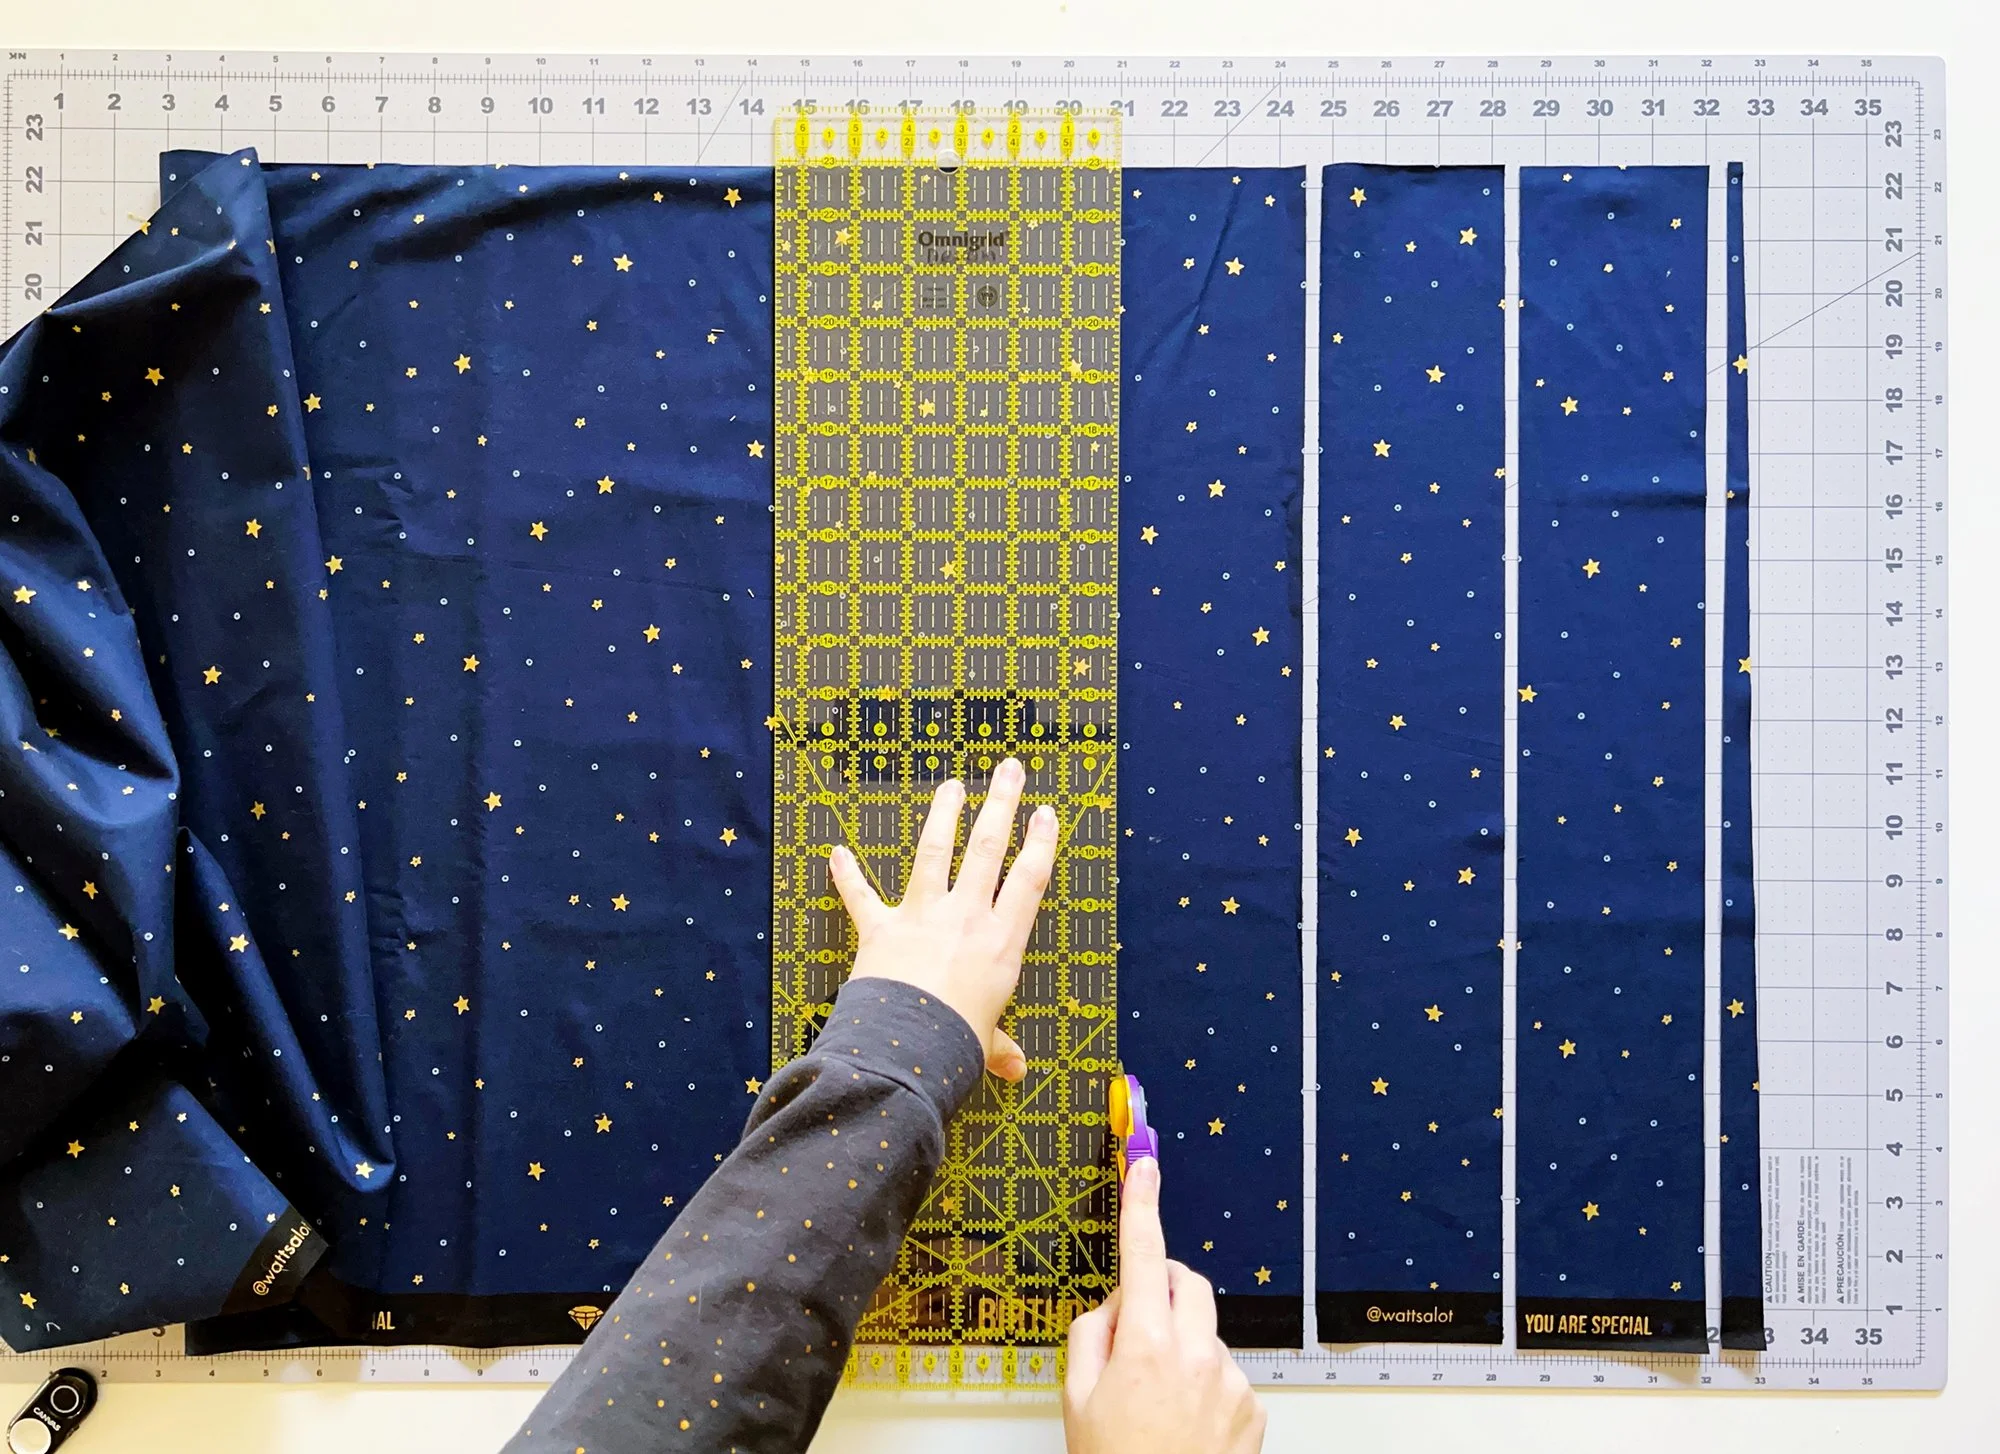
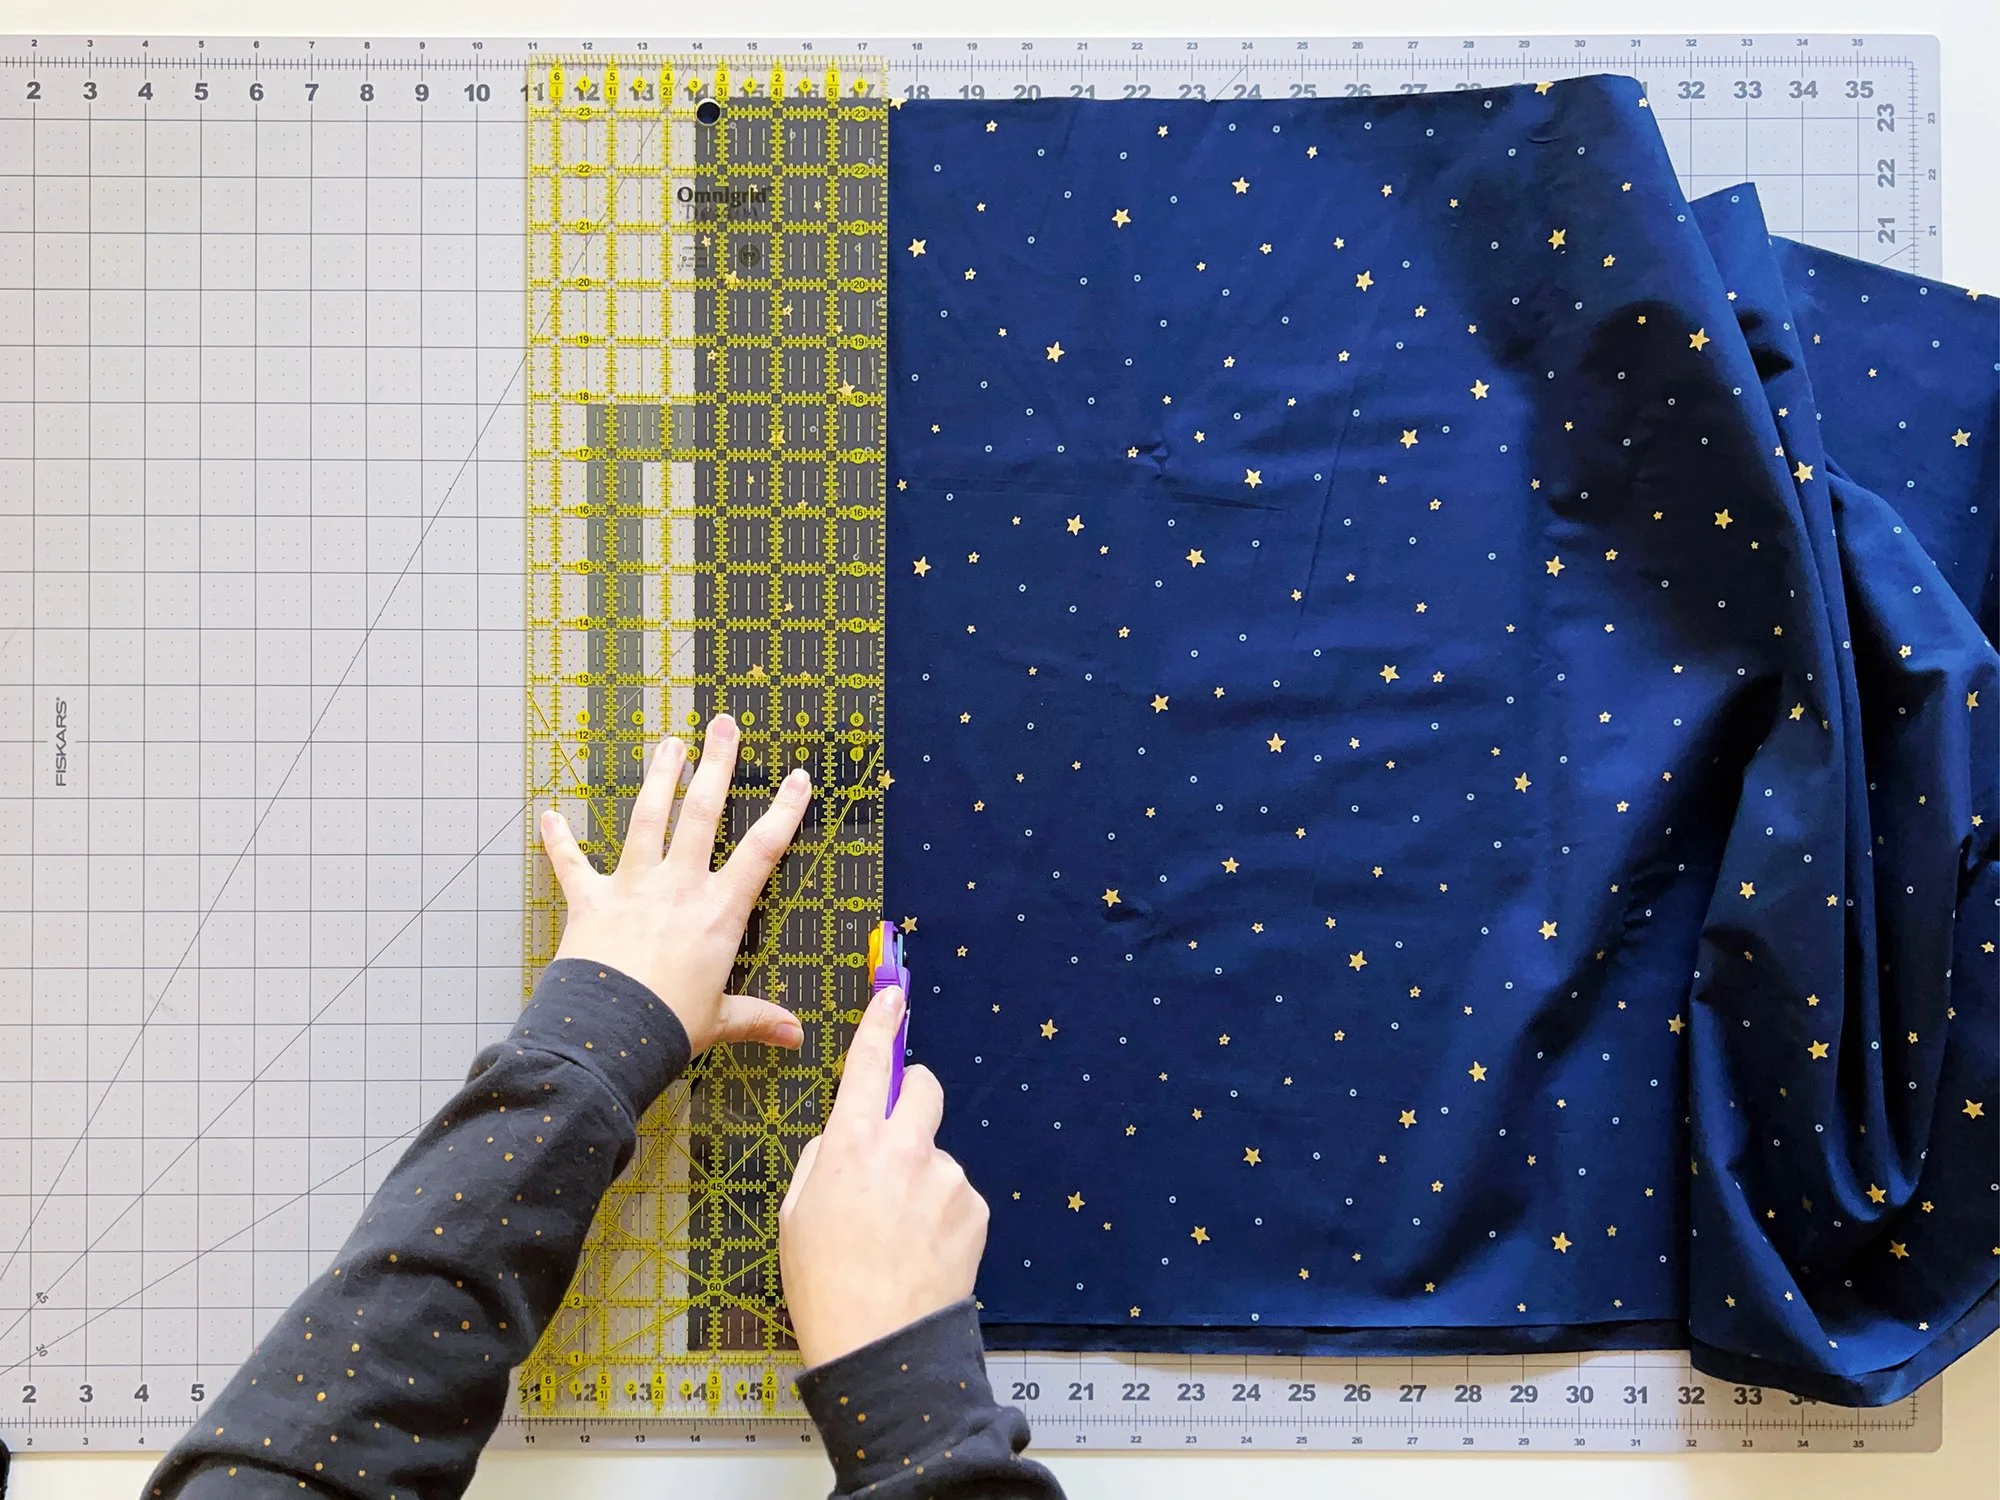
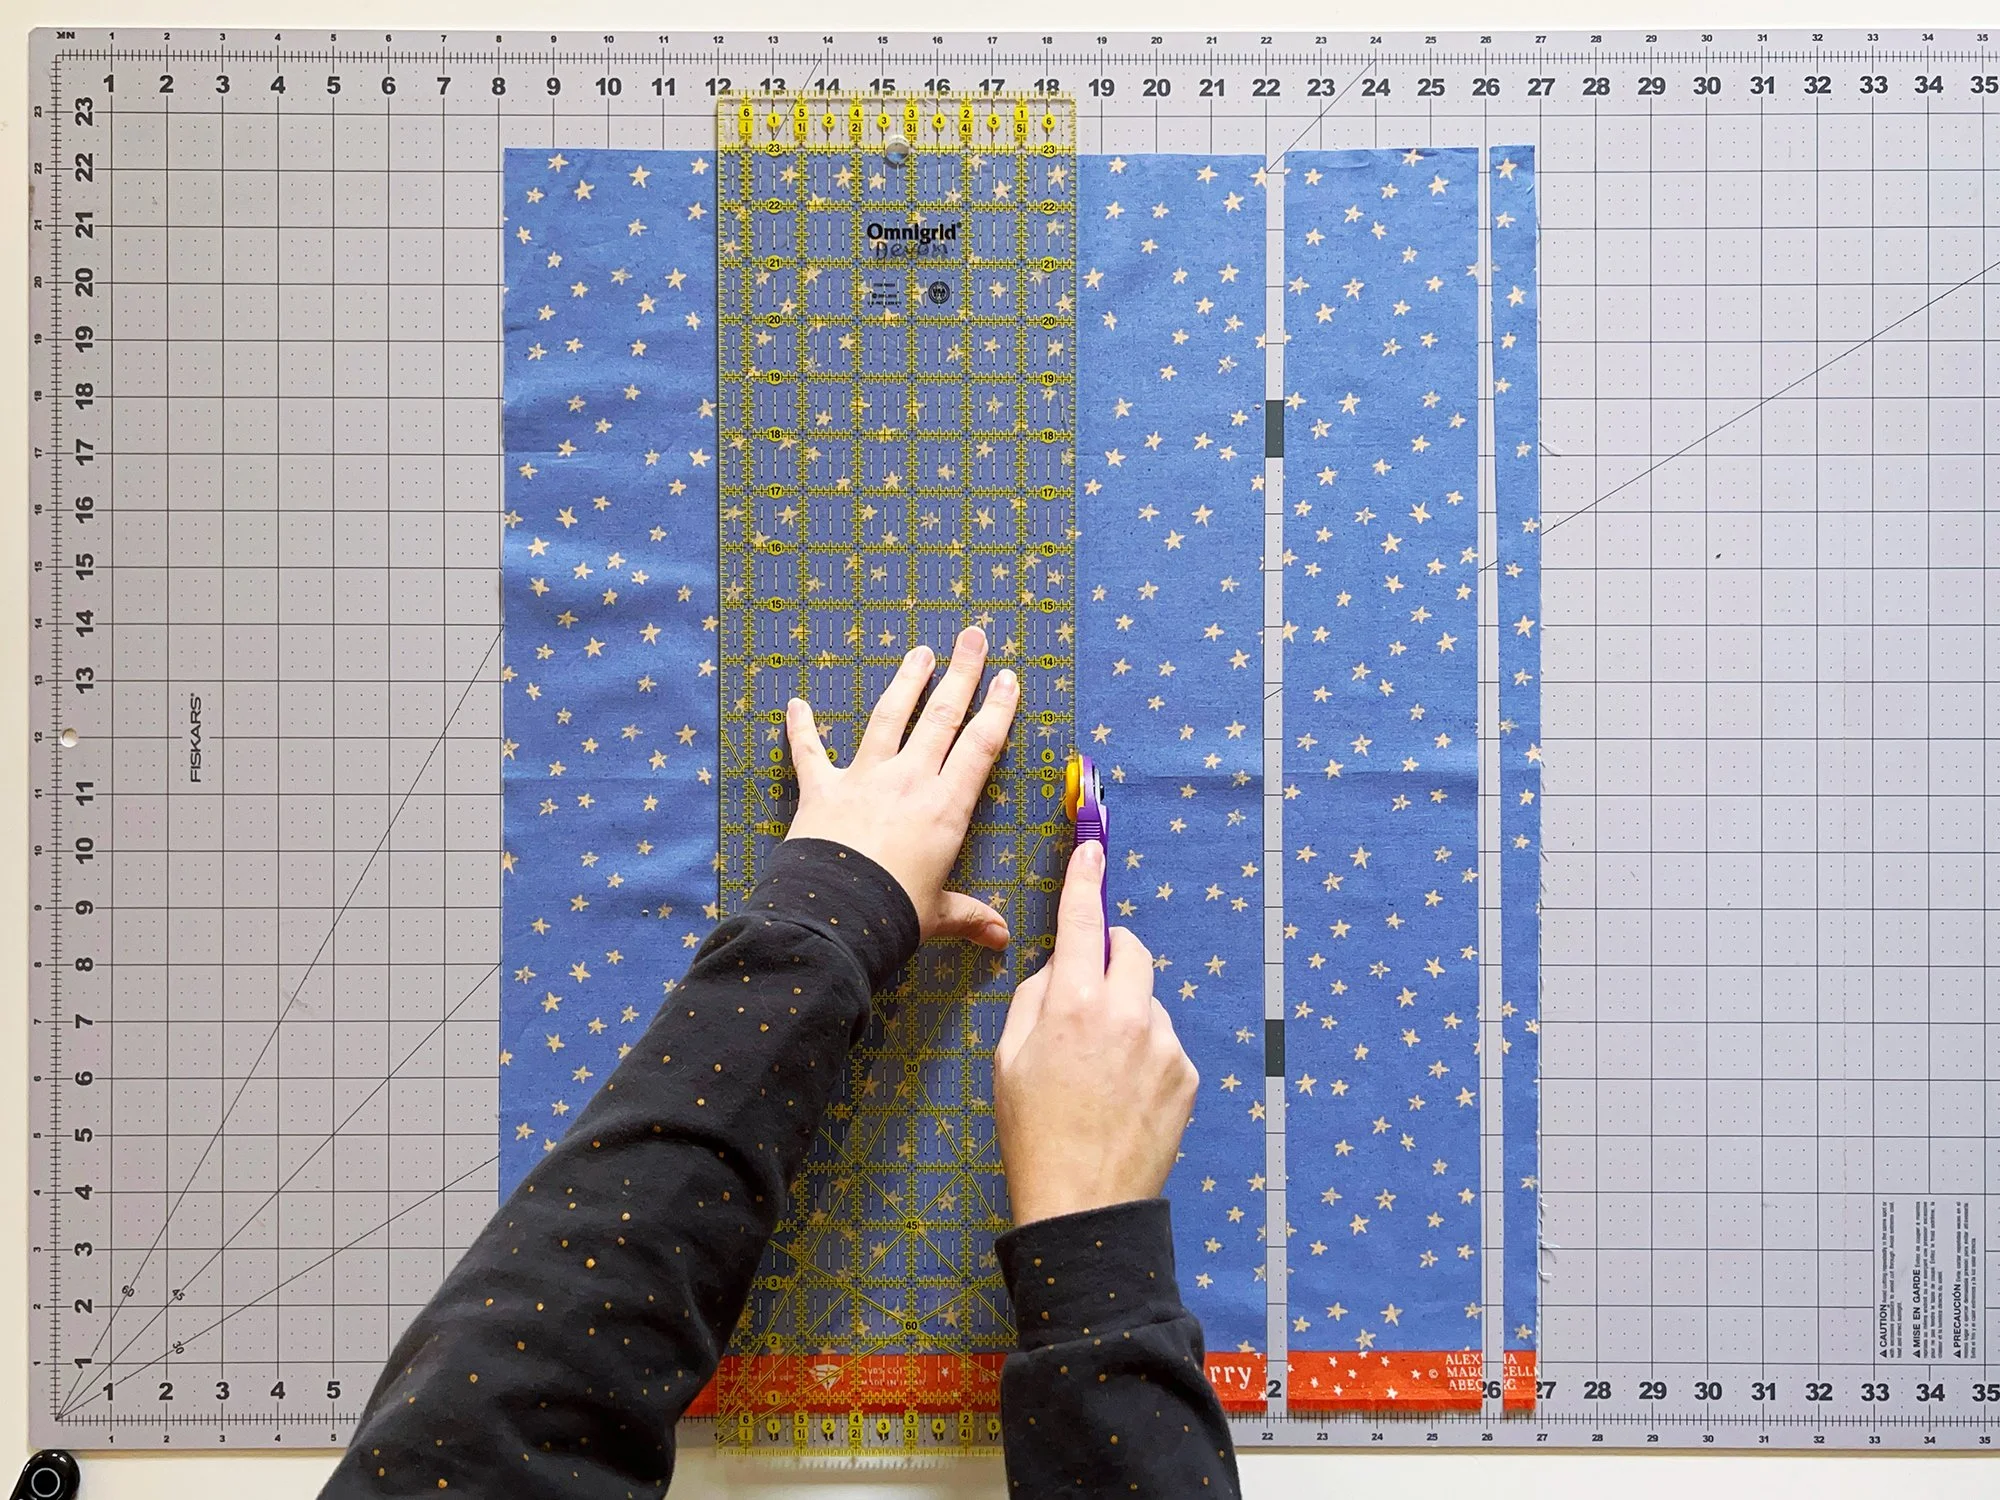
Use your rotary cutter and ruler to cut the quantity of WOF strips listed for your size and layout on page 6/4 of the instructions. Basic Layout will be cutting 3.5” strips only, Improv layout will be cutting a combo of 3.5” and 2.5” WOF strips. (Refer to note on page 5/4 on how to read quantities in pattern.) I prefer to lay my fabric on the mat with the selvages closer to me, lining them up with one of the horizontal lines on the mat. Then I use the vertical lines on the mat to cut the strips.
Alternatively, you can use the lines on your ruler - place the ruler over the fabric with selvages aligned with a horizontal line on the ruler, and use the ruler’s vertical lines to cut the strip widths needed. I know a lot of people prefer this method, you do you!
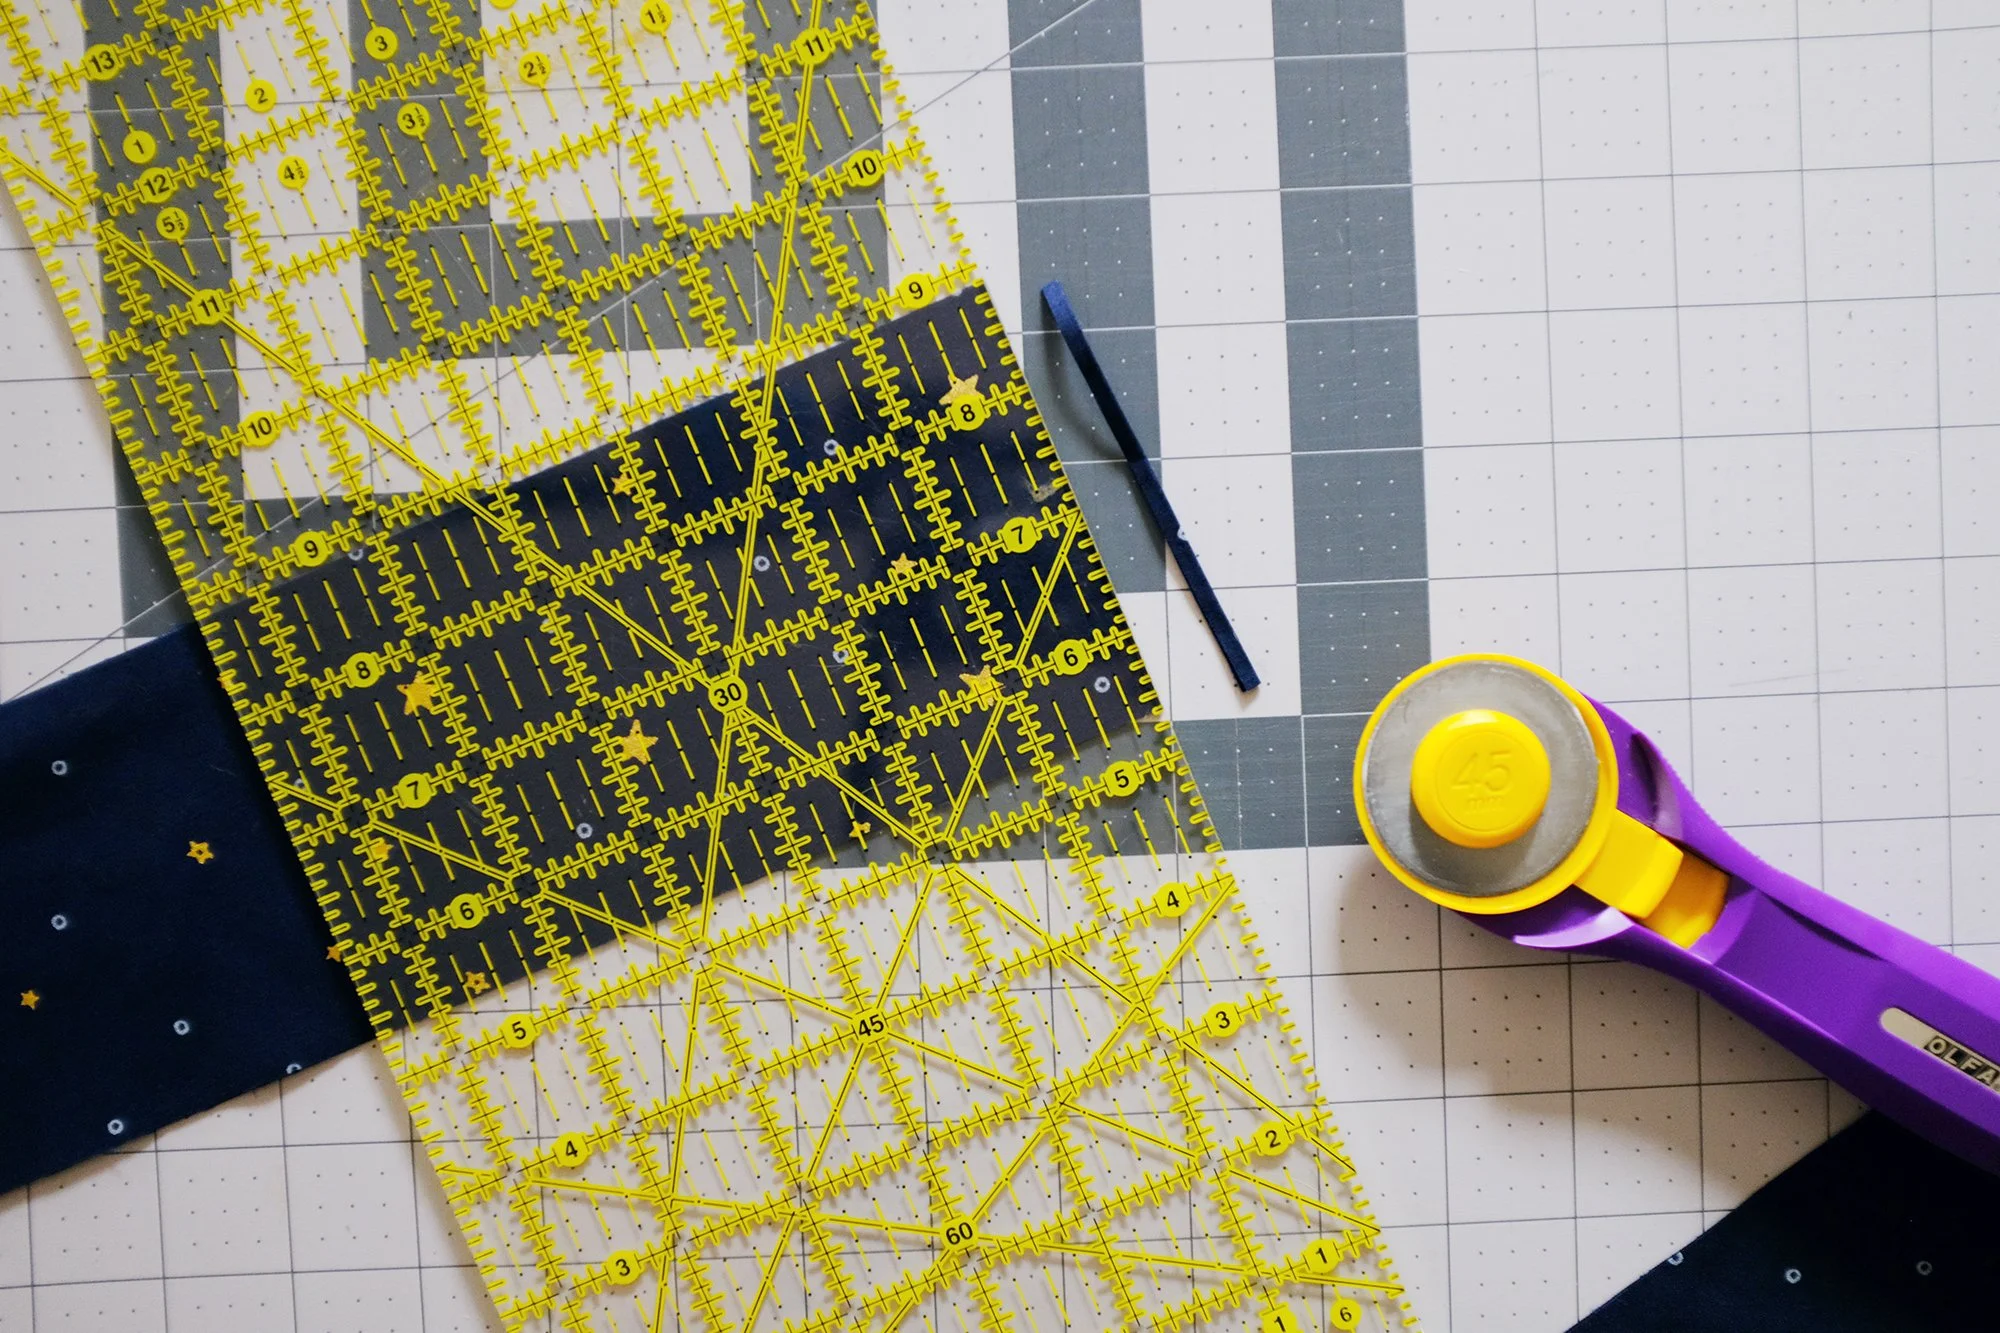
Either way, always trim off the factory/store cut edge to create the first edge for your first strip, as you don’t want to assume it’s straight. Every so often, check that your cut edge is still square (meaning 90°) with the selvages. If needed, trim off a little (like less than 1”) to re-square the cut edge.
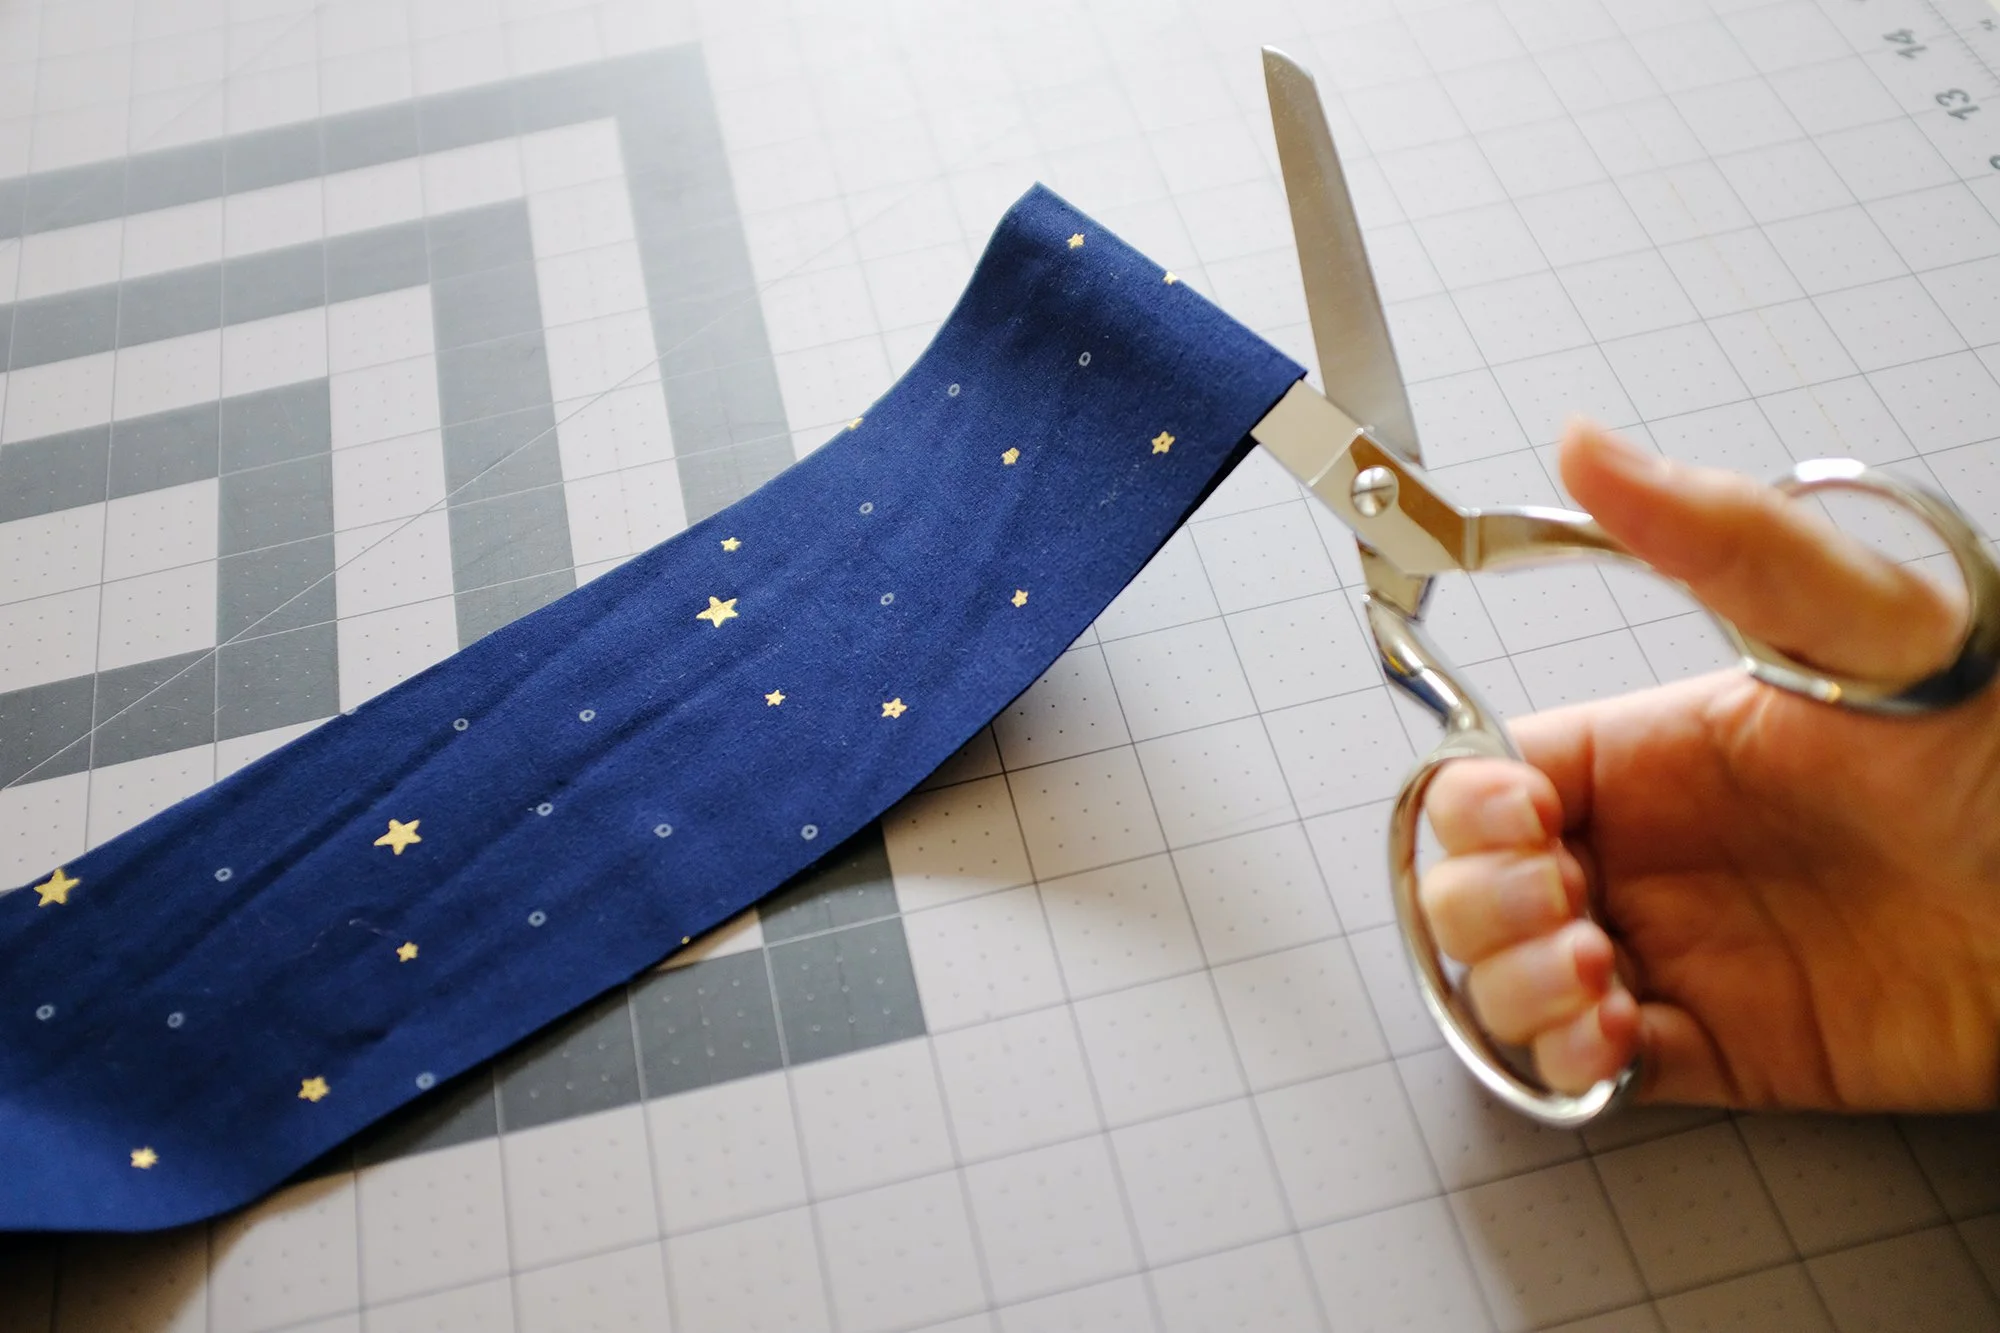
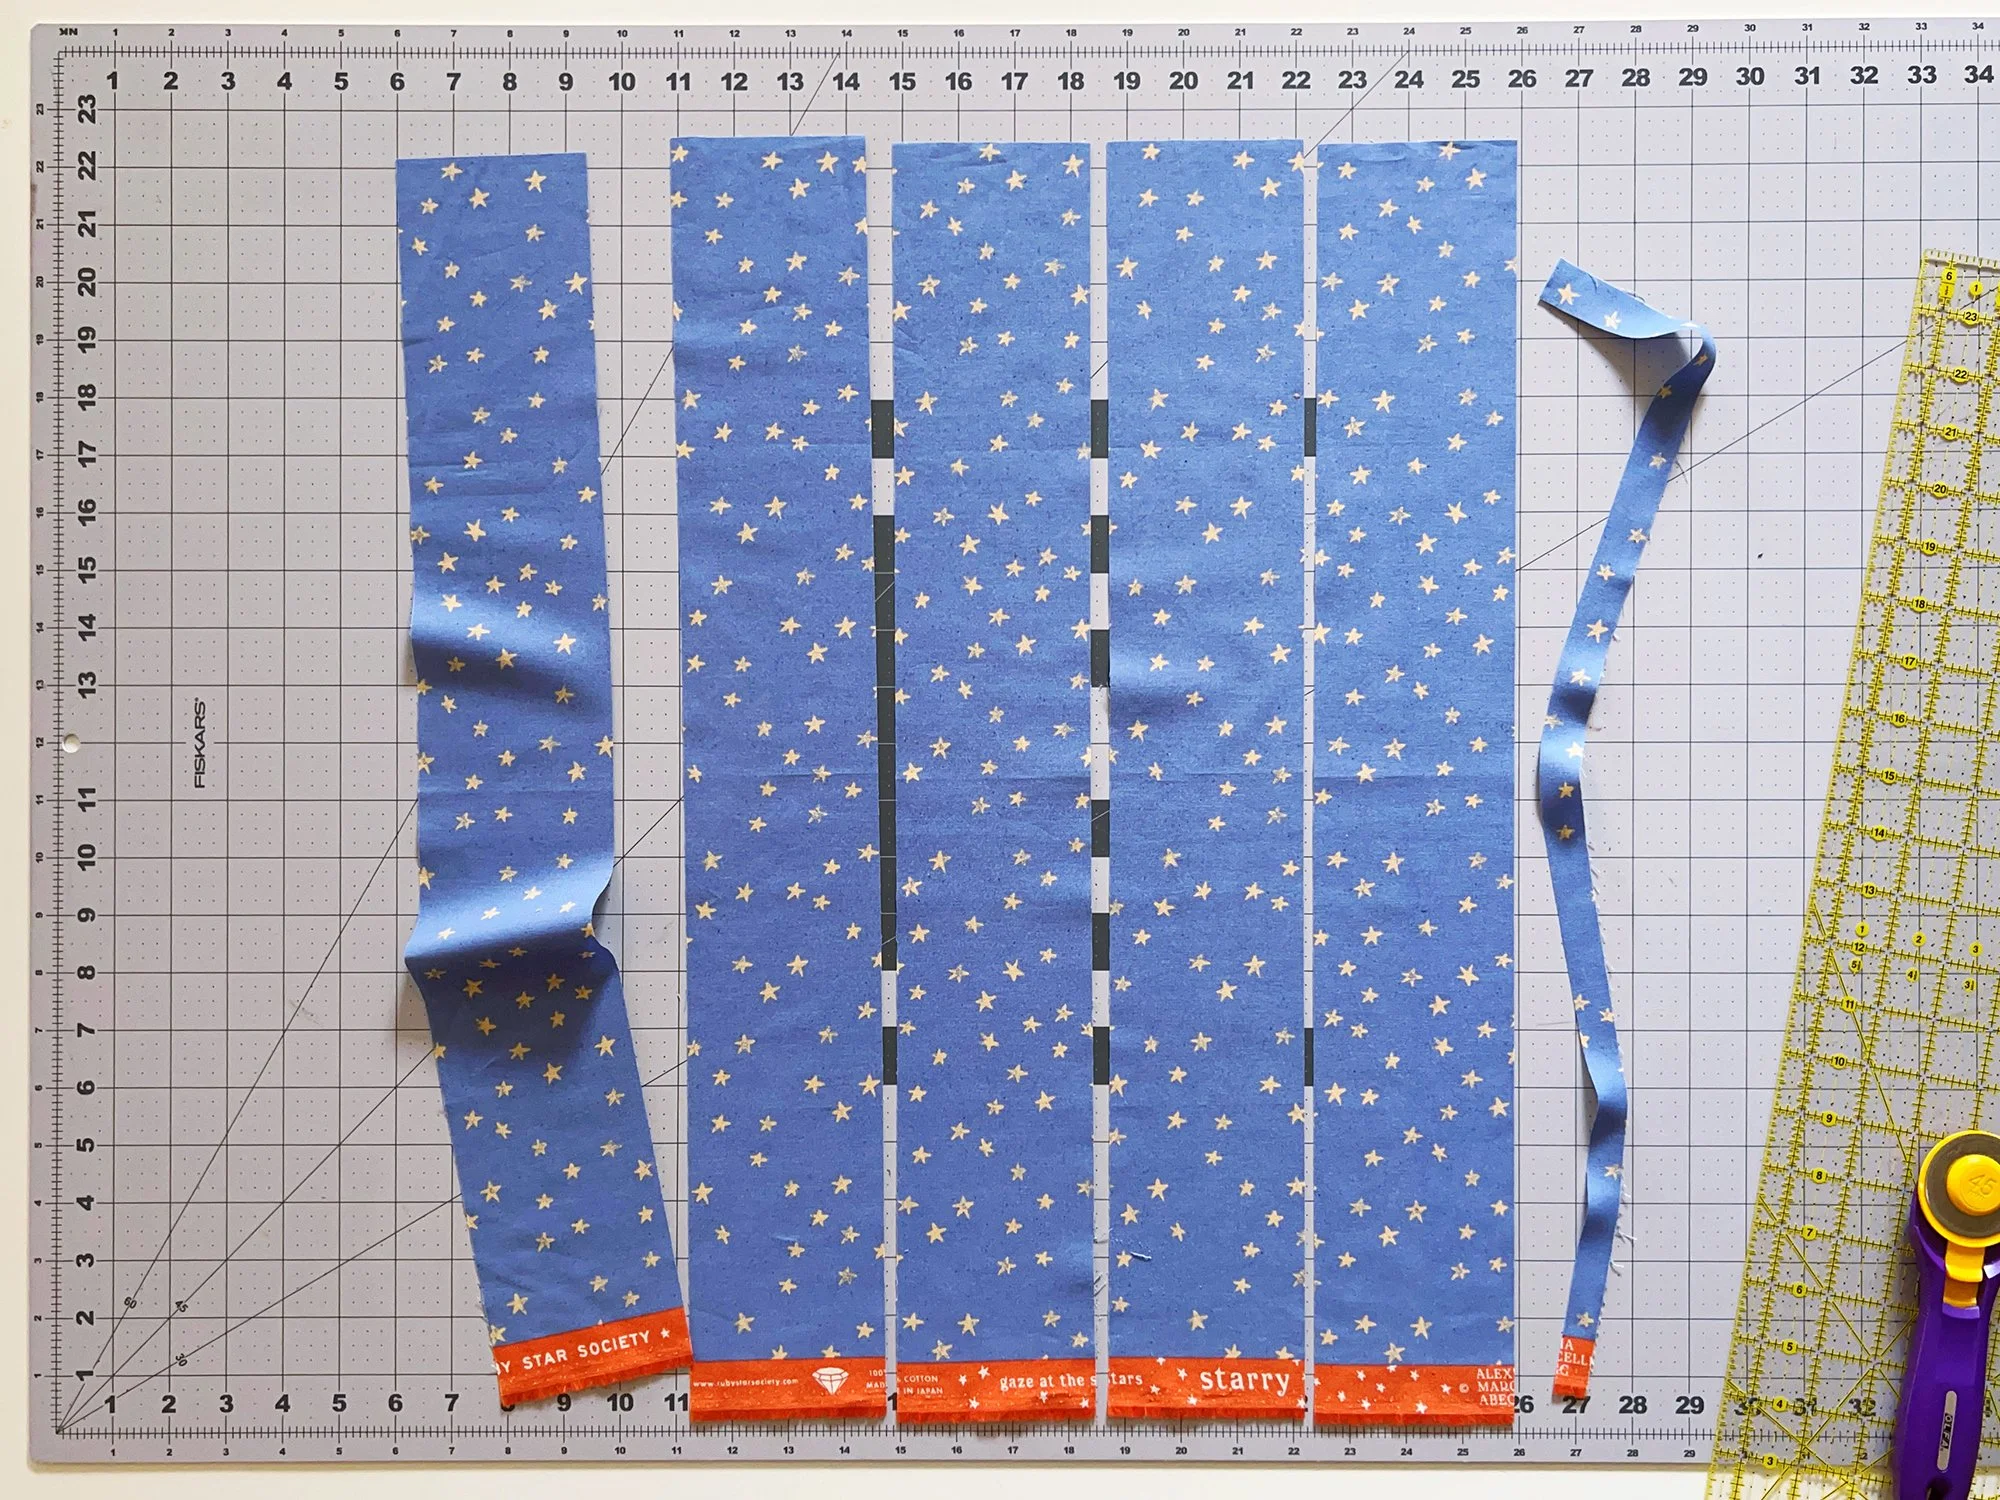
Once your WOF strips are cut, cut off all the folds to make each one into a 1/2 WOF strip (about 21” long but it does not need to be exact). This cut does not have to be straight or pretty, it’s just to separate the two halves. It will be trimmed off later. You can do it by cutting off about 1/4” or so at the fold with the rotary cutter, or stick your scissors in and snip at the fold. While you don’t want to just go hacking willy nilly and wasting a bunch of fabric, there is enough cushion built into the pattern to not have to obsess over trying to cut off the teeniest amount possible.
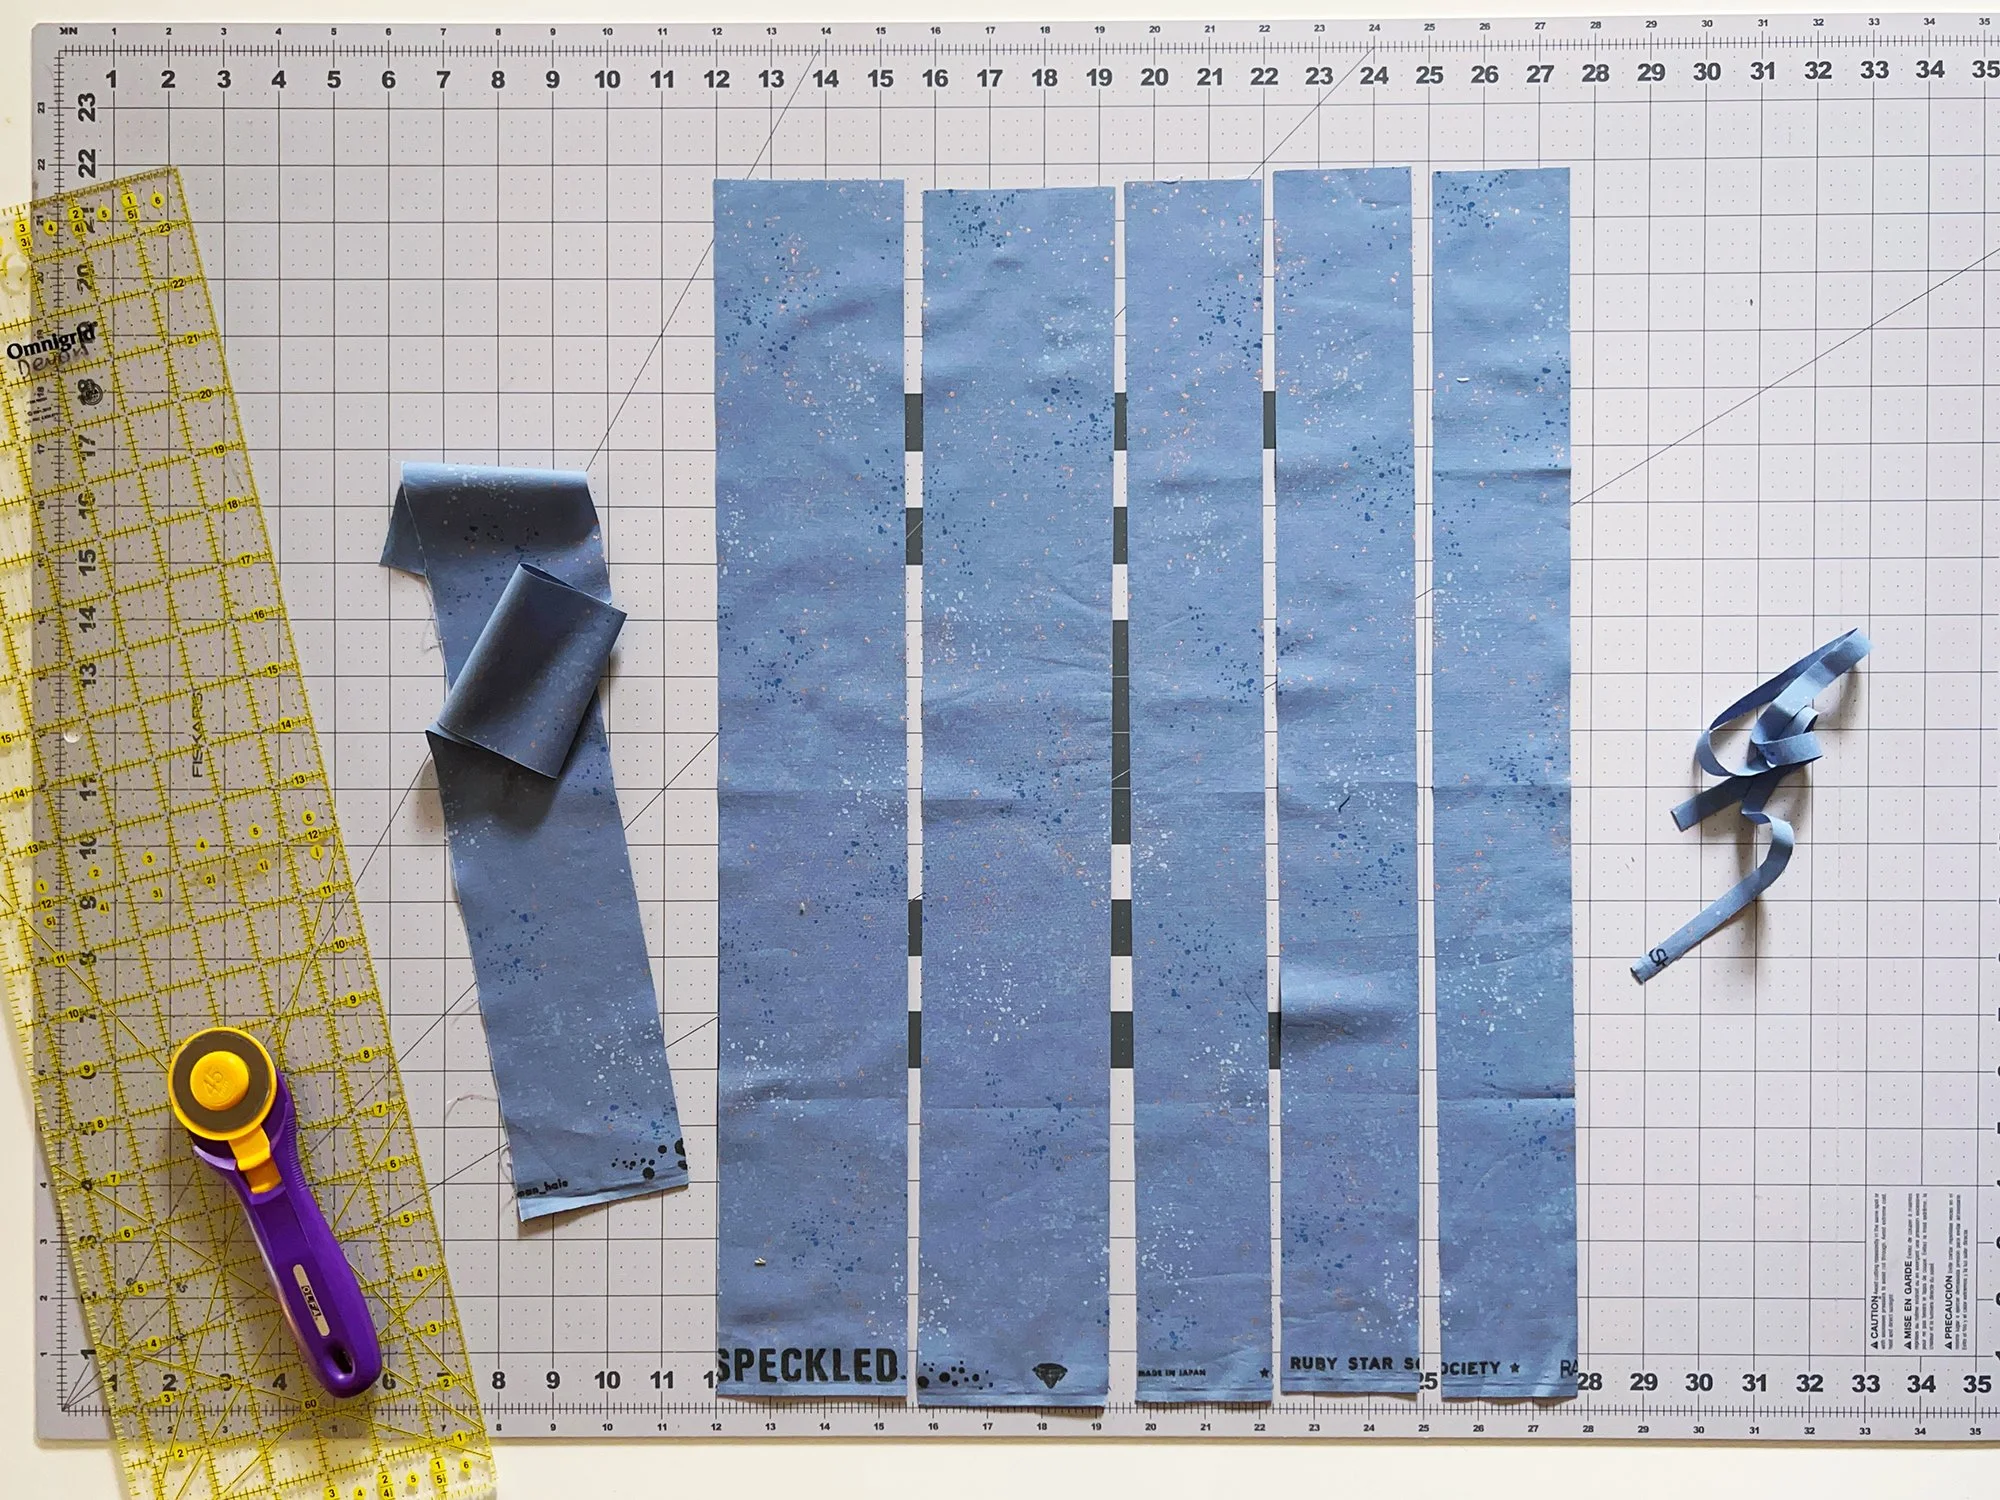
Once finished you can double check your quantities with the chart on page 9/6. They’re the same numbers that were in the written instructions but sometimes it’s easier to see them in chart format. I like to keep things in stacks of 5 or 10 as I cut so they are easy to recount later.
*All fabric is usually folded a little off grain when it comes off the bolt, but in this case, unless the selvages are crooked, I just start cutting. A slightly off grain fabric can yield a WOF strip that is a teeny bit "V” shaped, but we are cutting off the fold, so this doesn’t really matter. Any little bit of “off-grainness” in the resulting 1/2 WOF strips I have found to be negligible and have little consequence. If you were needing an entire WOF strip - for instance, for binding - best practice would be to always press out the fold and refold on grain before cutting.
SCRAPPY VERSION (BOTH LAYOUTS)
All you scrappy people have a little more of a mixed bag when it comes to cutting, depending on the cuts of fabric you’re using. Use your rotary cutter and ruler to cut the quantity of 1/2-WOF strips listed on page 7/5, per each fabric cut you’re using. Basic Layout will be cutting 3.5” strips only, Improv layout will be cutting a combo of 3.5” and 2.5” strips. If you are using 1/4 yds or 1/8 yds, or if you have chosen to do Scrappy + Background, you can follow the instructions above for cutting strips from yardage.
If you are using FQs or F8s, see the diagrams in the instructions on page 7/5 for how to cut the strips (you’ll be cutting them perpendicular to the selvage). A FQ is shown below with 3.5” strips cut from it. As described in the Two Color section above, you can either lay the FQ/F8 on the cutting mat with the selvage aligned with a horizontal line, then use the vertical lines to cut the strips; or you can place the ruler with the selvage aligned with a horizontal line, and use the ruler’s vertical lines to slice strips off. Always trim off the factory/store cut edge to create the first edge for your first strip, as you don’t want to assume it’s straight. And since a FQ or F8 is already half the width of fabric, all the strips you cut will automatically be 1/2-WOF strips.
Keep cutting from all your FQs/F8s/1/4 yds/1/8 yds until you reach the total number of strips listed on page 9/6.
SCRAPPY IMPROV LAYOUT ONLY
If you’re making the Improv layout in Scrappy, in Large Throw or smaller, refer to the Improv Layout Print Distribution section on page 8/6 before cutting. Basically, in order to prevent any one fabric from being concentrated only in your Block C “disruptor blocks,” you should start your cutting journey by cutting a combo of 3.5” and 2.5” strips from each fabric piece so that the prints gets a bit more mixed up. The diagrams show how to fit the strips on different fabric pieces. (Note that for 1/4 yds, it will be easier to cut the fold off first, then cut each half into 2.5” and 3.5” strips respectively as shown in the instructions.) Once you have the number of 2.5” strips listed in the chart on page 9/6, you can switch to just cutting 3.5” strips.
ALL SCRAPPY VERSIONS & LAYOUTS
The fabric requirements list specific numbers of FQs/F8s so people know how much fabric to source if they’re starting from scratch, but really, at the end of the day, you just need the number of 1/2 WOF strips listed in the chart on page 9/6. This means that if you have a scrap that you can get a 3.5” or 2.5” x 21”ish strip out of, stick it in there if you want! If you’re dying to use your most prized FQ you’re been hoarding for years but can’t bear to cut it all apart, you could just cut one strip from it and put that in too. You can cut a single WOF strip off some yardage to add 2 more 1/2 strips to the pile. Or, let’s say you have a bundle with only 10 FQs, but you need 13 - use some solid yardage to make up the difference. Instead of using 8 FQs, use 4 half yard cuts (you’ll just have less print variation). You get the picture - as long as you get to the number of 1/2 WOF strips listed on page 9/6, you’re good!
TRULY SCRAPPY VERSION
If you are making a truly scrappy version, where each square is a separate piece, your cutting is a little more straightforward, though it will take longer. Following the instructions on page 18/11, cut 3.5” x 4.5” pieces in Fabric 1 & 2 quantities listed (all layouts), and 2.5” x 3.5” pieces in Fabric 1 & 2 quantities indicated (Improv layout only). That’s it for cutting!
TIME TO STRIP (PIECE)
SUMMARY (ALL VERSIONS/LAYOUTS)
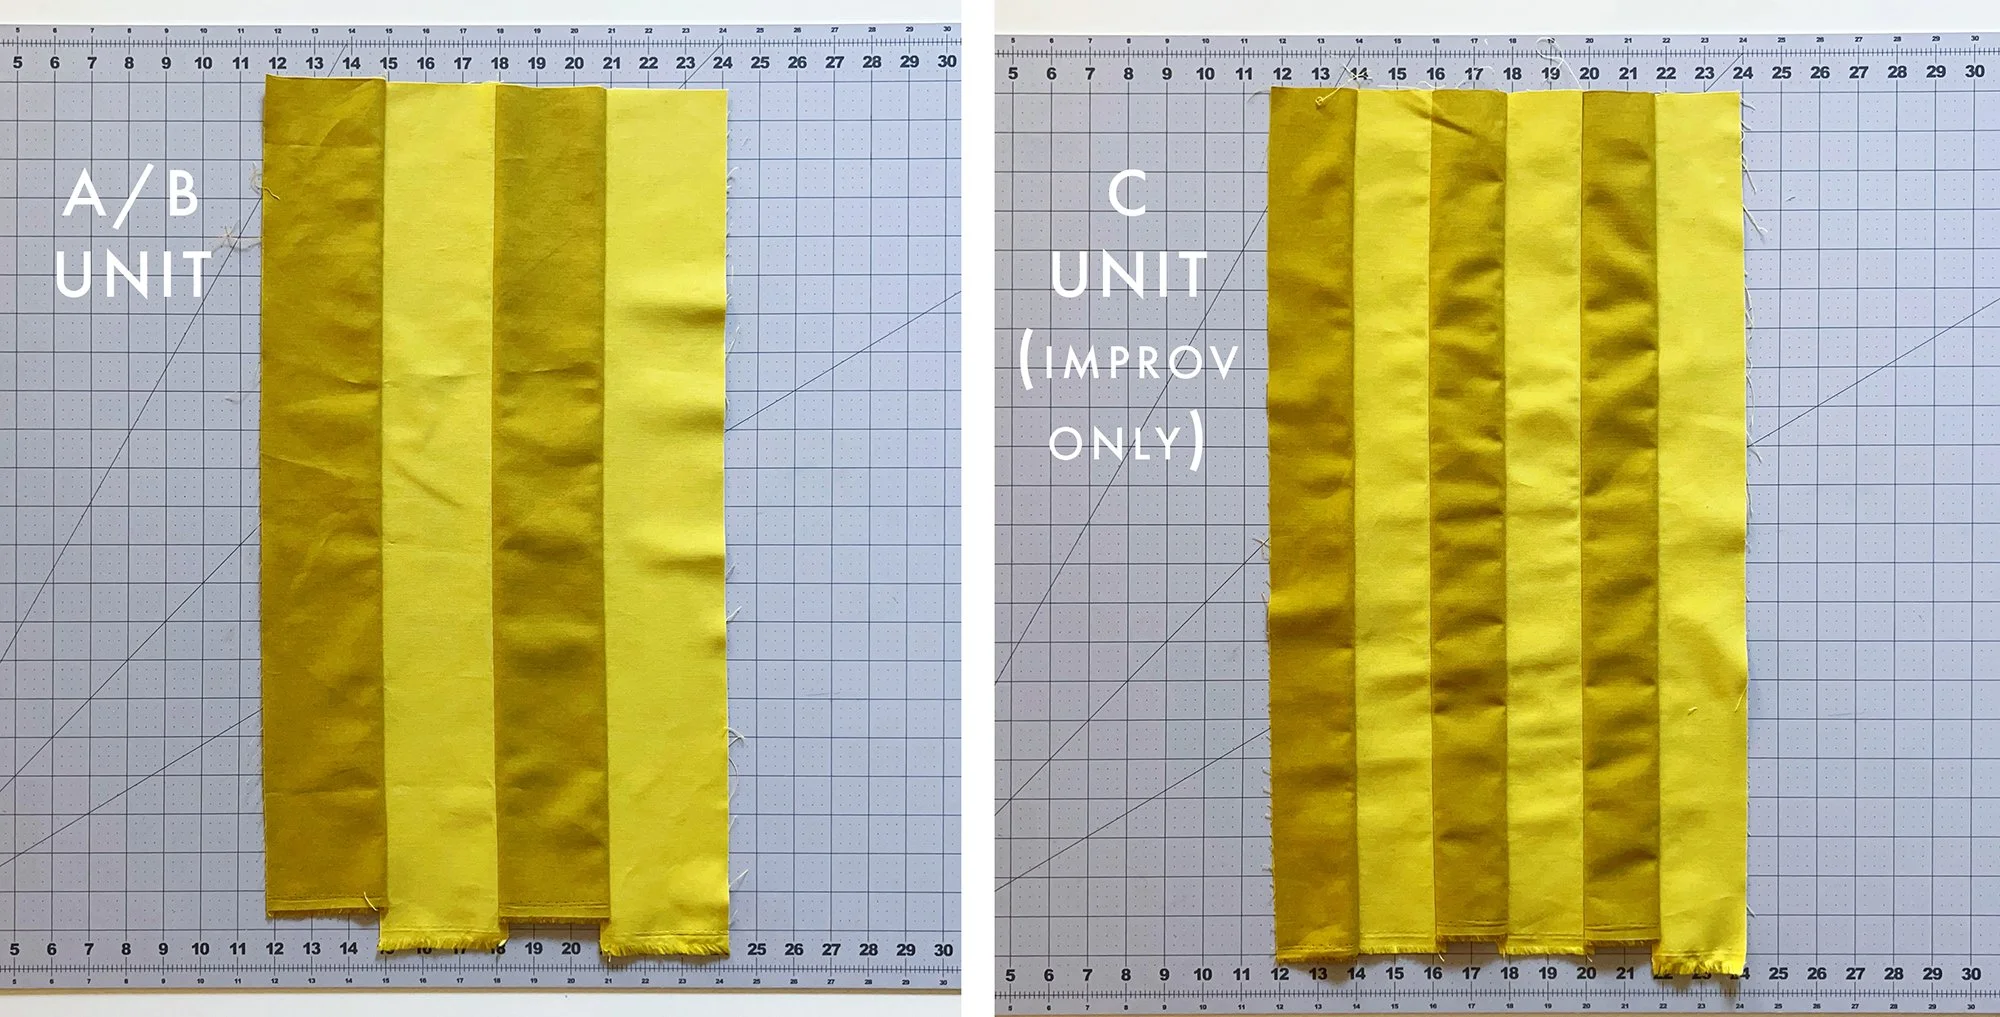
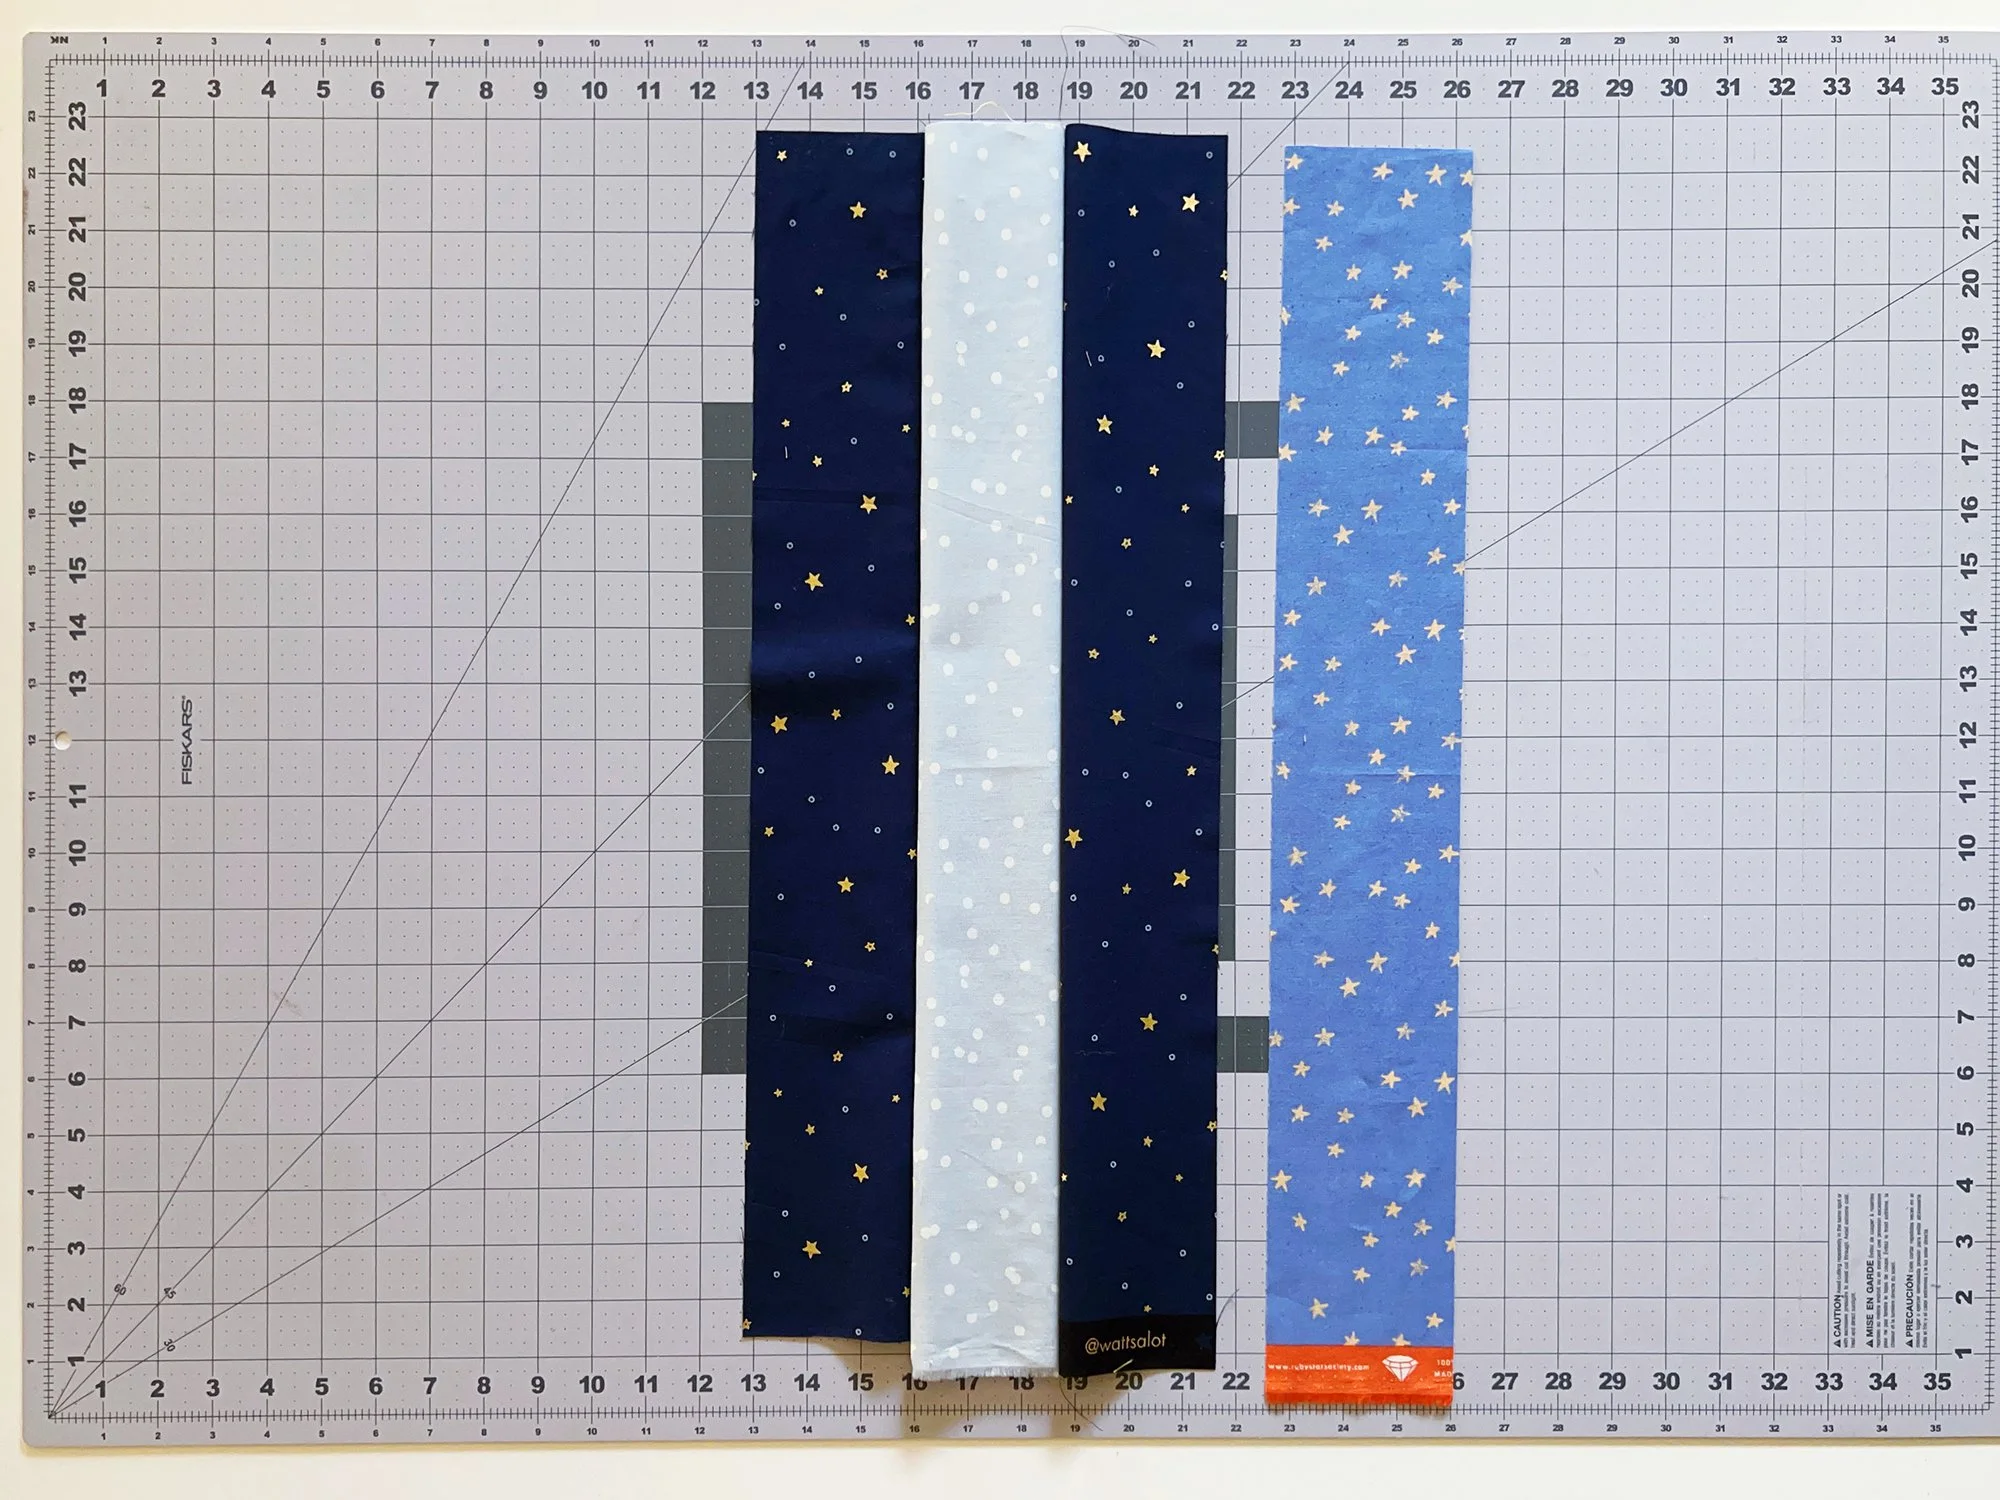
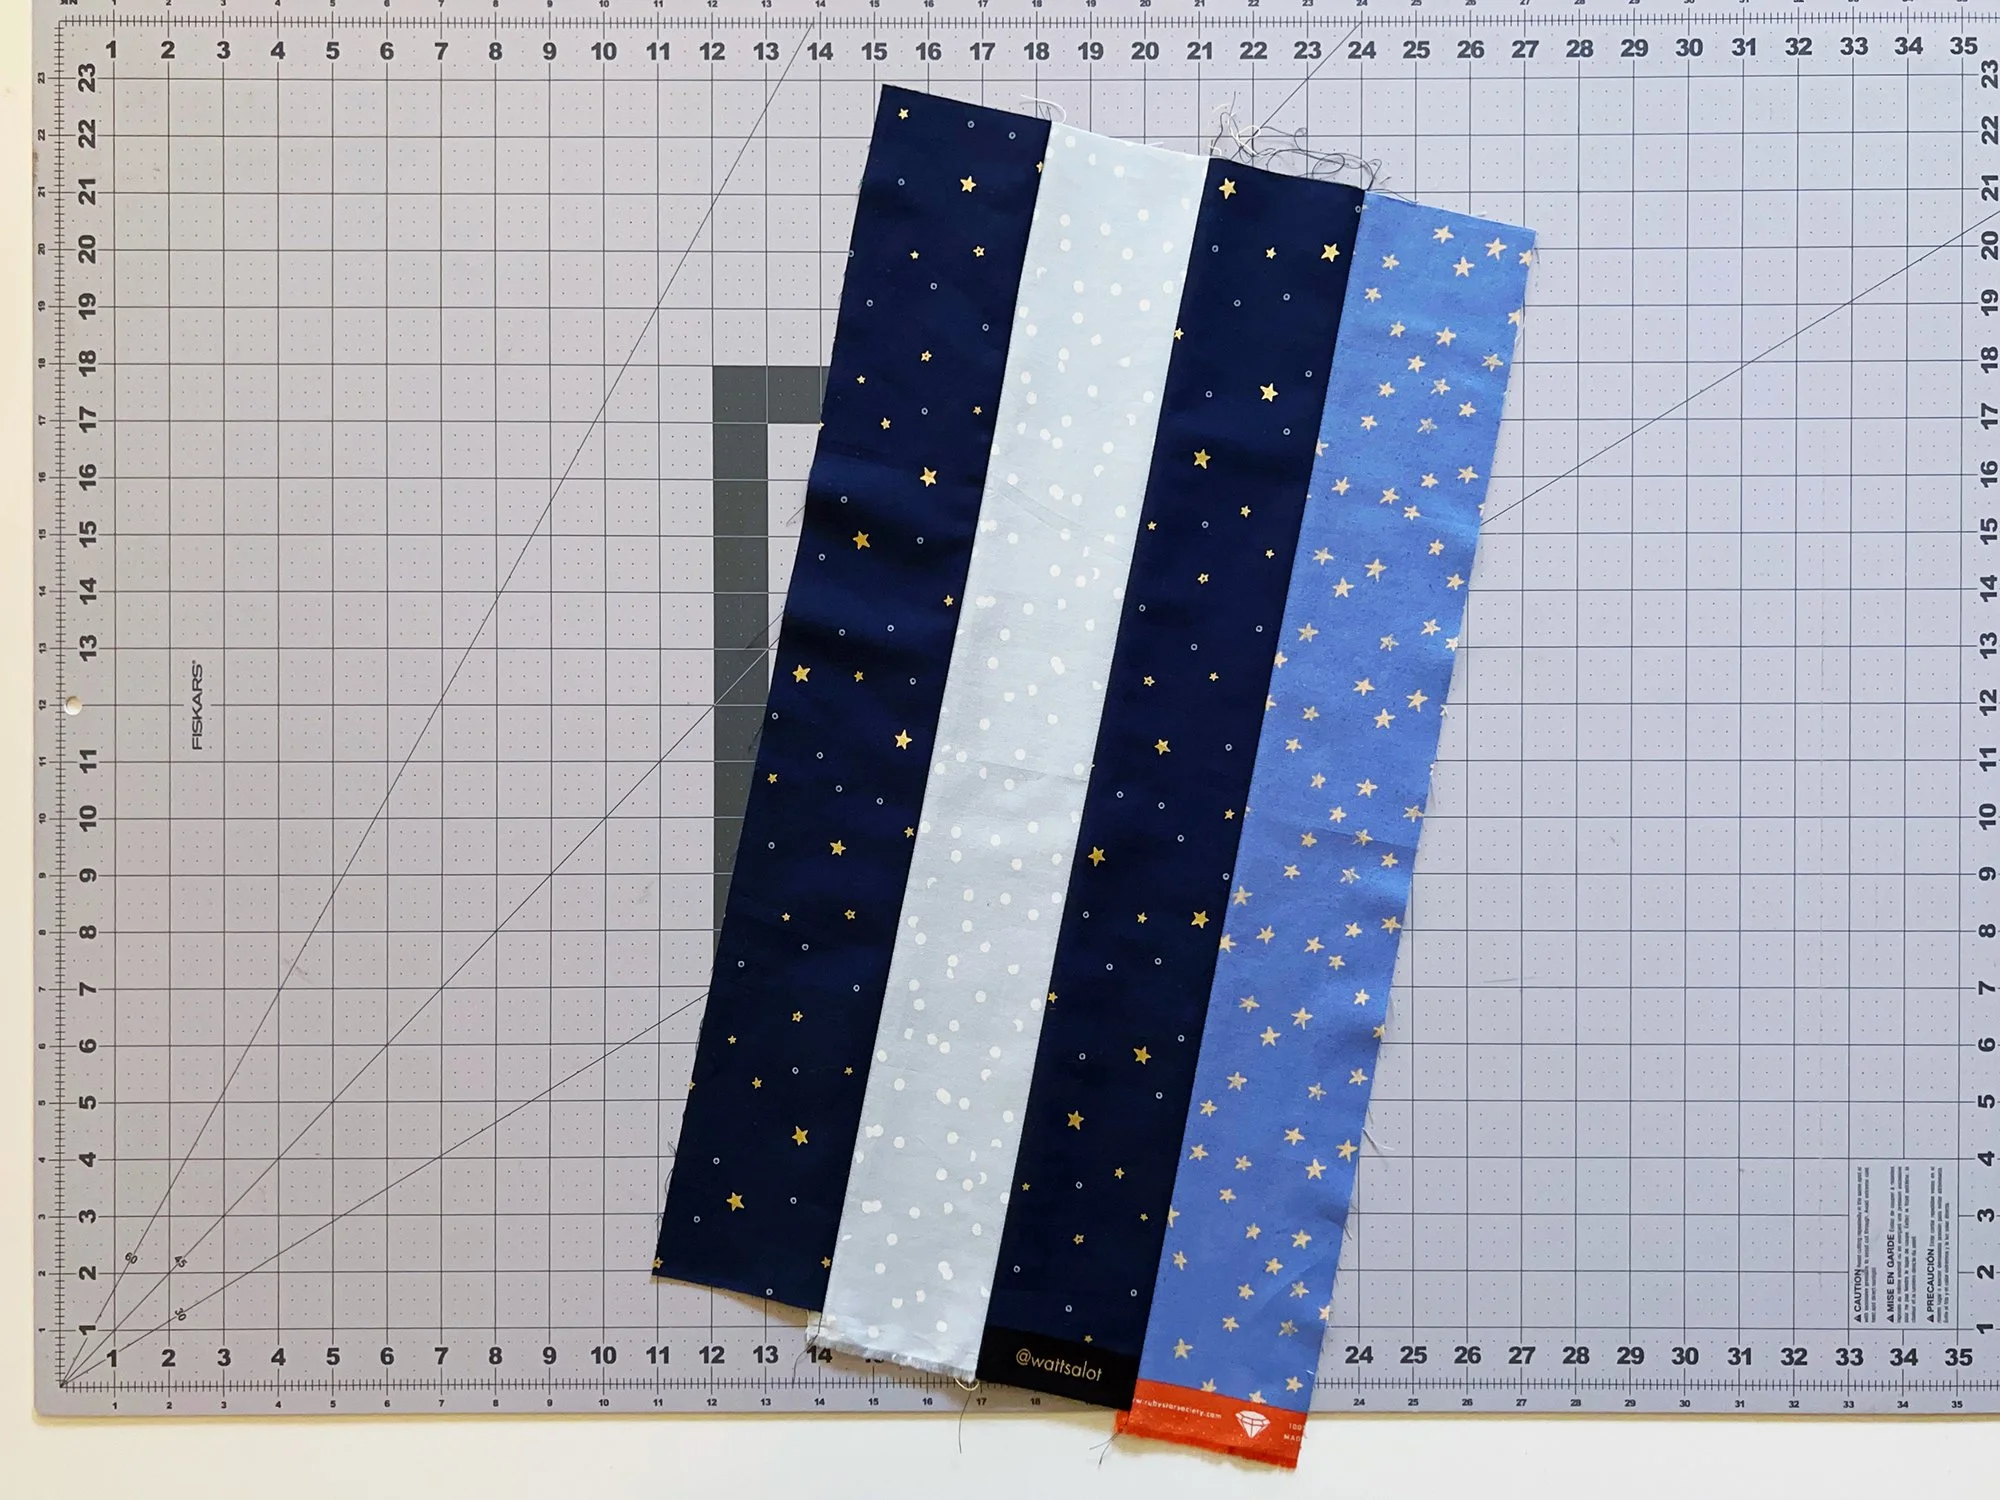
Strip piecing the units together is pretty straightforward. Here is the short version: everyone will sew all their 3.5” strips together in sets of four along long edges, in Fabric 1-2-1-2 order from left to right, with short cut edges all at the top and selvages all at the bottom. These are the A/B units. Improv layout people will also do the same thing with all their 2.5” strips, except they’ll be in sets of 6. These are the C units. Refer to page 11/7 for A/B unit quantities, and page 15/9 for C unit quantities. (We’re jumping around a little in the instructions so that all of our strip piecing is combined into this week.)
If you’re doing either Scrappy version, make sure all the scrappy strips in each unit are different. In the example photos that follow, I’m doing Scrappy + Background, so my two Fabric 1 strips match. If you’re doing Full Scrappy, all the strips in your unit should be different fabrics. You don’t have to lay them all out in advance - I like to just randomly grab as I sew - but when you get to the last 5 or so units it’s a good idea to stop and lay those out. It doesn’t make any sense probability-wise but it’s amazing how easy it is to get to the end and accidentally have only duplicate strips left to choose from. It’s probably unconscious fabric favoritism!
It’s important that your seam allowance is such that your strip units measure 12.5” wide once finished and pressed (press all seams towards Fabric 1). A teeny bit bigger is ok because you can trim it, but you don’t really want a teeny bit too small. The pattern calls for a scant 1/4” seam allowance, which means a thread width less than a true 1/4”, but there is variation between fabric thicknesses and machine markings across the board, so it’s really best to finish one unit completely first (even if you intend to chain piece), measure that, and make any adjustments you need to for the rest. To adjust, you can either try moving your needle position, or the place on the foot/machine where you’re aligning the edge of the fabric as you sew.
When sewing, turn your stitch length down to about 1.8-2.0 (or about 2-3 clicks down from a default straight stitch). This will help keep the ends from unraveling when we slice through the seams next week while cutting out our templates.
IN MORE DETAIL (ALL LAYOUTS/VERSIONS)
Now, here is a longer version with visuals showing how to attach each strip so that they’re in the right places. This is showing an A/B unit with all 3.5” strips, but the process is the same for the C units out of 2.5” strips.
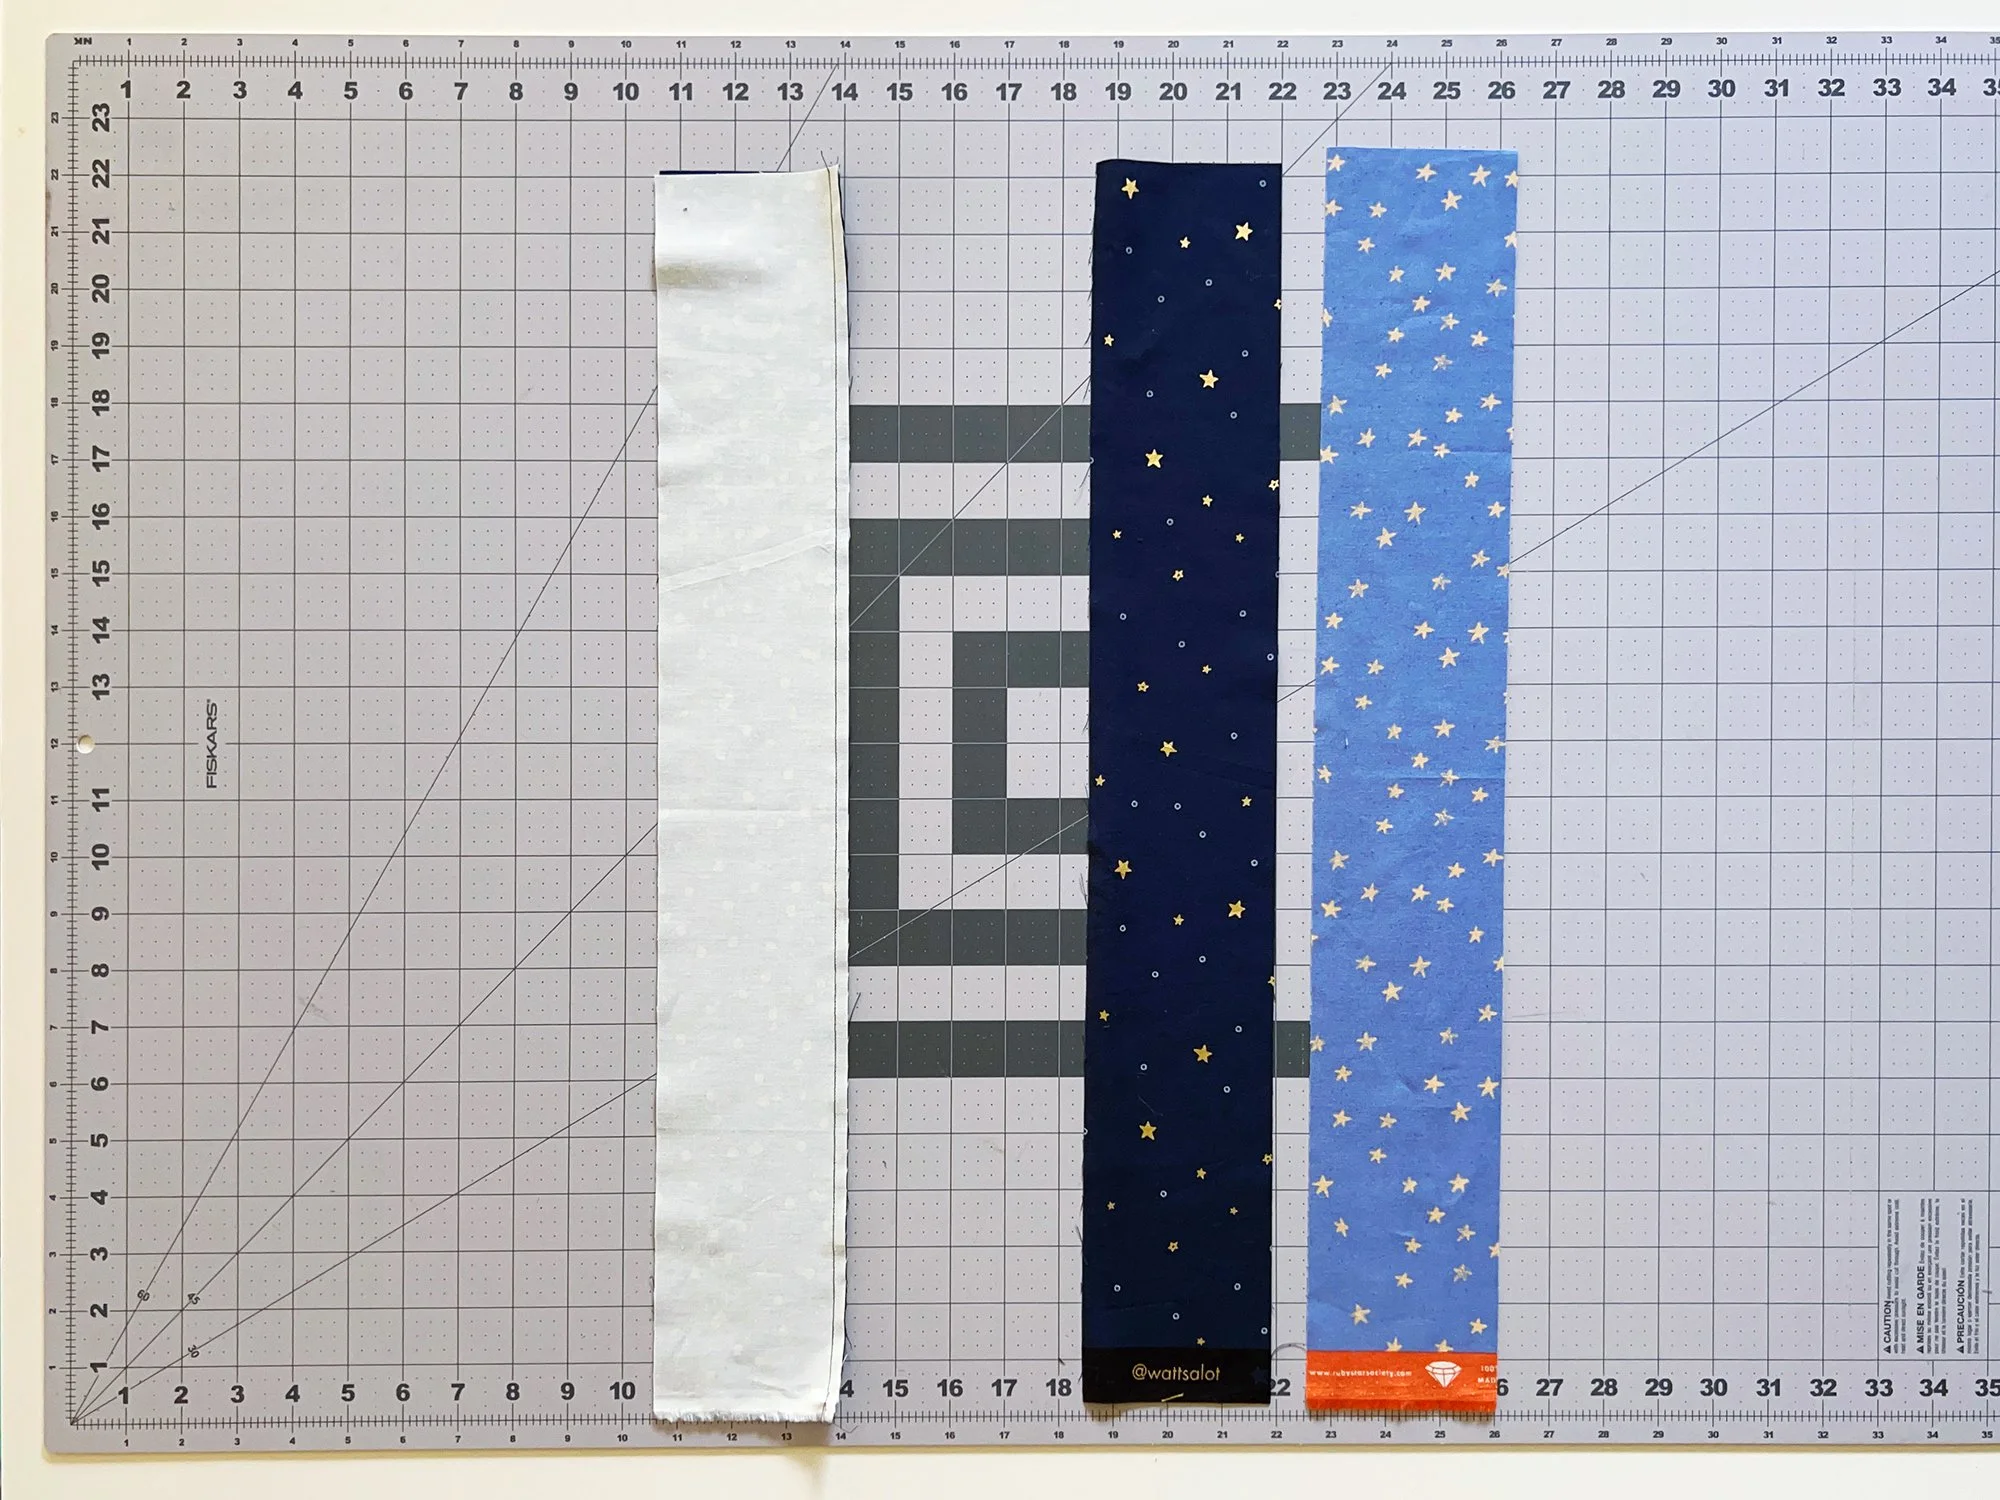
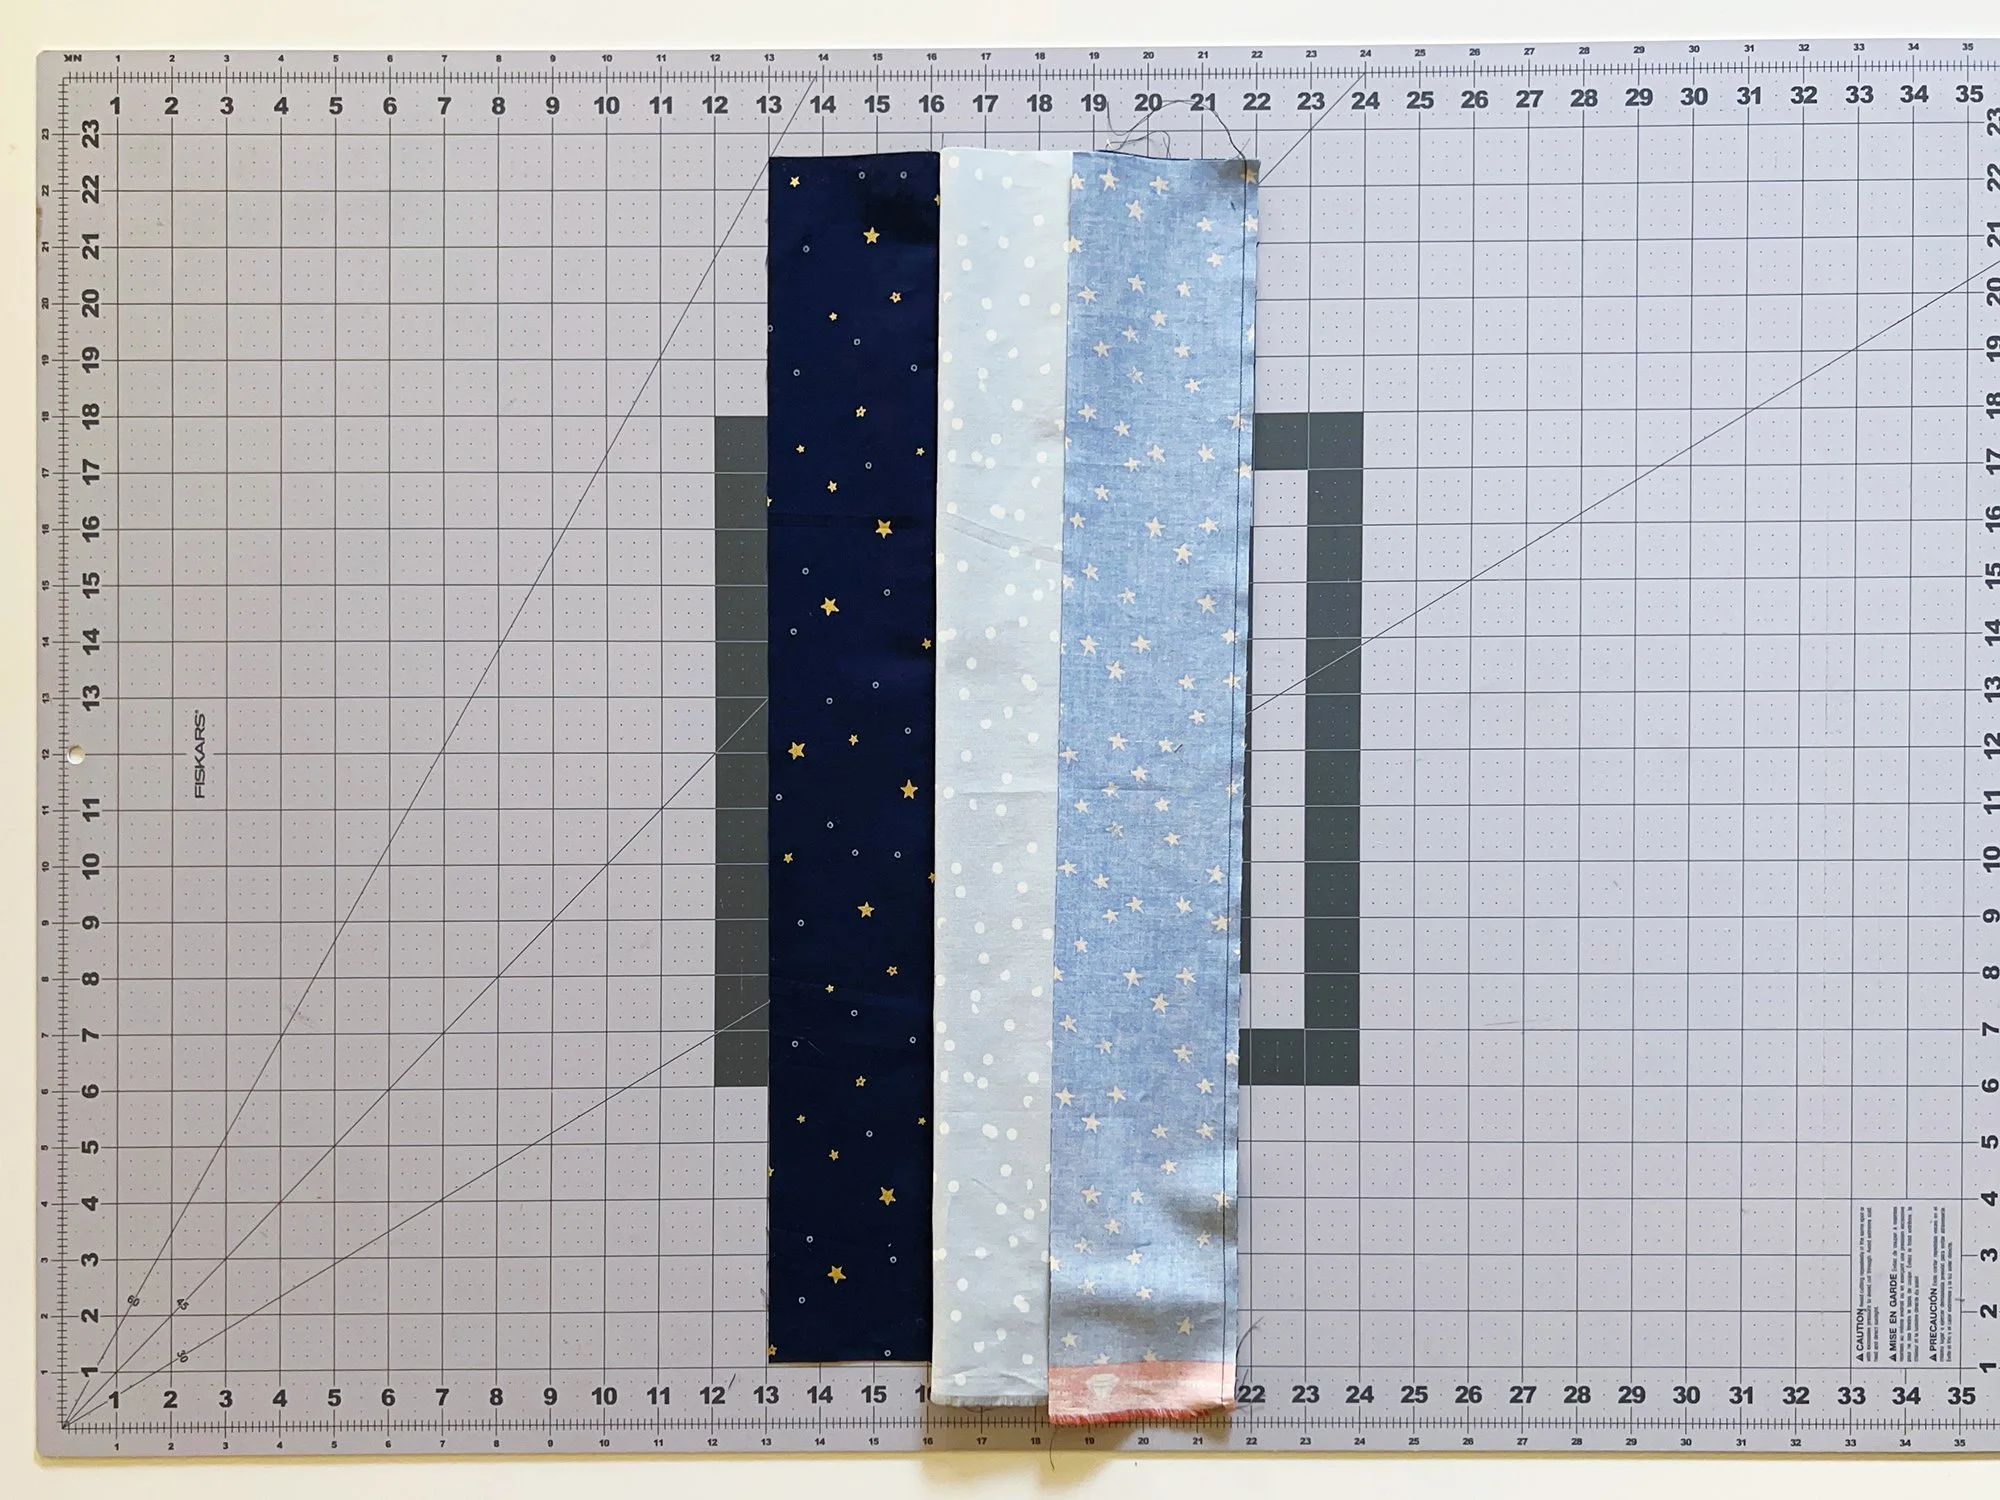
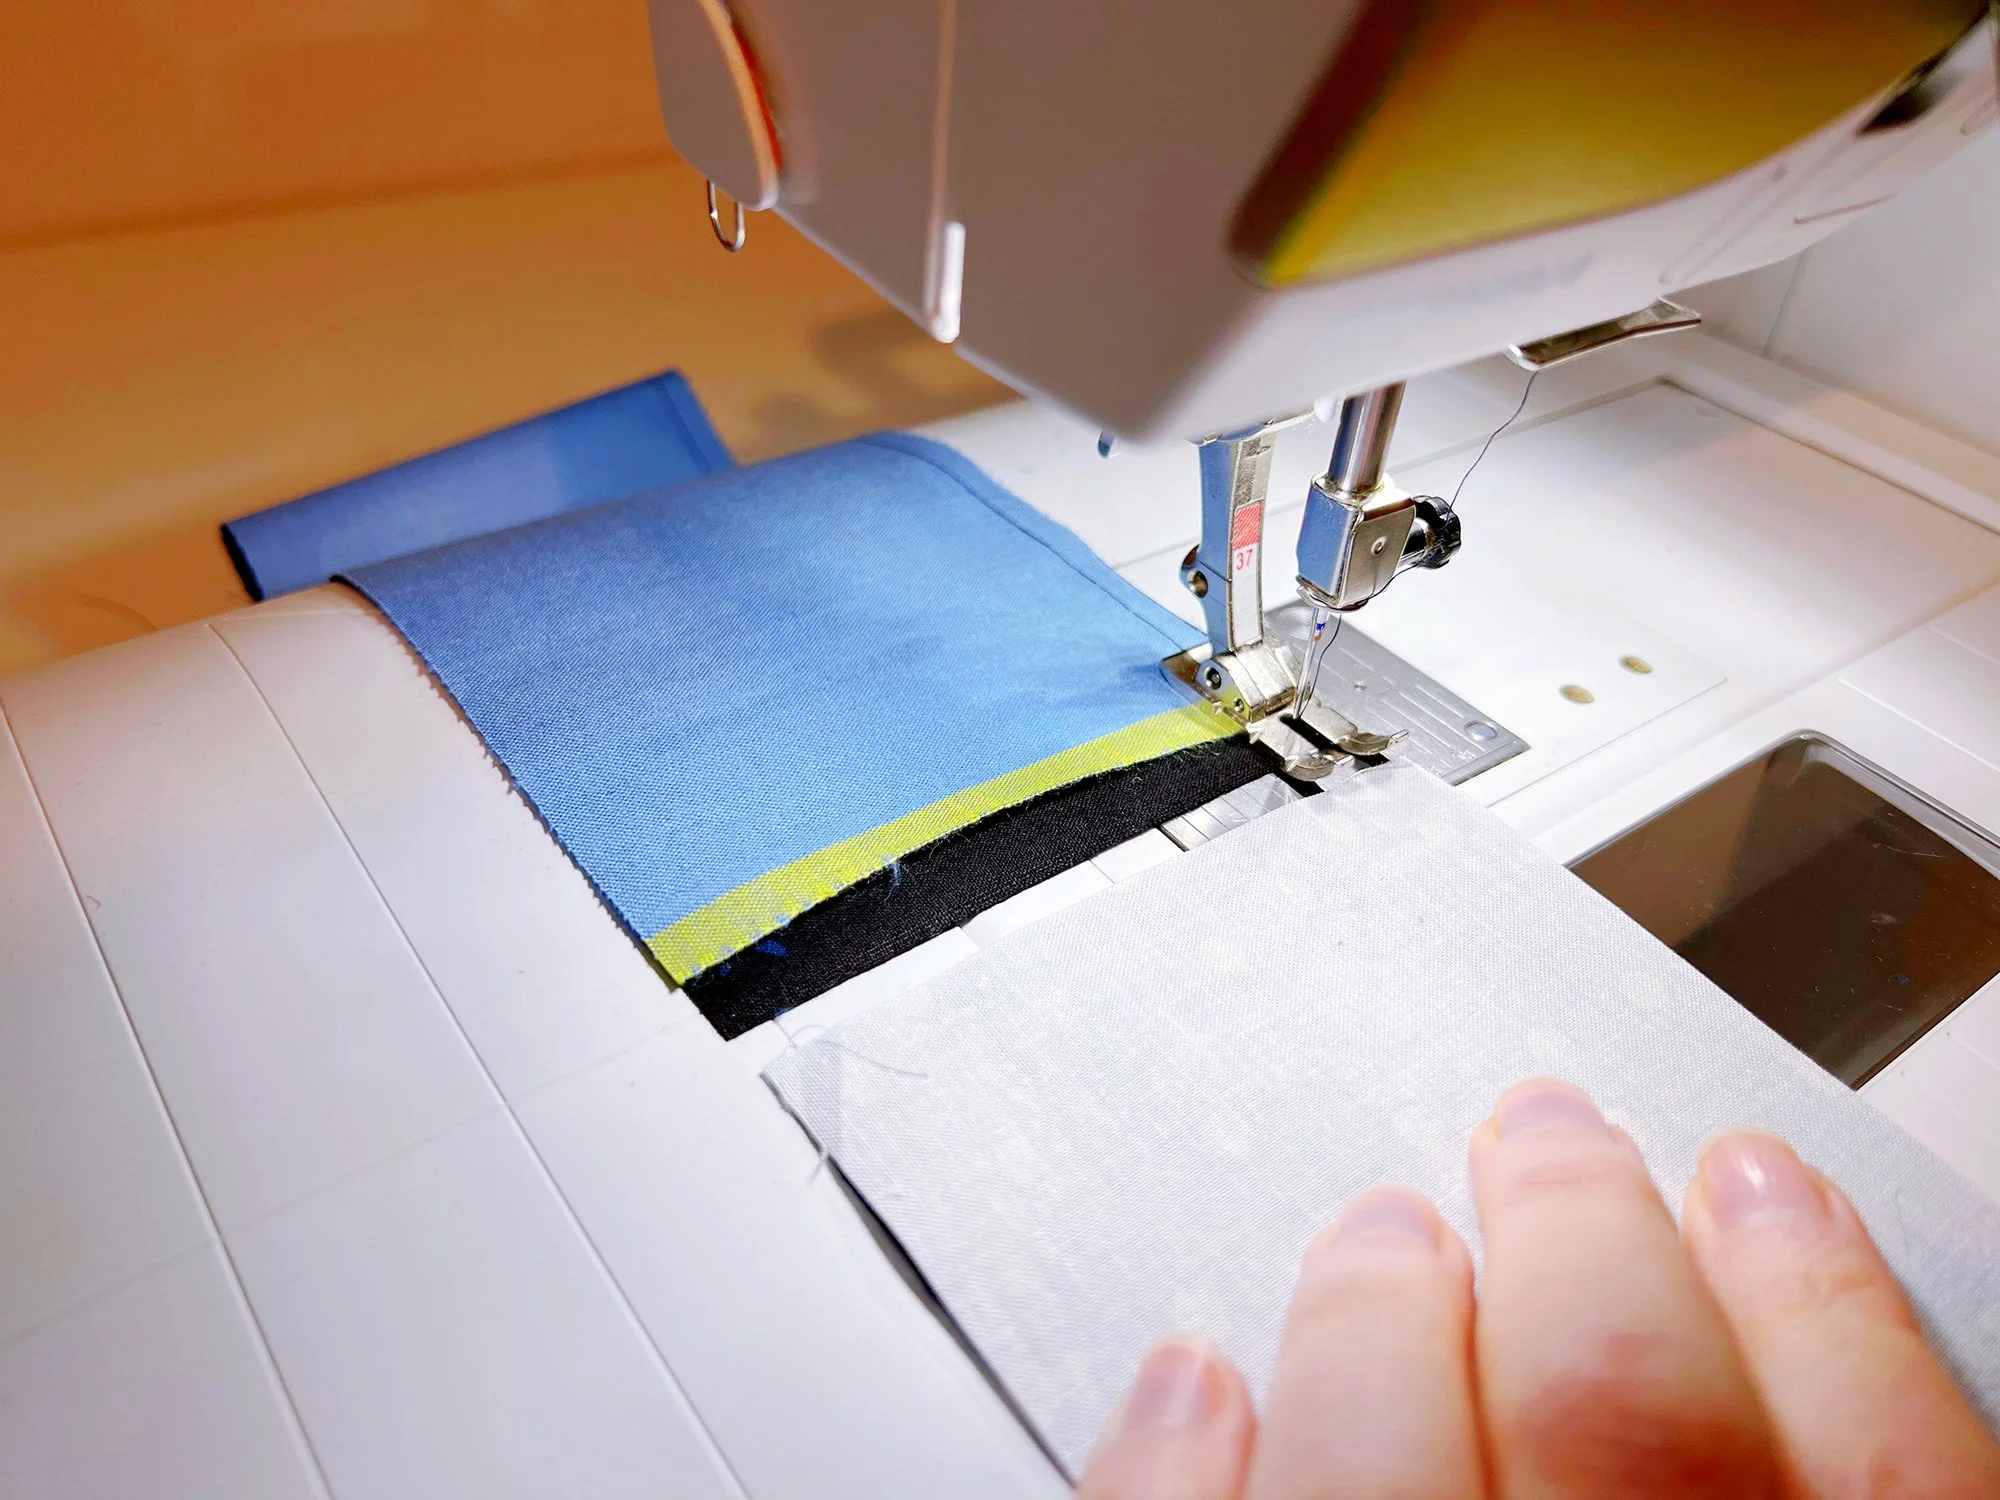
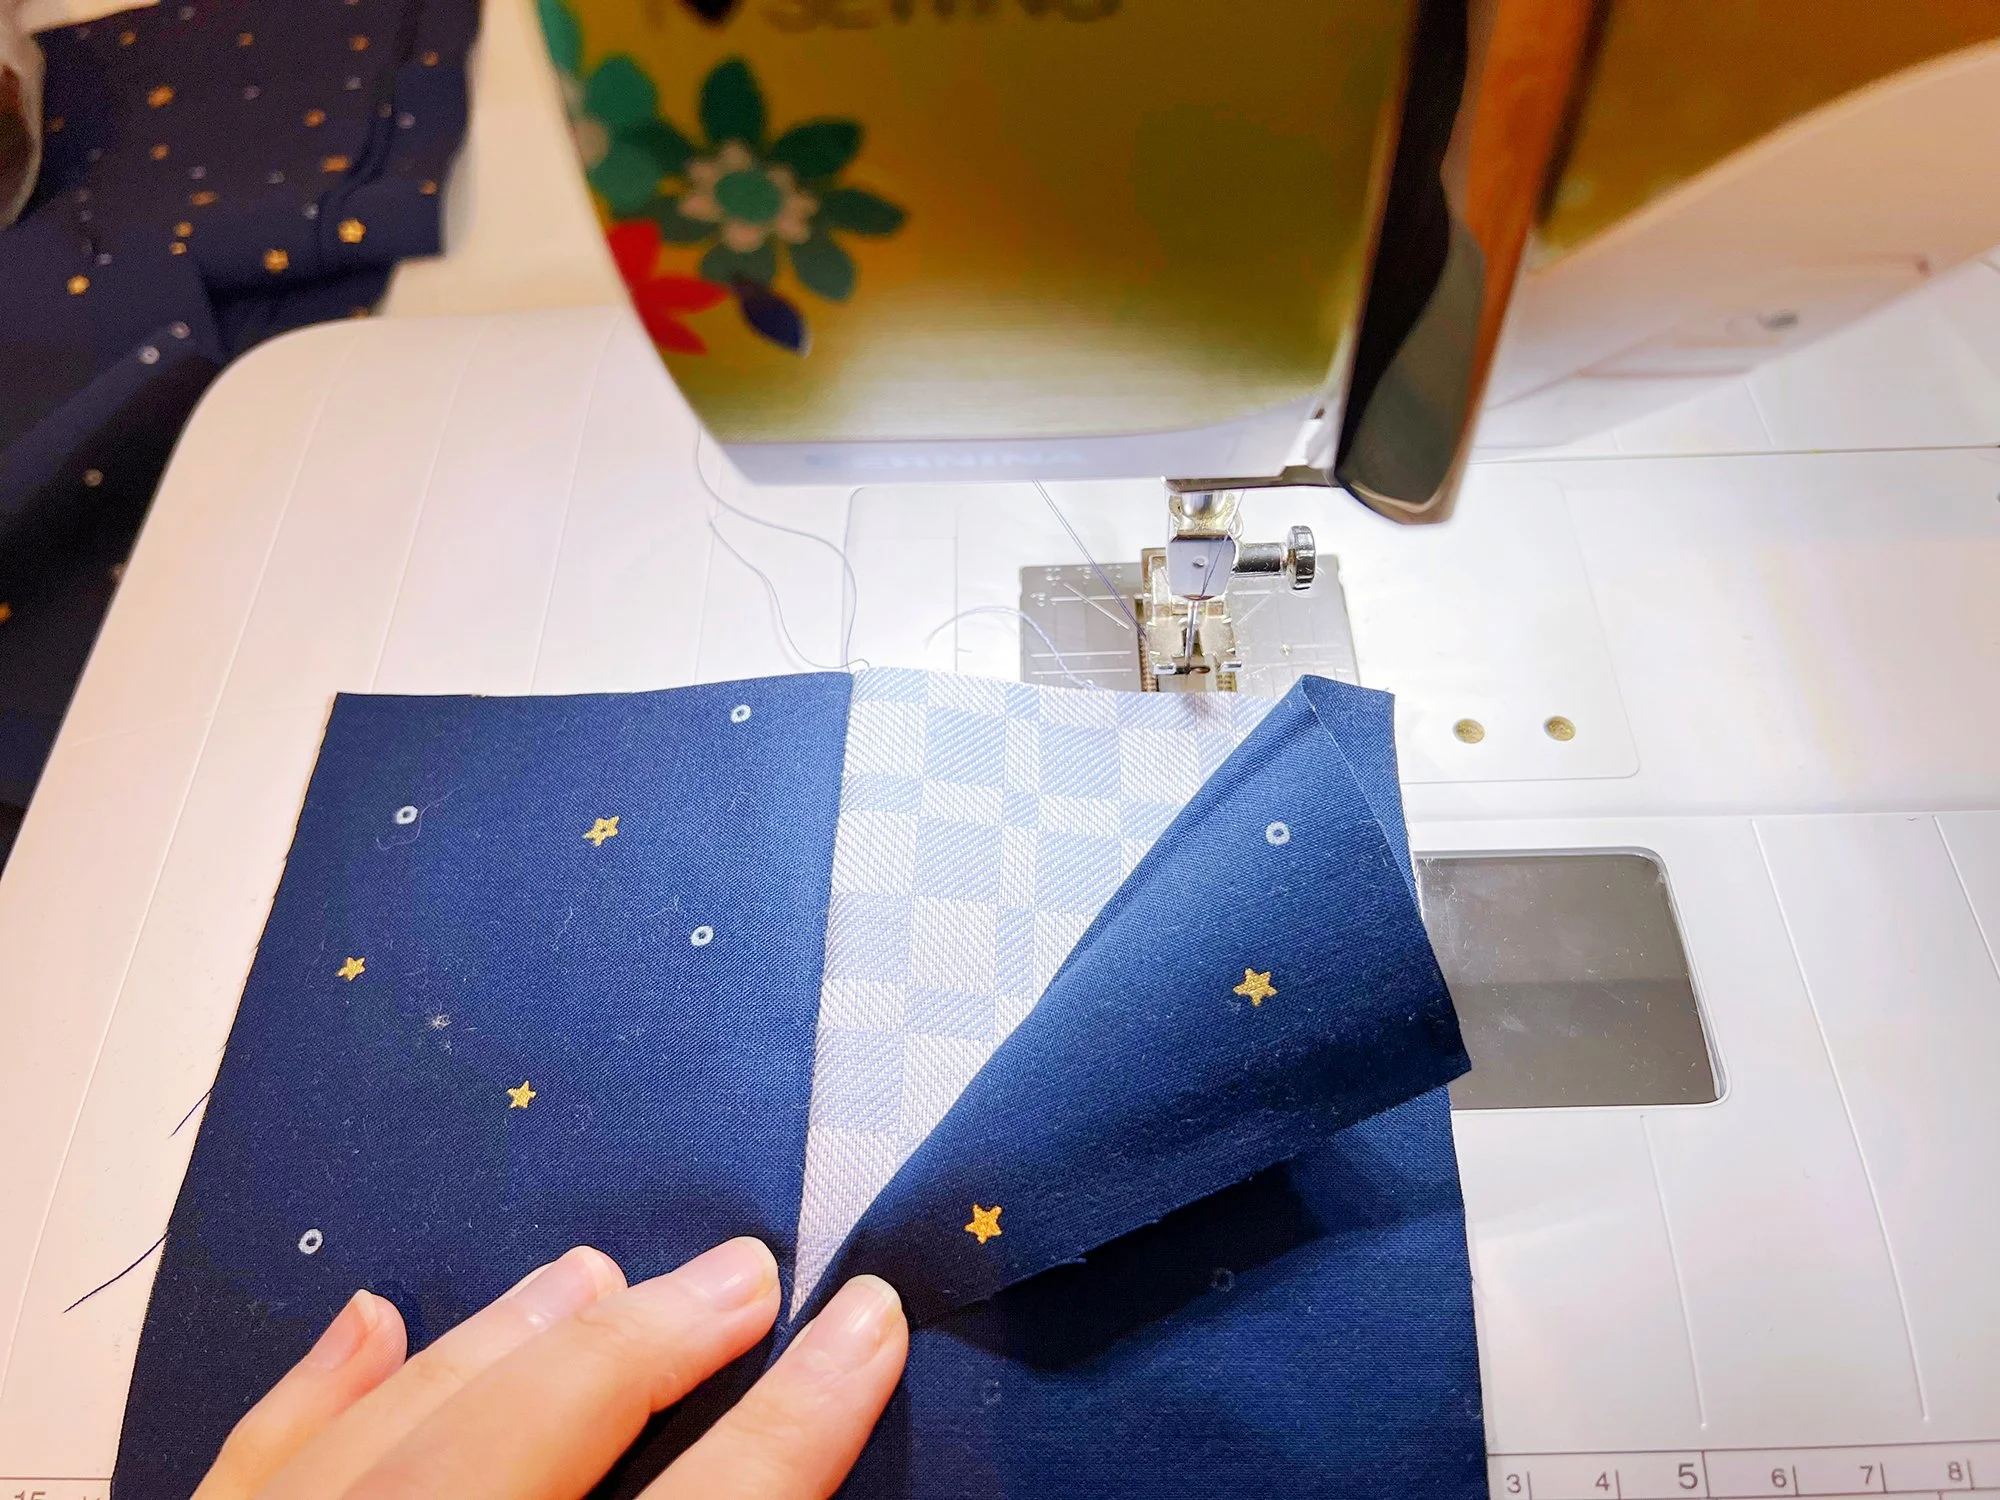
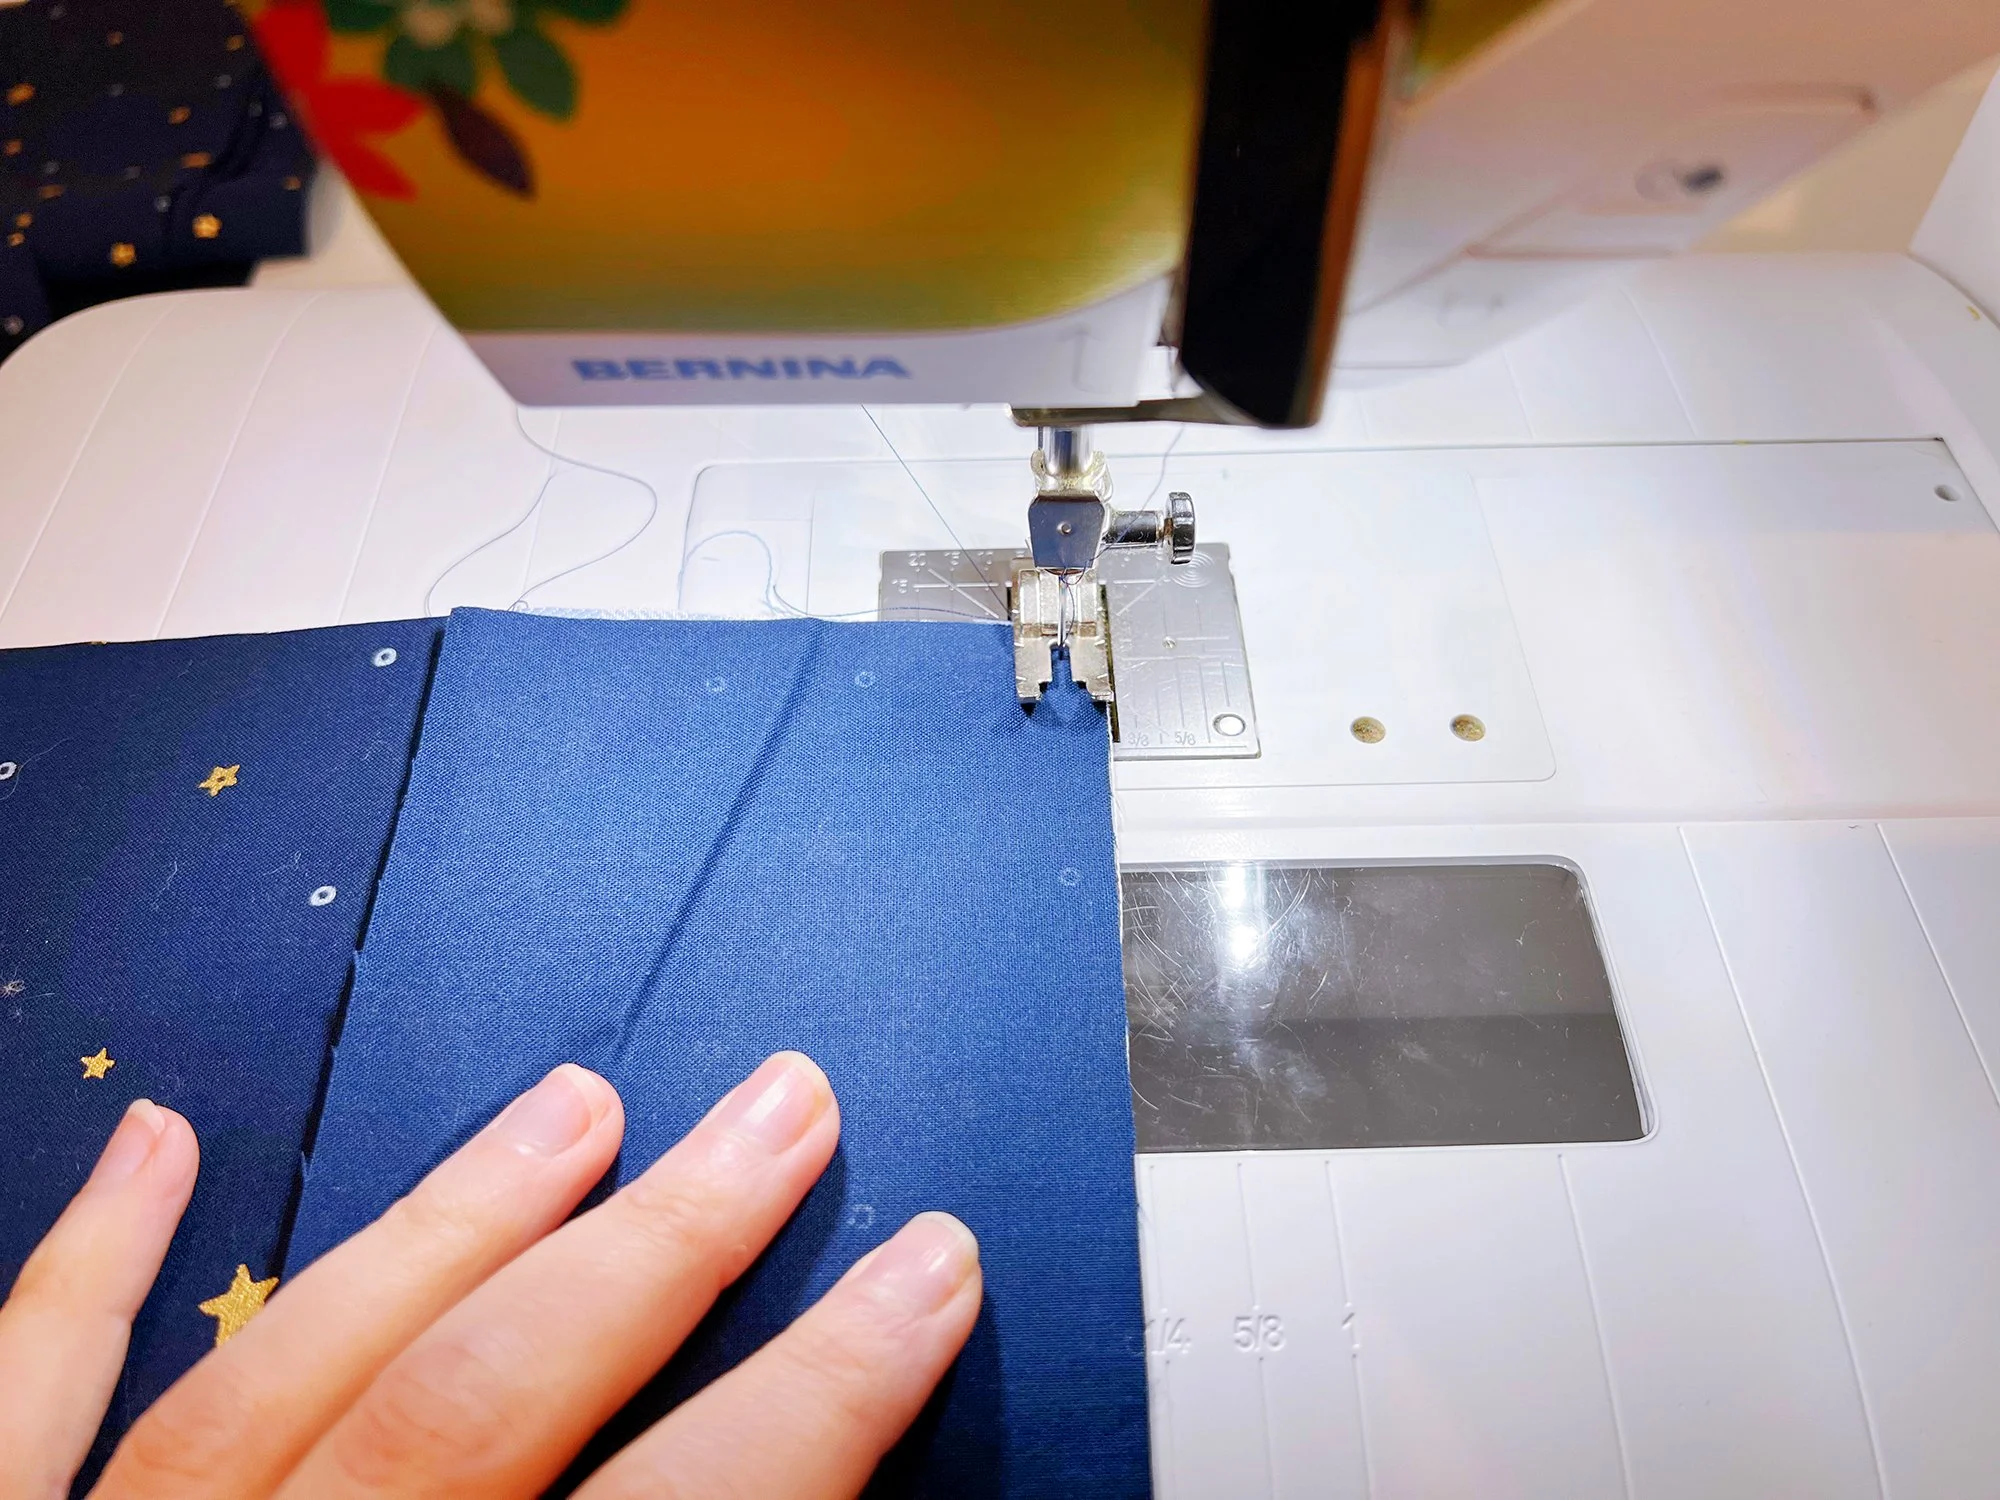
Start with a Fabric 1 strip, right side up. Place a Fabric 2 strip on top, right side down. The short cut edges of each should be together at the top, the selvages are the bottom. Sew strips together along the right edge with the Fabric 2 on top, starting at the top edge. (Photos show all the strips in one unit to give you an idea of what’s happening overall.)
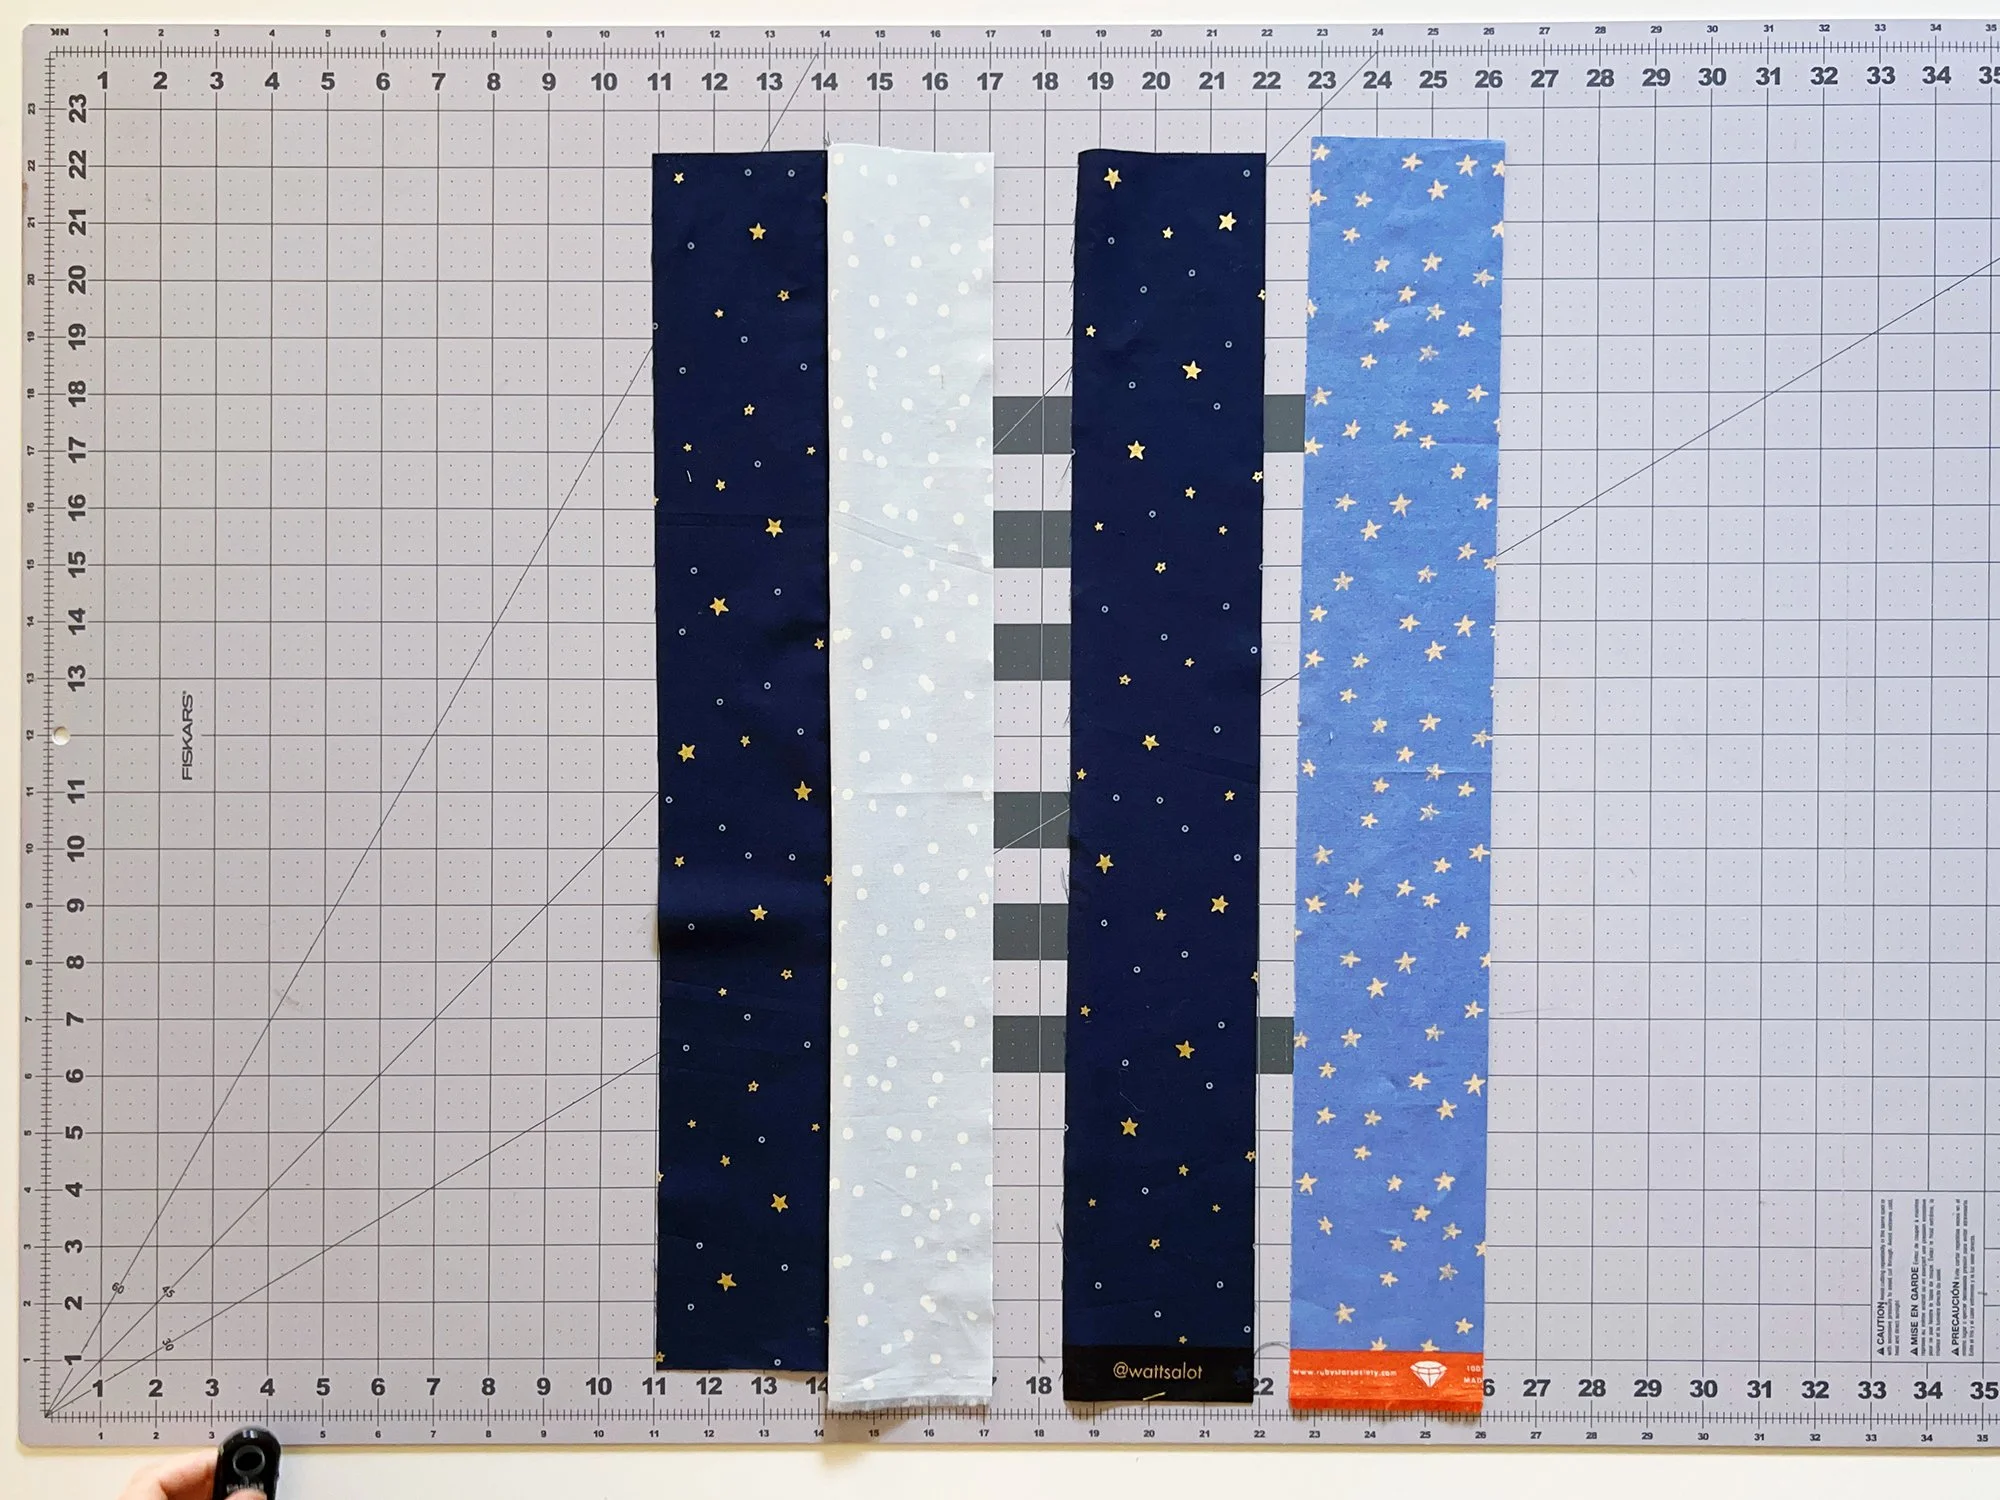
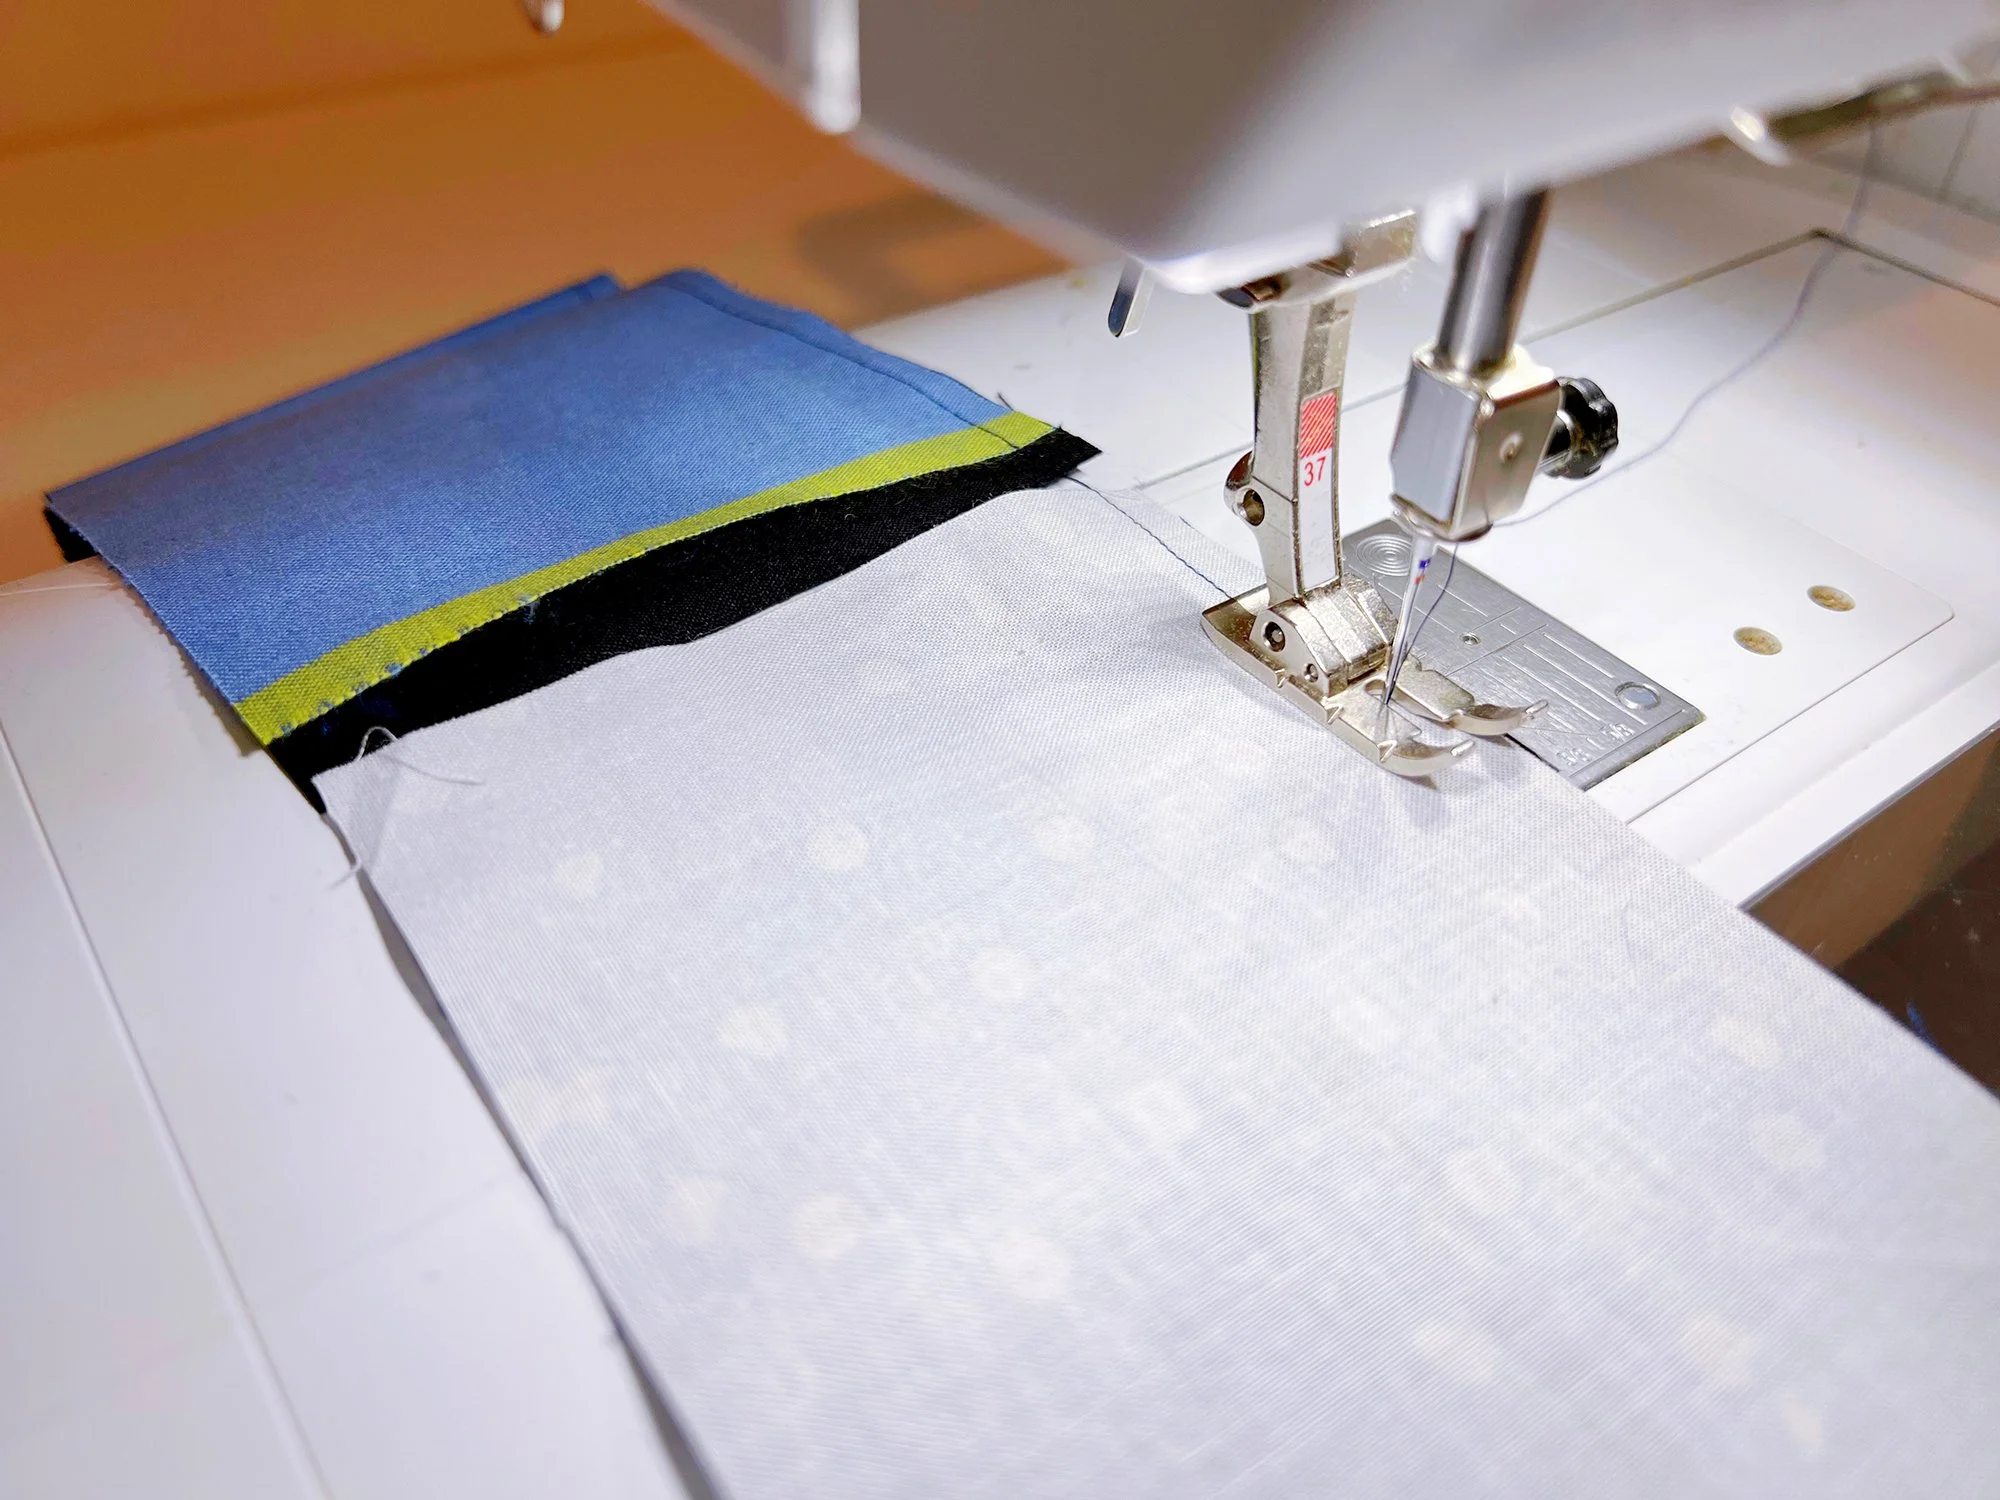
Open up the strips and place them right side up (don’t worry about pressing yet). Place another Fabric 1 strip right sides together with the Fabric 2 strip, aligning long raw edges and again making sure all short cut edges are at the top. Sew strips together with new Fabric 1 strip on top.
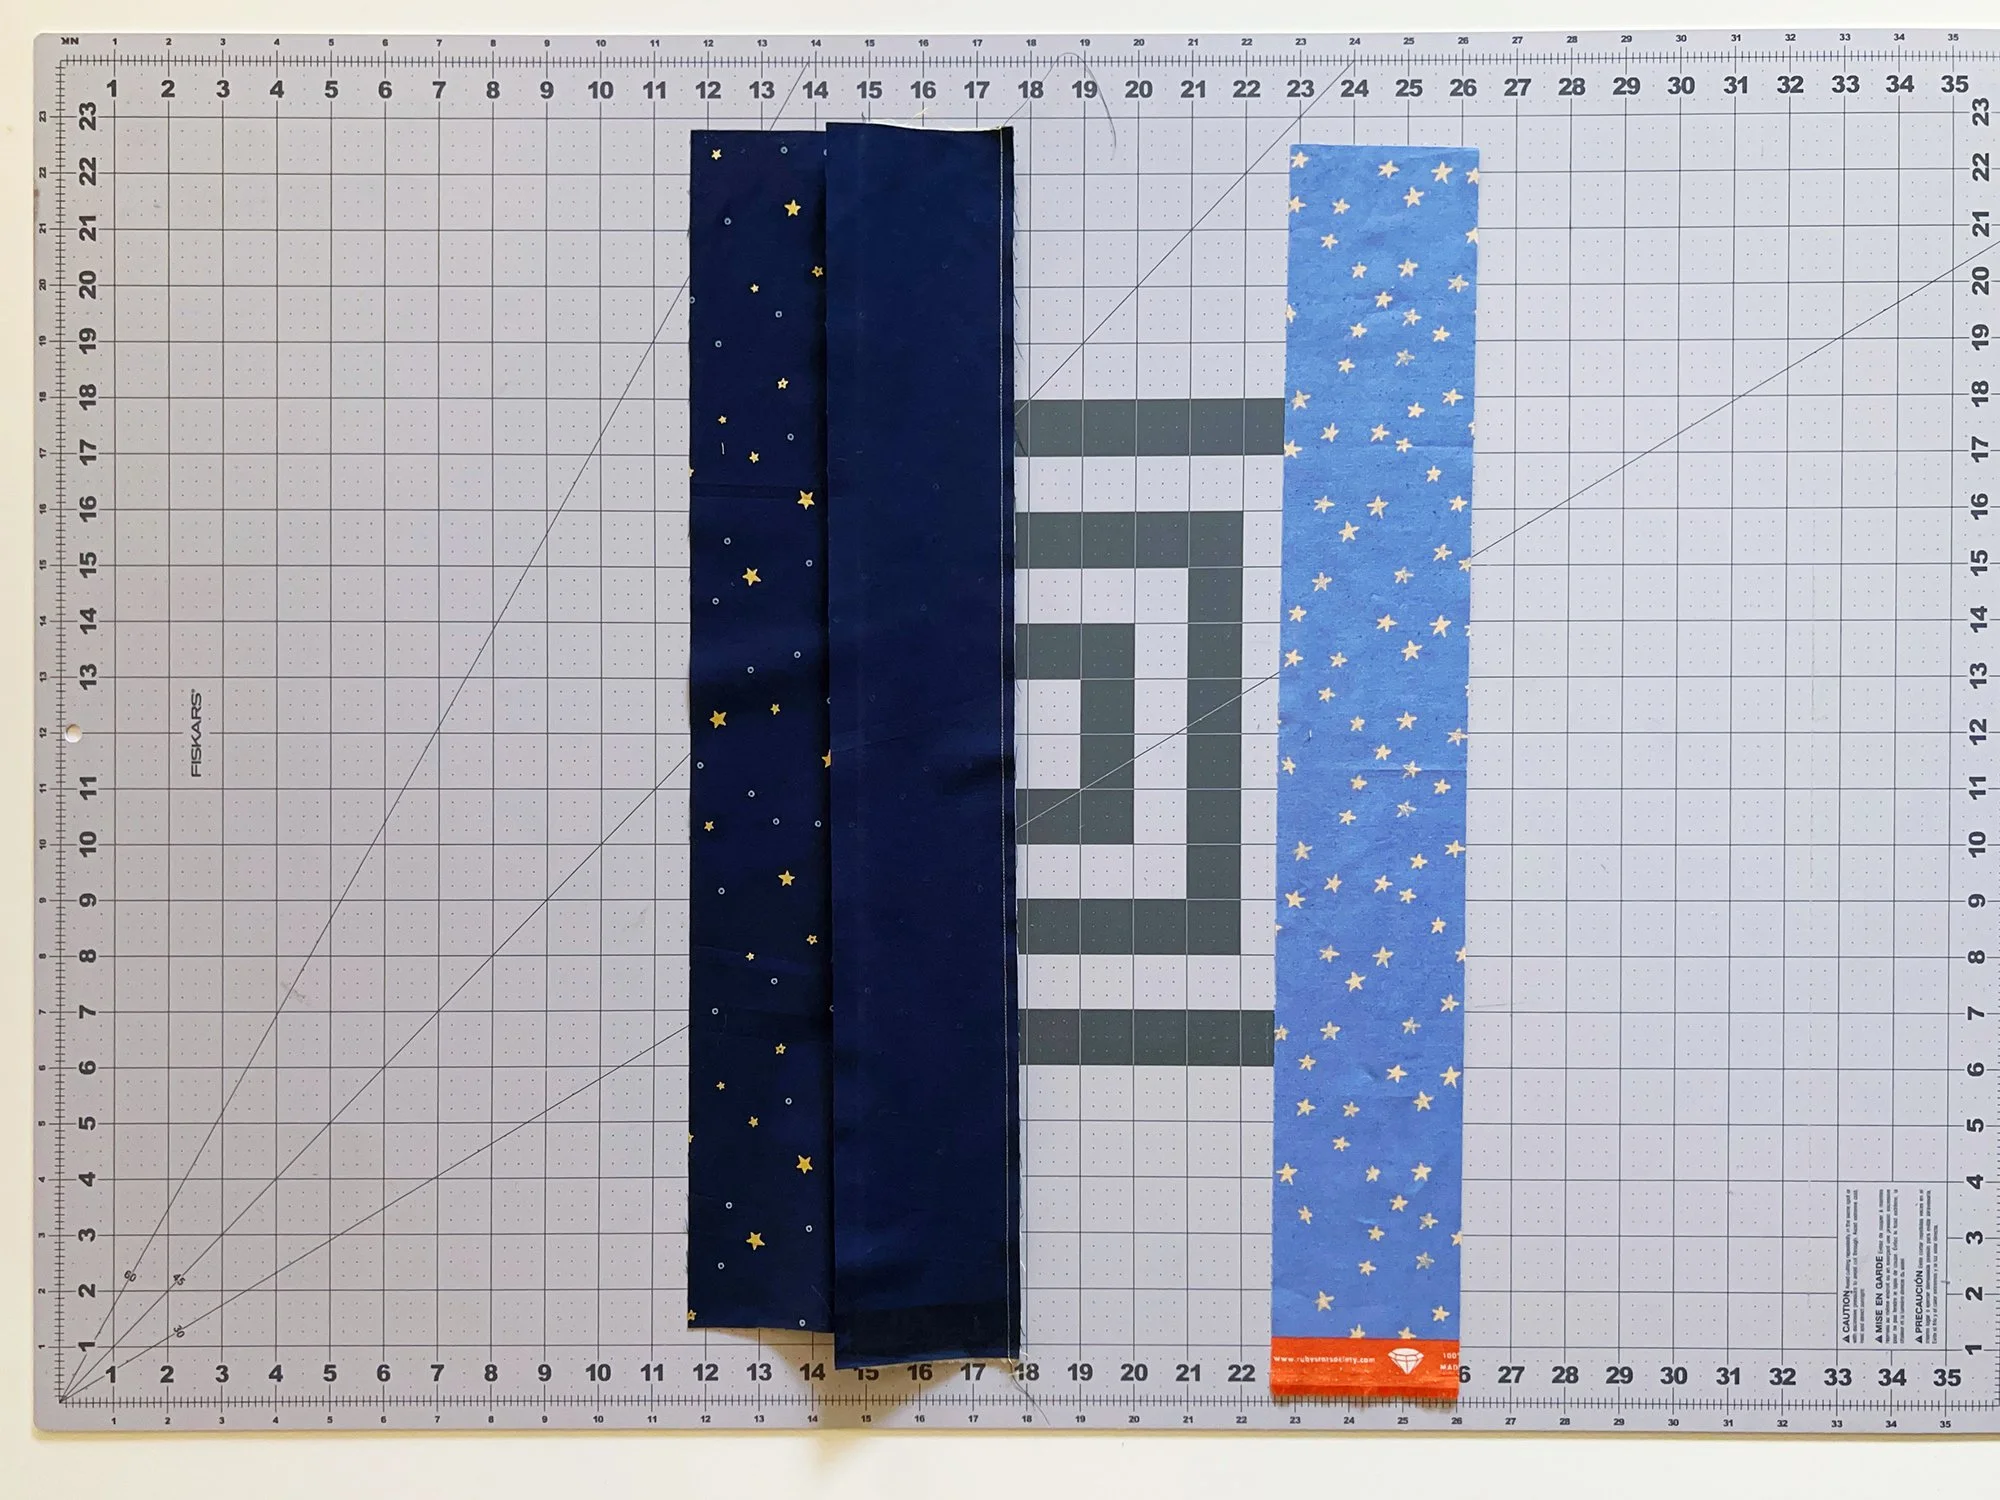
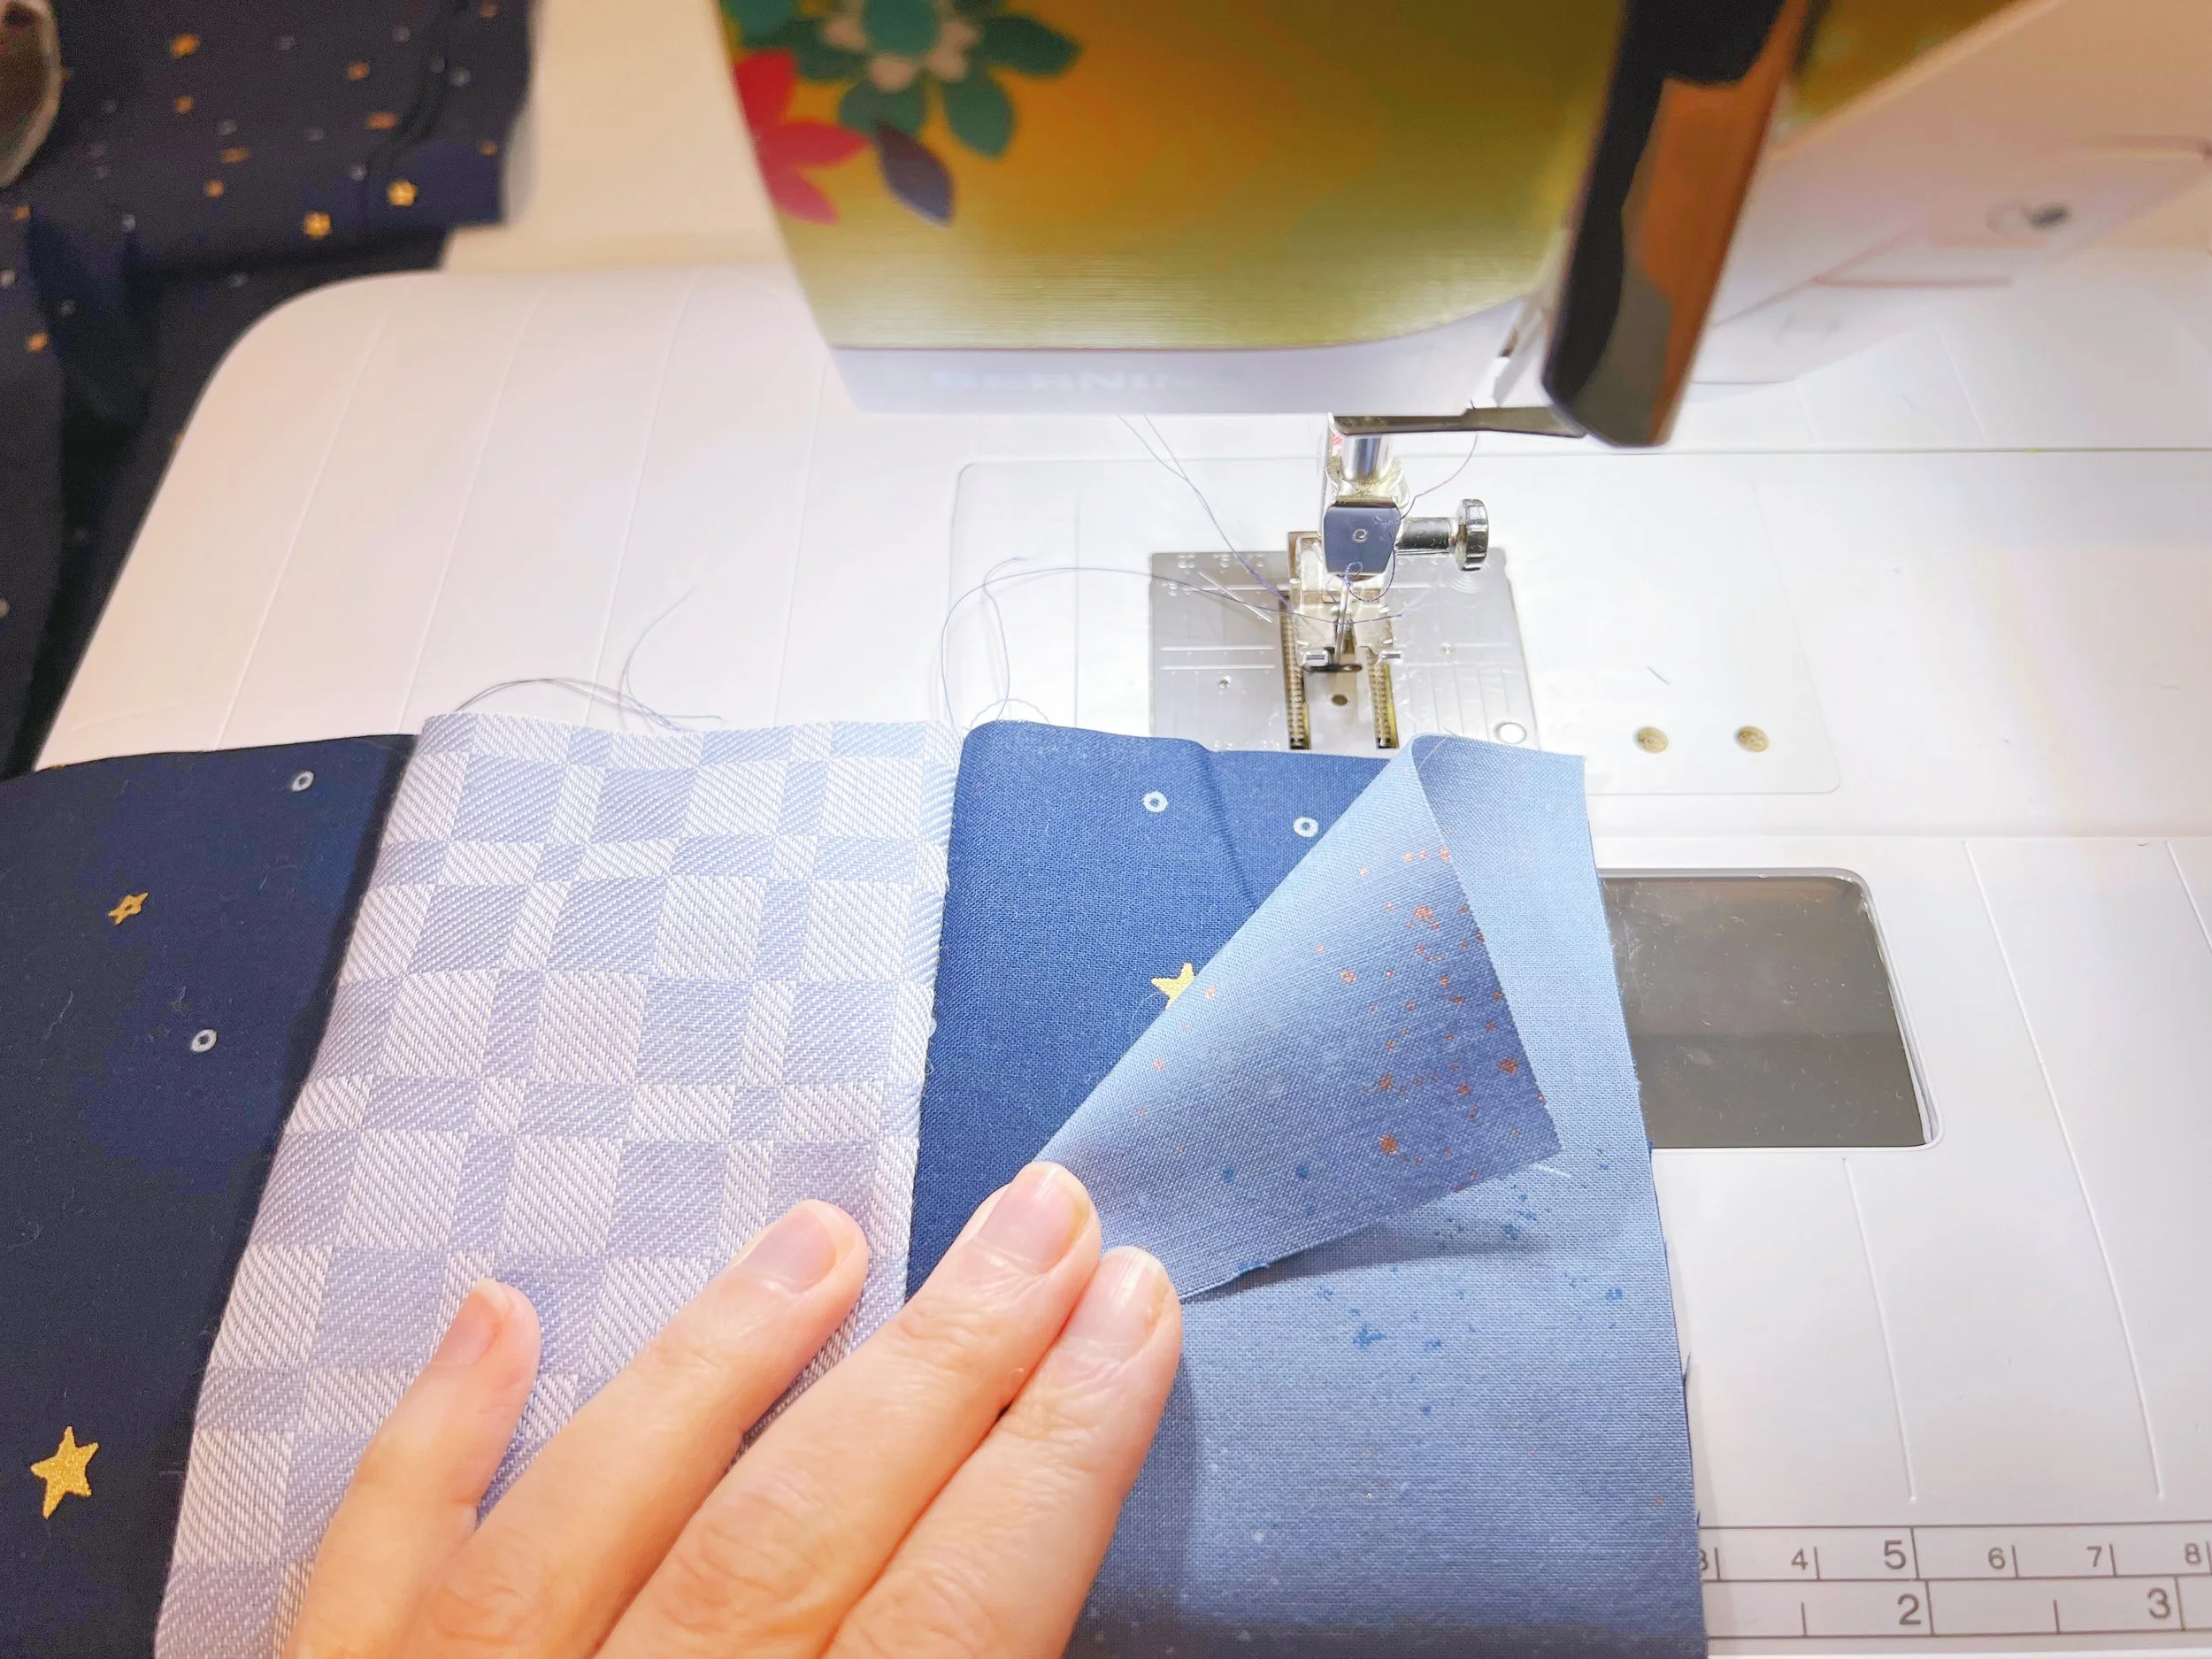
Open new Fabric 1 strip and place unit right side up. Place another Fabric 2 strip right sides together with the new Fabric 1 strip, aligning raw edges and again making sure all short cut edges are at the top. Sew strips together with new Fabric 2 strip on top.
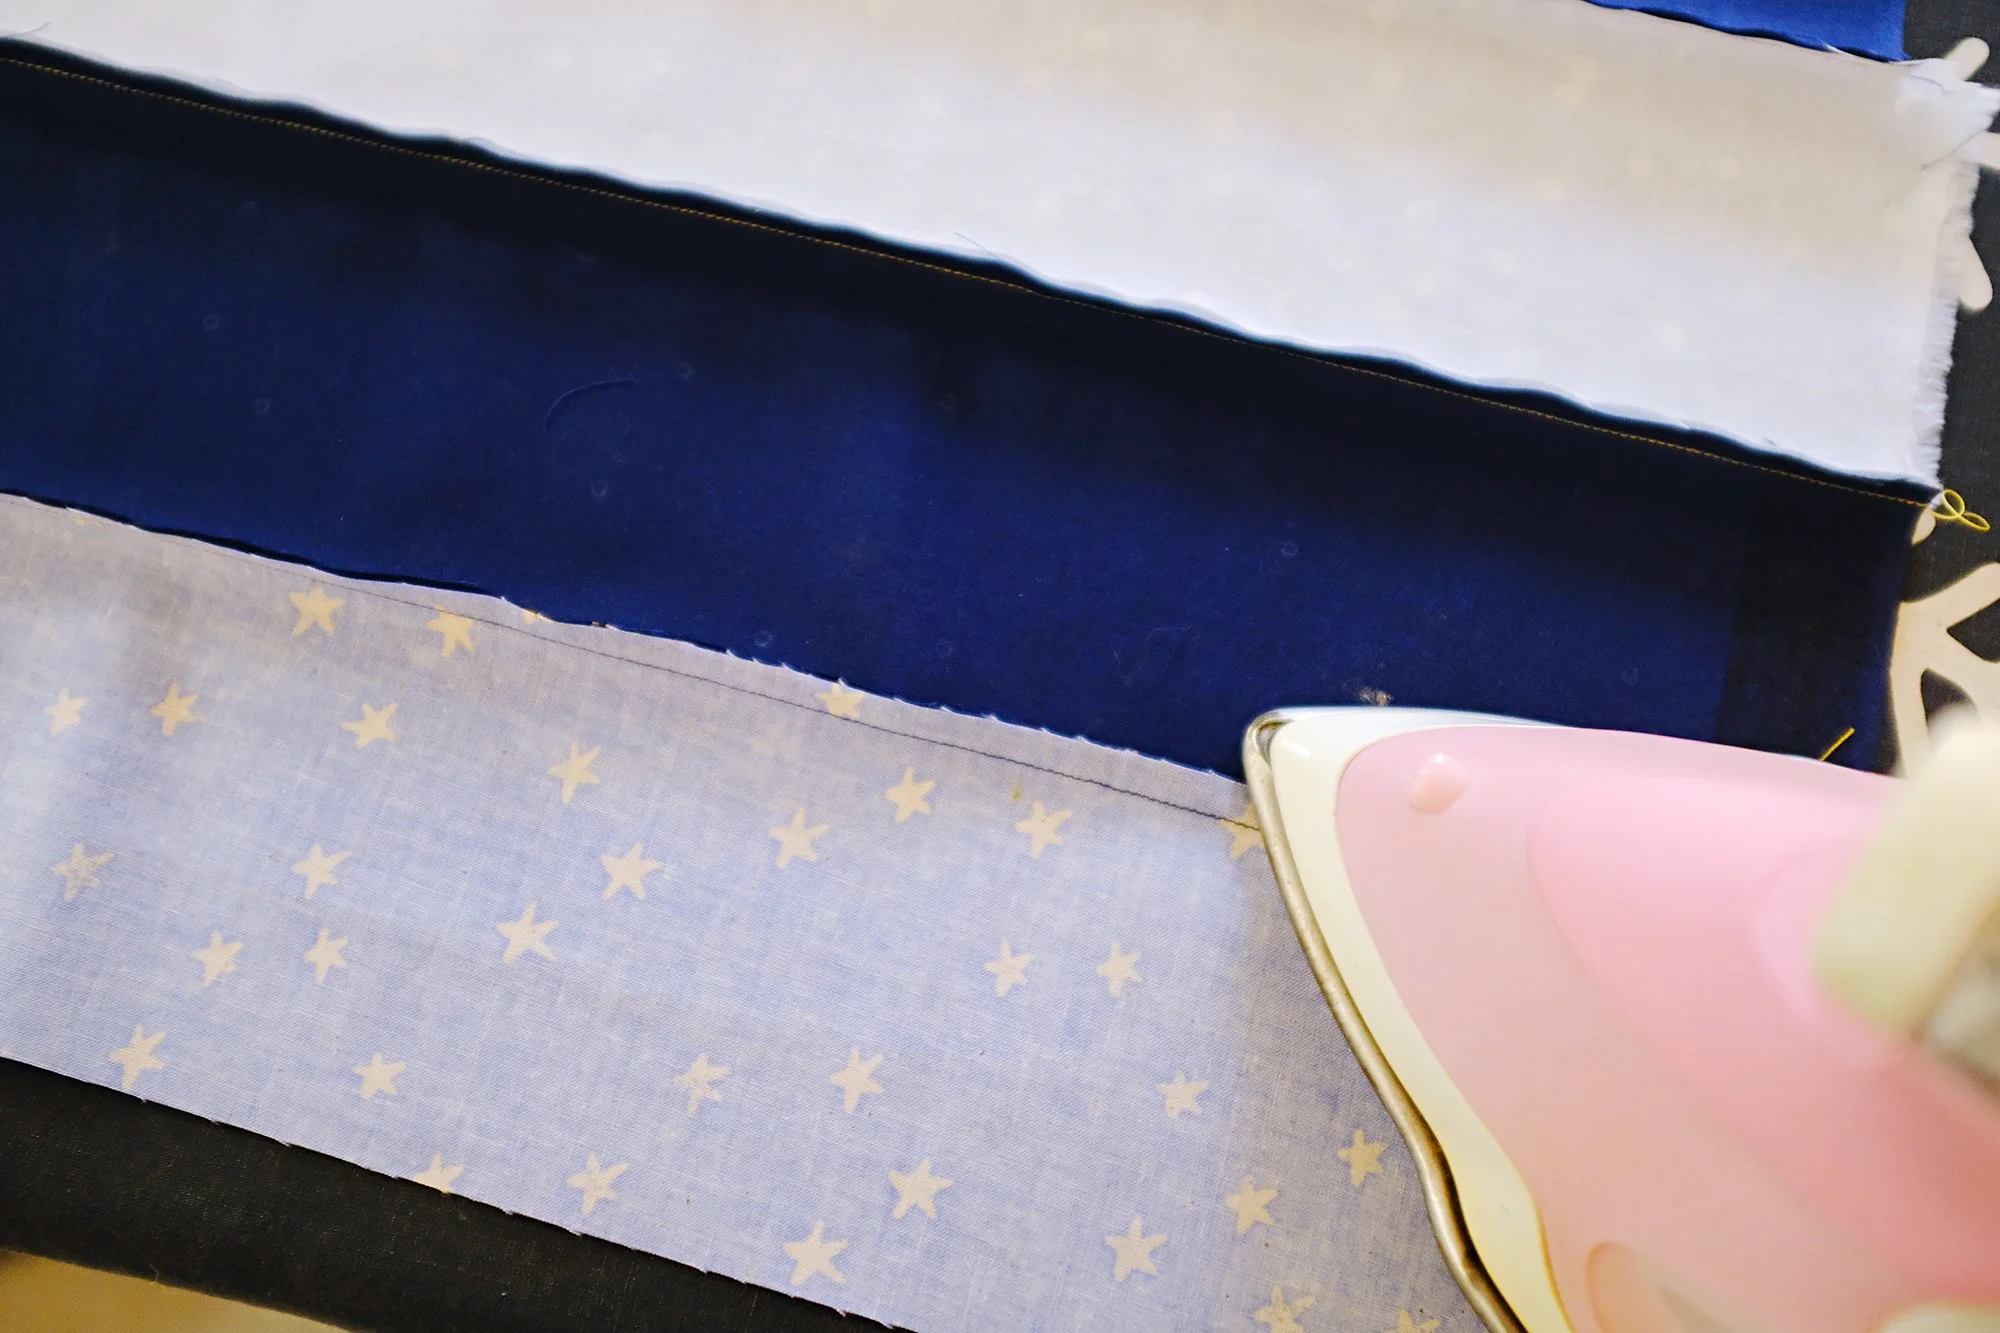
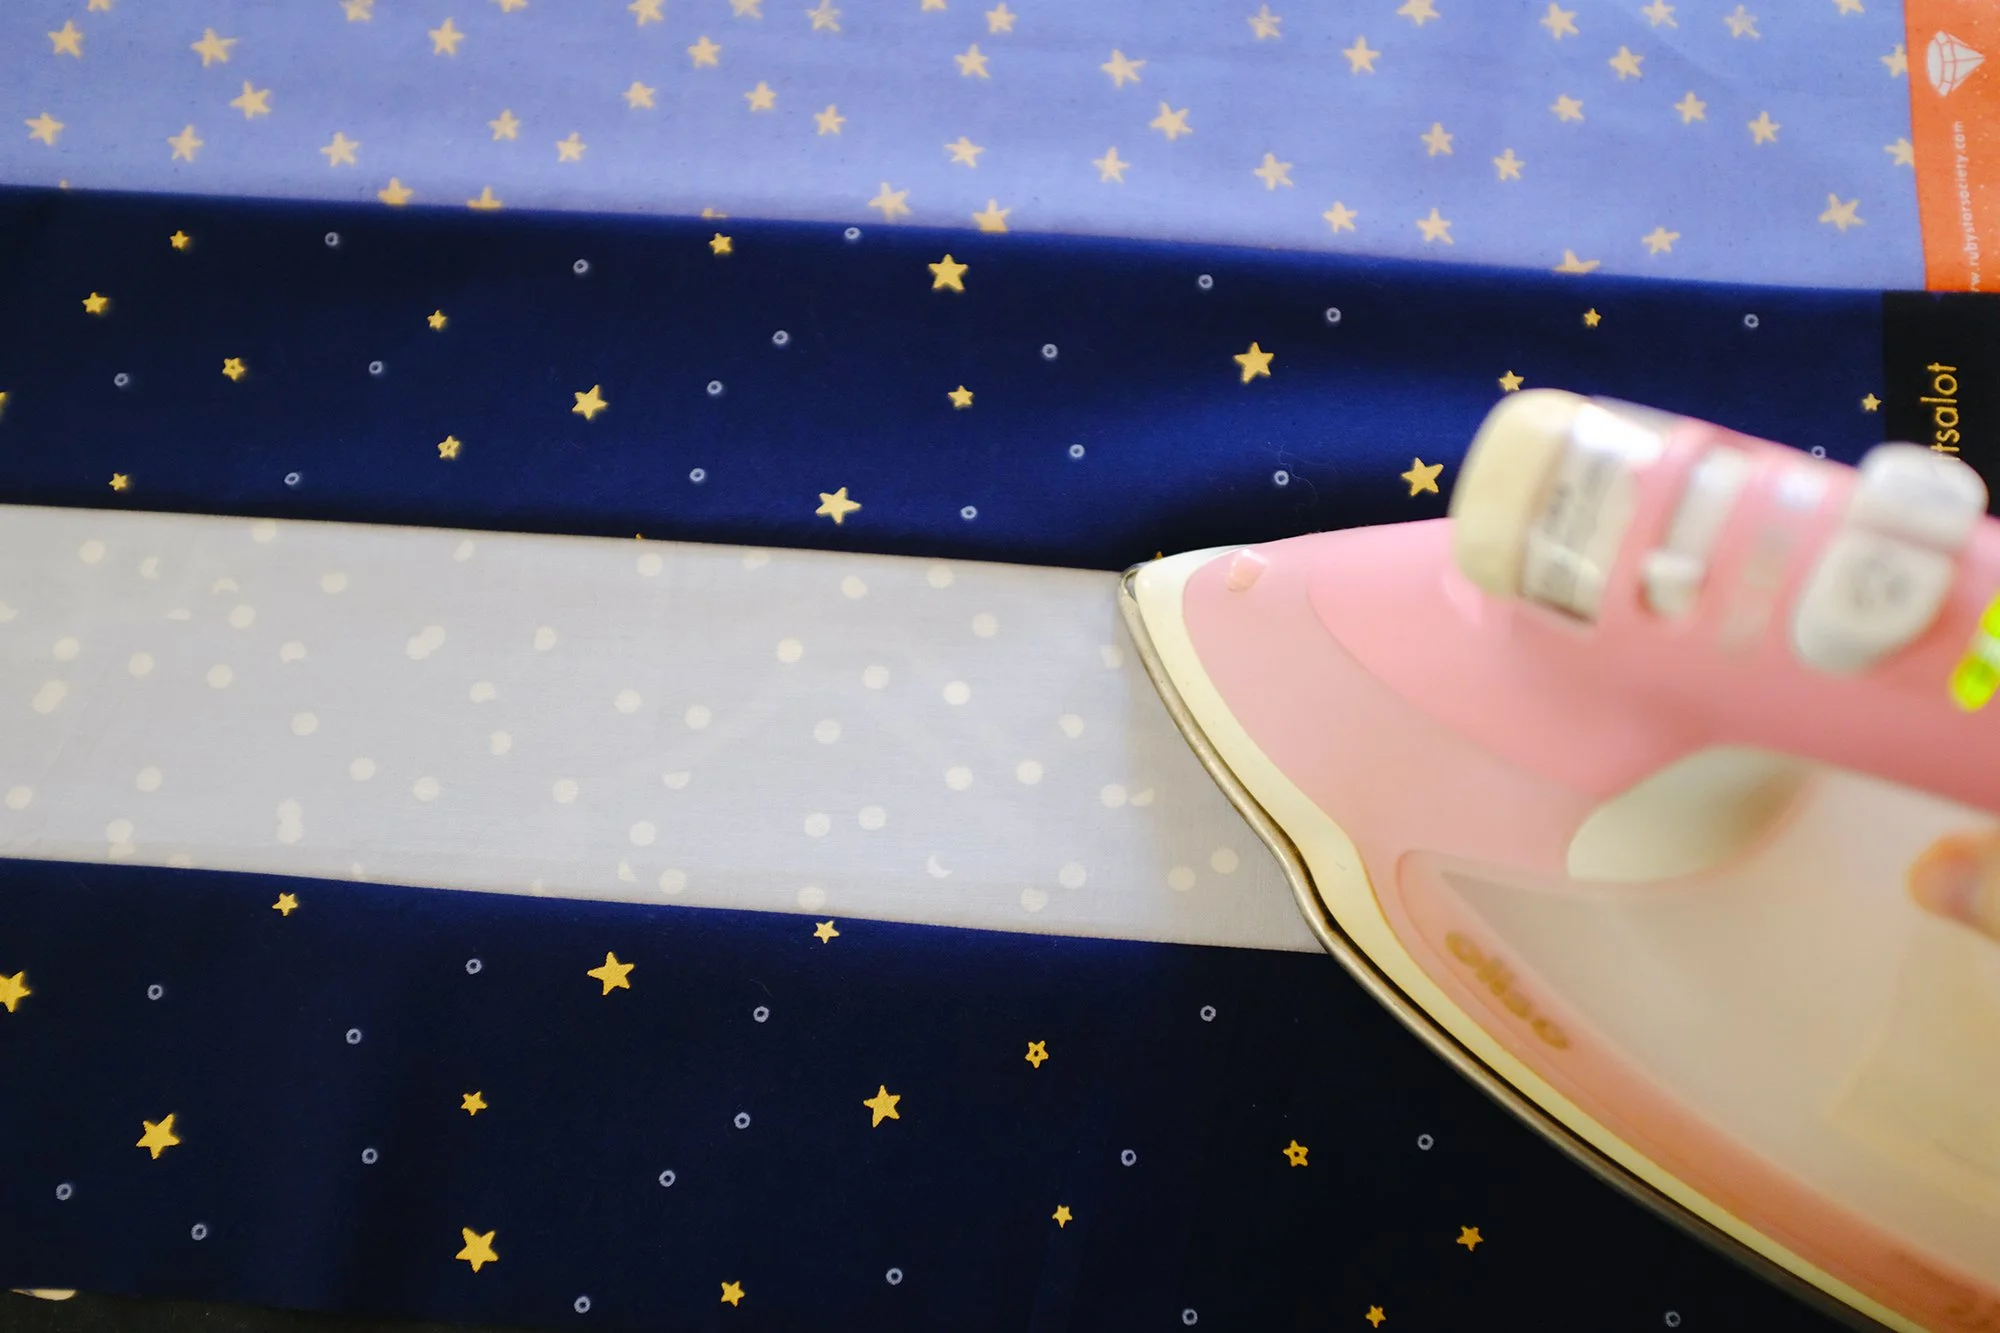
Open new Fabric 2 strip. Press all seams towards Fabric 1. I like to partially press from the wrong side to get the seams going in the right direction, then flip it over, add some pressing spray, and press from the right side to make sure the seams are getting pressed apart all the way.
Your unit is finished! To make a C unit (Improv layout only), follow the same steps, except use a set of six 2.5” strips in Fabric 1-2-1-2-1-2 order.
TRULY SCRAPPY VERSION
For Truly Scrappy people, instead of strip piecing, you’ll be sewing your 3.5” x 4.5” pieces together into units of 4 in Fabric 1-2-1-2 order to make A/B units (all layouts), and your 2.5” x 3.5” units together into units of 6 in Fabric 1-2-1-2-1-2 order to make C units (Improv layout only), all along the longer edges. Follow quantities in instructions on pages 18-19/11 for how many overall A/B units and C units to piece. Don’t worry yet about the template cutting instructions and quantities, that will happen next week.
It’s important that your seam allowance is such that your units measure 12.5” wide once finished and pressed (press all seams towards Fabric 1). A teeny bit bigger is ok because you can trim it, but you don’t really want a teeny bit too small. The pattern calls for a scant 1/4” seam allowance, which means a thread width less than a true 1/4”, but there is variation between fabric thicknesses and machine markings across the board, so it’s really best to finish one unit completely first (even if you intend to chain piece), measure that, and make any adjustments you need to for the rest. To adjust, you can either try moving your needle position, or the place on the foot/machine where you’re aligning the edge of the fabric as you sew.
I highly recommend chain piecing for the truly scrappy version! It will make this step infinitely faster. Follow instructions below, just subbing in your small cut pieces for the strips shown.
YOU SHOULD DEFINITELY CHAIN PIECE
If you’ve never chain pieced before, this is a perfect time to try. It makes everything go way faster and it saves you some thread. Plus it’s kind of thrilling to have a big chain of fabric at the end! Again, this is describing an A/B unit, but the process is the same for C units.
To chain piece, you’ll be sewing the same seam in all your units in one pass, without removing the units or cutting thread in between. Before you start, count out the same quantity of Fabric 1 strips as quantity of units you are making, and set the rest aside. These are your “first pass” Fabric 1 strips, and will ensure you don’t accidentally start chain piecing too many units and run out of strips at the end.
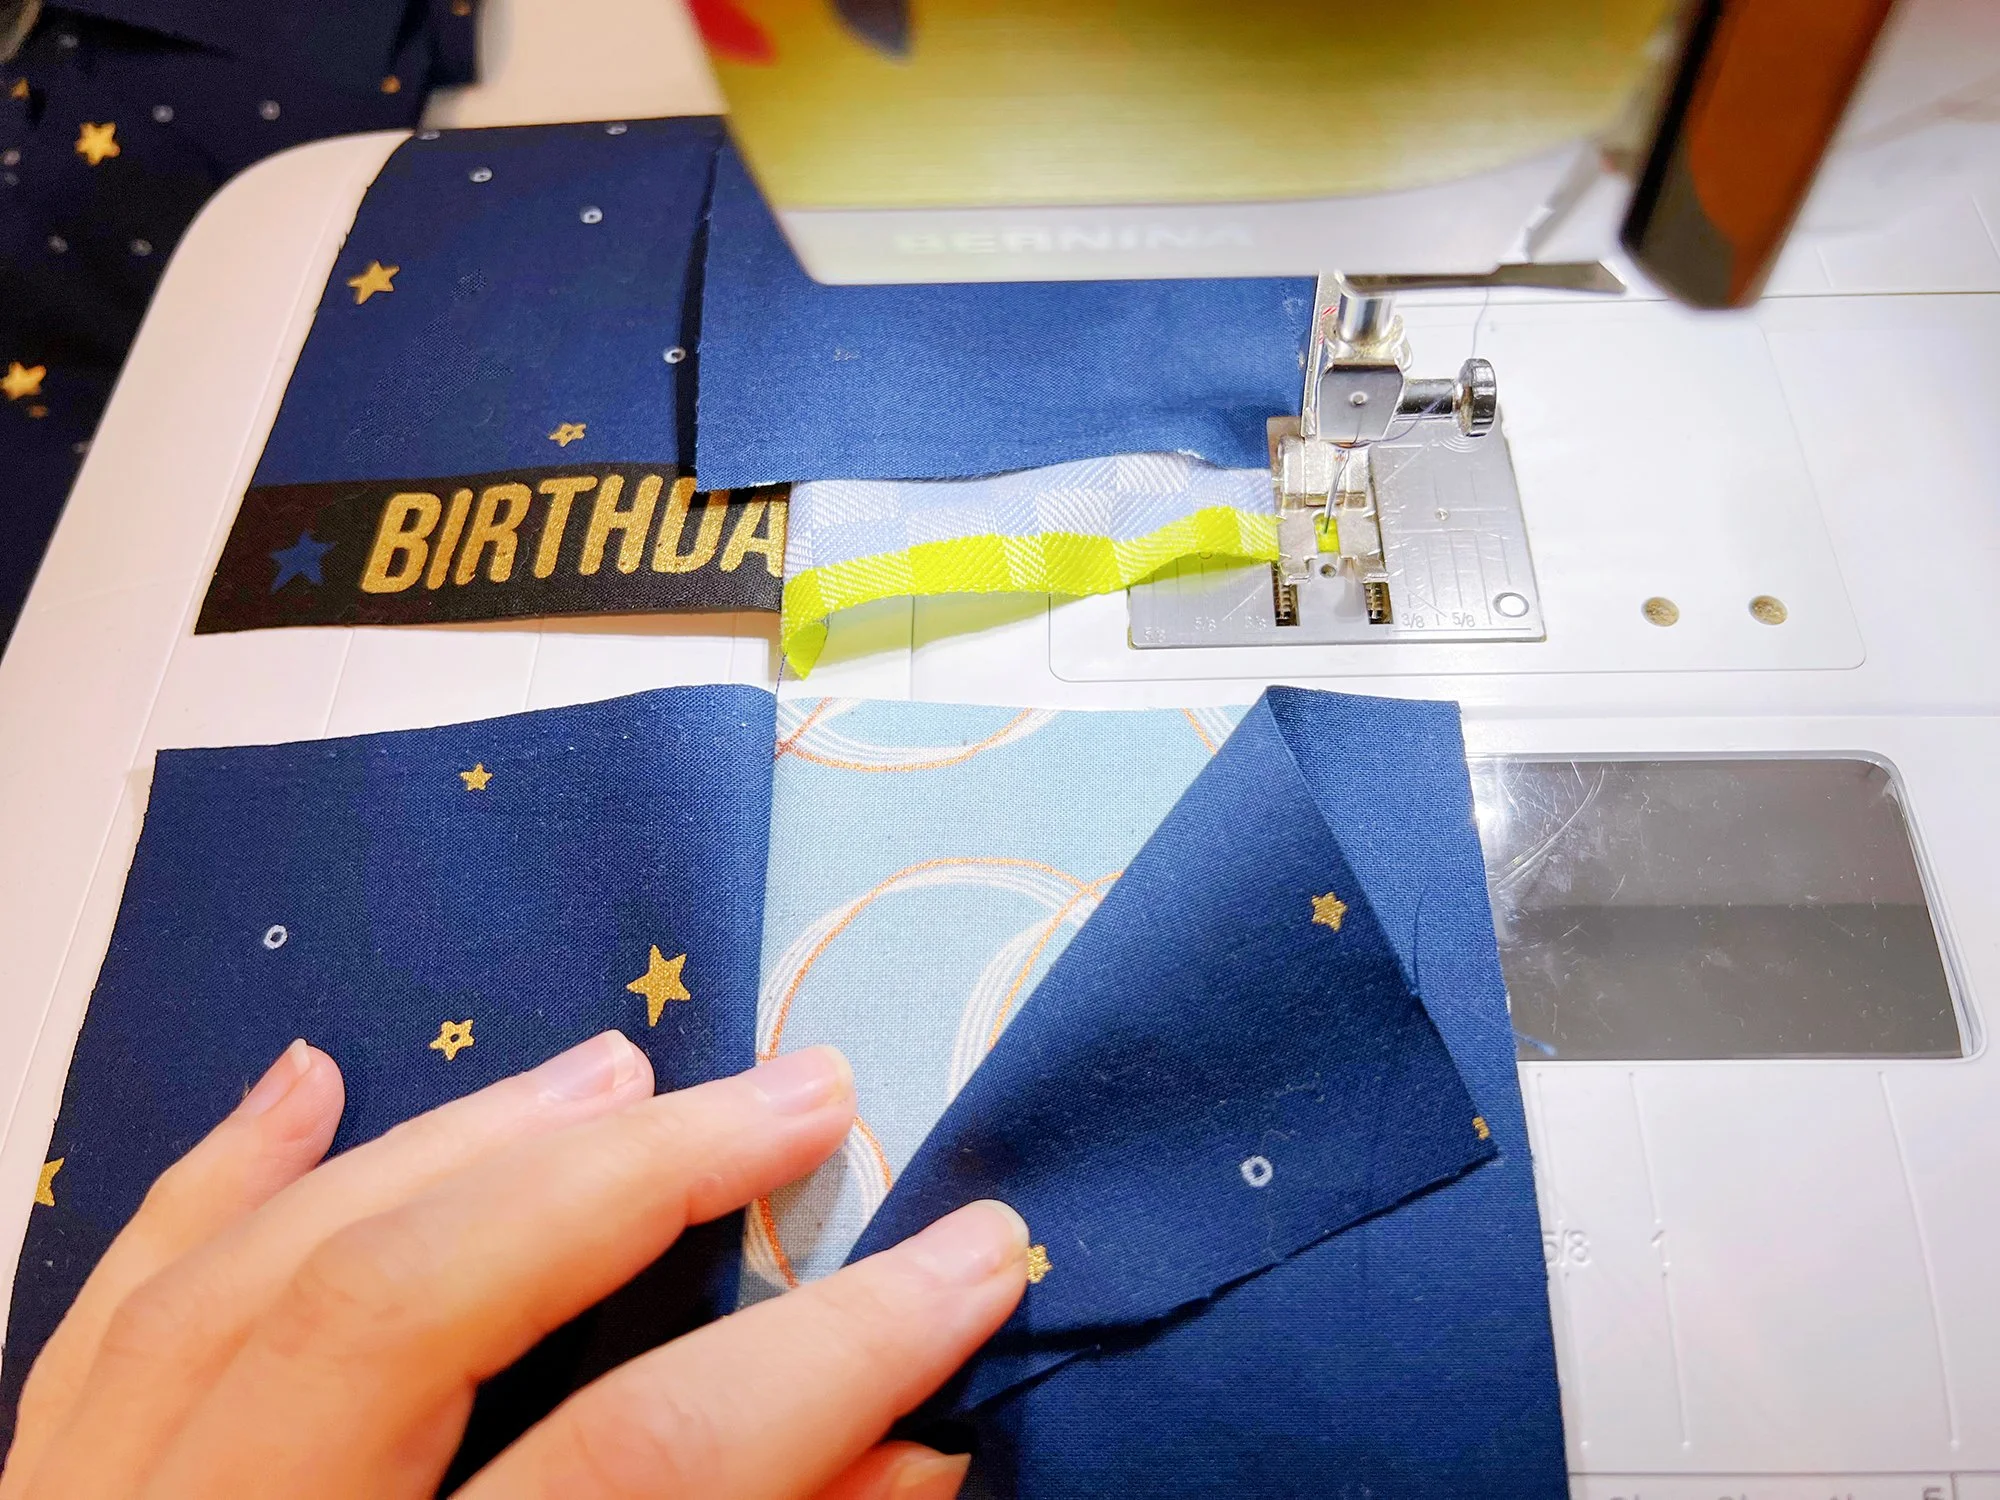
Sew your first seam on your first unit as described above, with a “first pass” Fabric 1 strip and a Fabric 2 strip. When you get to the very end, stop sewing but don’t take the fabric out of the machine. Get your next set of strips lined up and tuck them under the edge of the foot, then just start sewing (make sure Fabric 2 is on top). The machine will grab the new strips and you can just keep going. '
The two pieced units will be connected by a little length of thread.
Repeat until you’ve used up all the “first pass” Fabric 1 strips.
Take the chain out of your machine, but don’t cut anything yet. Go back to the first unit, open the strips, and put a Fabric 1 strip on top of the Fabric 2 strip as described above.
Sew this seam, stop, and get the next unit ready with another strip. Tuck it under the foot and keep sewing.
Repeat until you’ve added Fabric 1 strips to every unit.
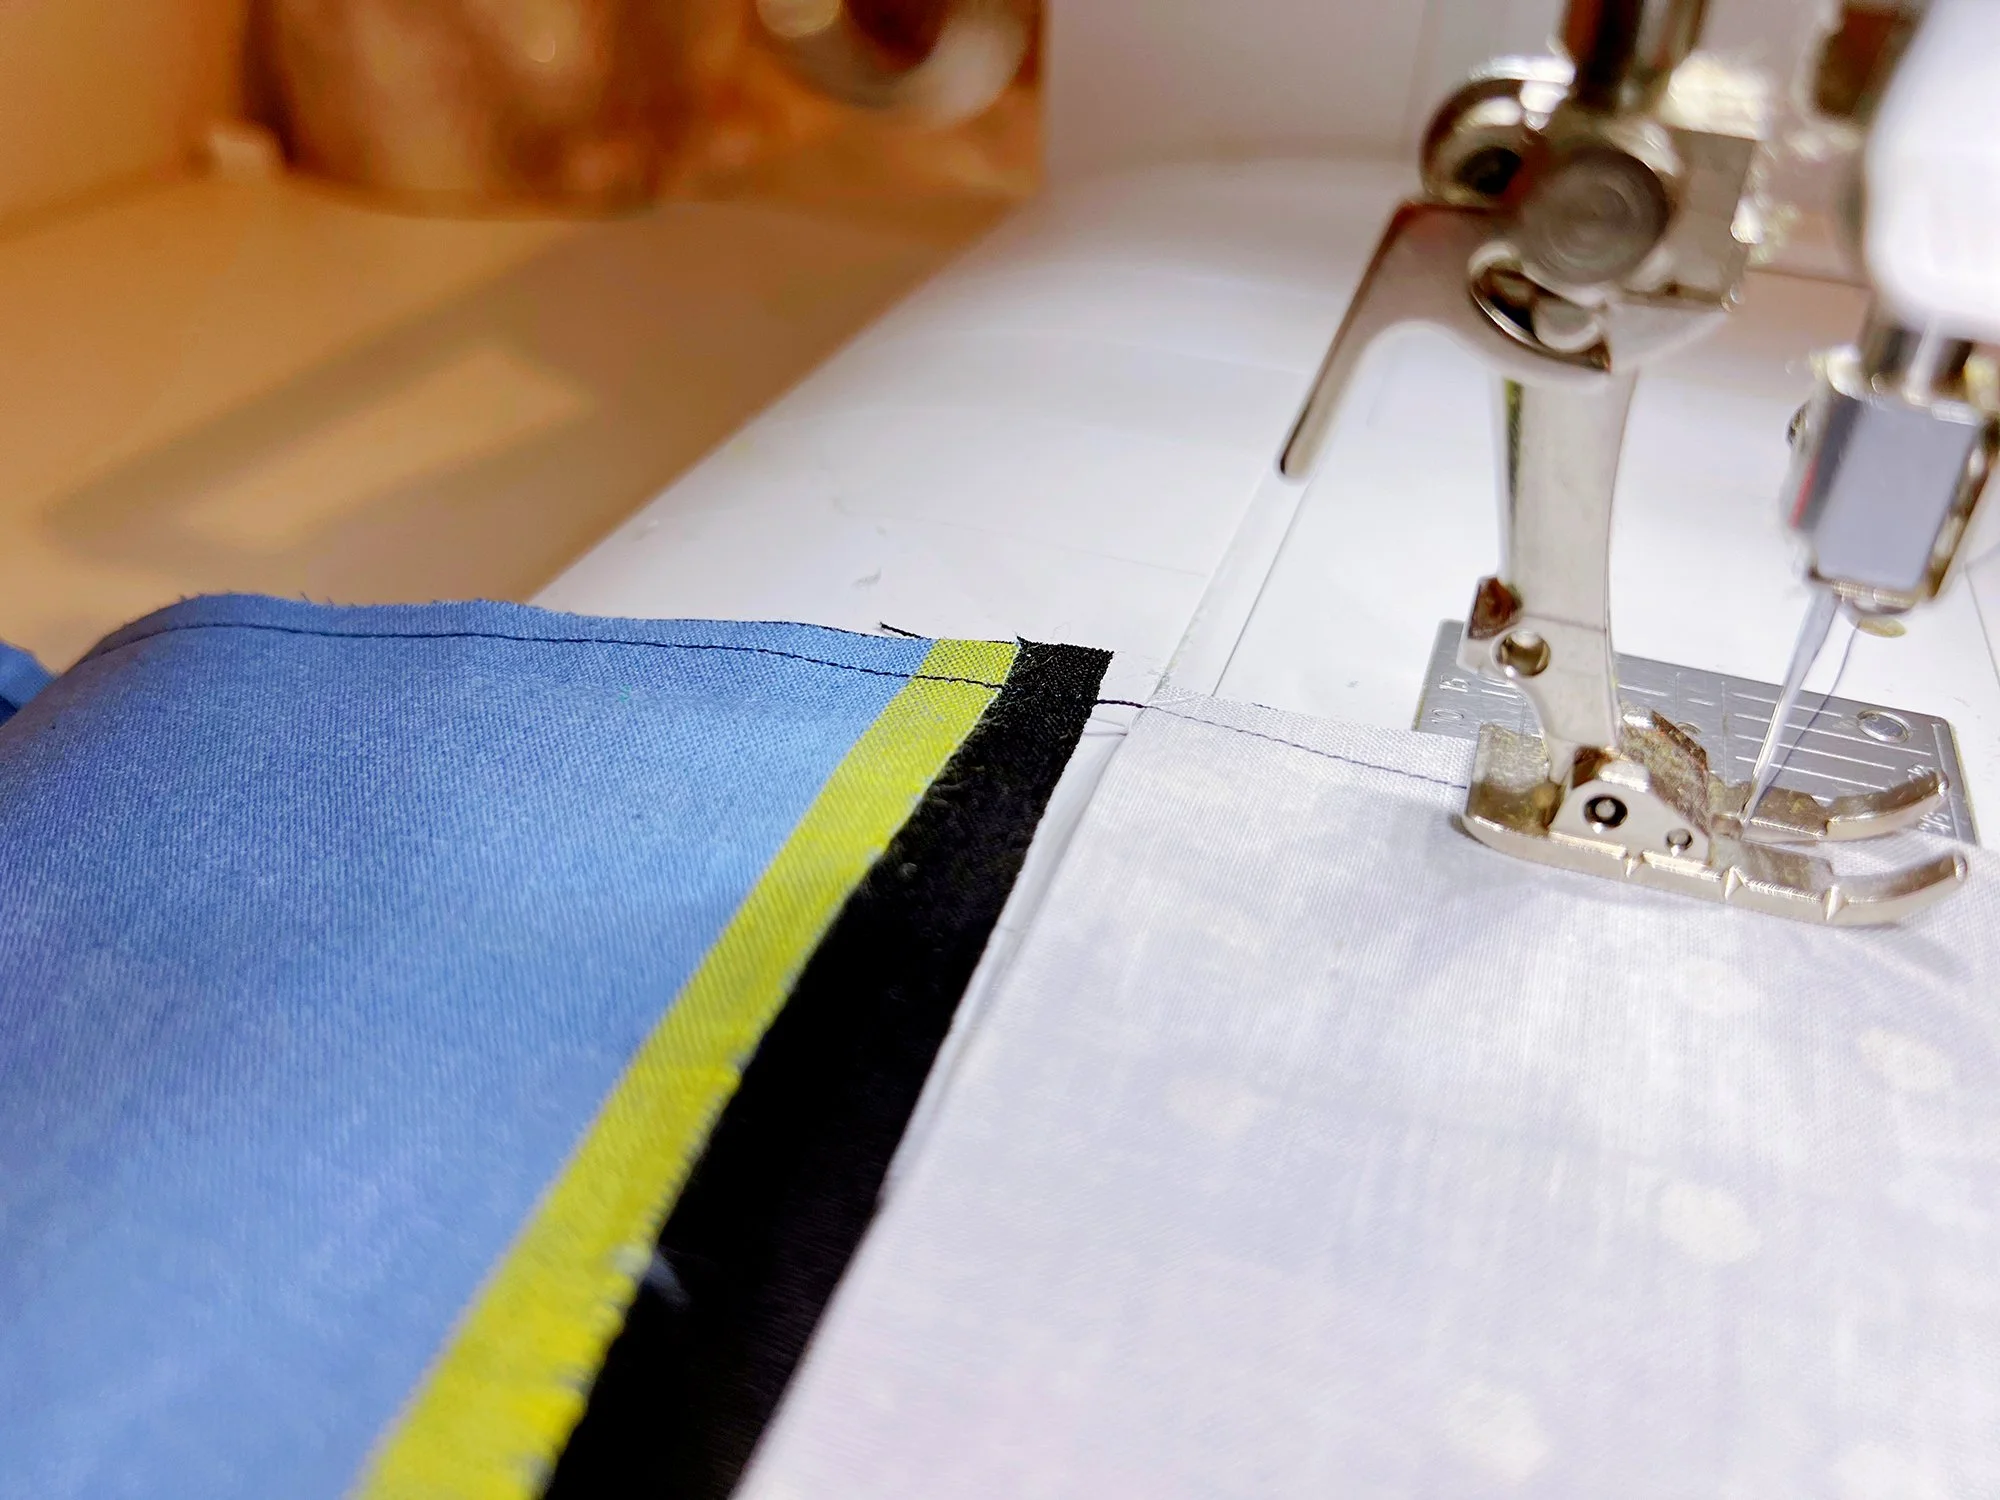
Remove and go back to the first unit again, and repeat the whole process to attach the last Fabric 2 strip to each unit. You might have to untwist the units when you get to them if the threads seems weird or caught up. Here is a photo of adding the final strip to the first unit on the last pass:
When you’re done, first admire your fabric chain… (I just did four but you can do as many as you want)
…then cut all the threads to separate the units. Press all seams towards Fabric 1 as described above.
If you are making a larger size and find your fabric chain is getting unwieldy, you can chain piece in batches of 10-15 instead of doing them all at once. This is still much faster than doing them individually but the chain won’t be quite as long. Here’s what alllll the strip pieced units for a King Size Improv Layout look like!
GOING OFF PATTERN: COLORBLOCKING
I’ve seen a few people post some awesome colorblocked Omega plans, so I wanted to talk about that briefly, because depending how you want to do it, it might not be as straightforward as you think. (If you’re not interested in colorblocking, skip ahead to the checklist.)
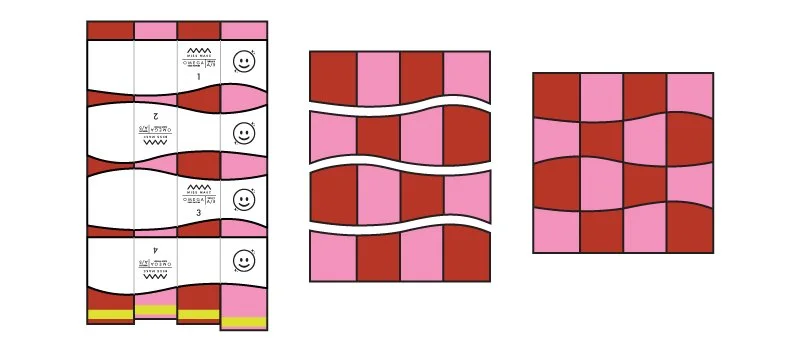
As you know, Omega is made by strip piecing units. Next we’ll be cutting one blocks-worth of templates from that unit, and sewing them together into a block. So one strip pieced unit gets you one blocks-worth of pieces. (This is getting a little ahead, because the template cutting and sewing starts next week, but if you’re trying to figure out how plan out your colorblocking, it’s important to know.)
What this means is that it’s very easy to colorblock your Omega block-to-block. In the example below, you would make 4 pink blocks, 1 citron block, etc. You would strip piece as many units as you have blocks - so, 4 pink units, 1 citron unit, etc.
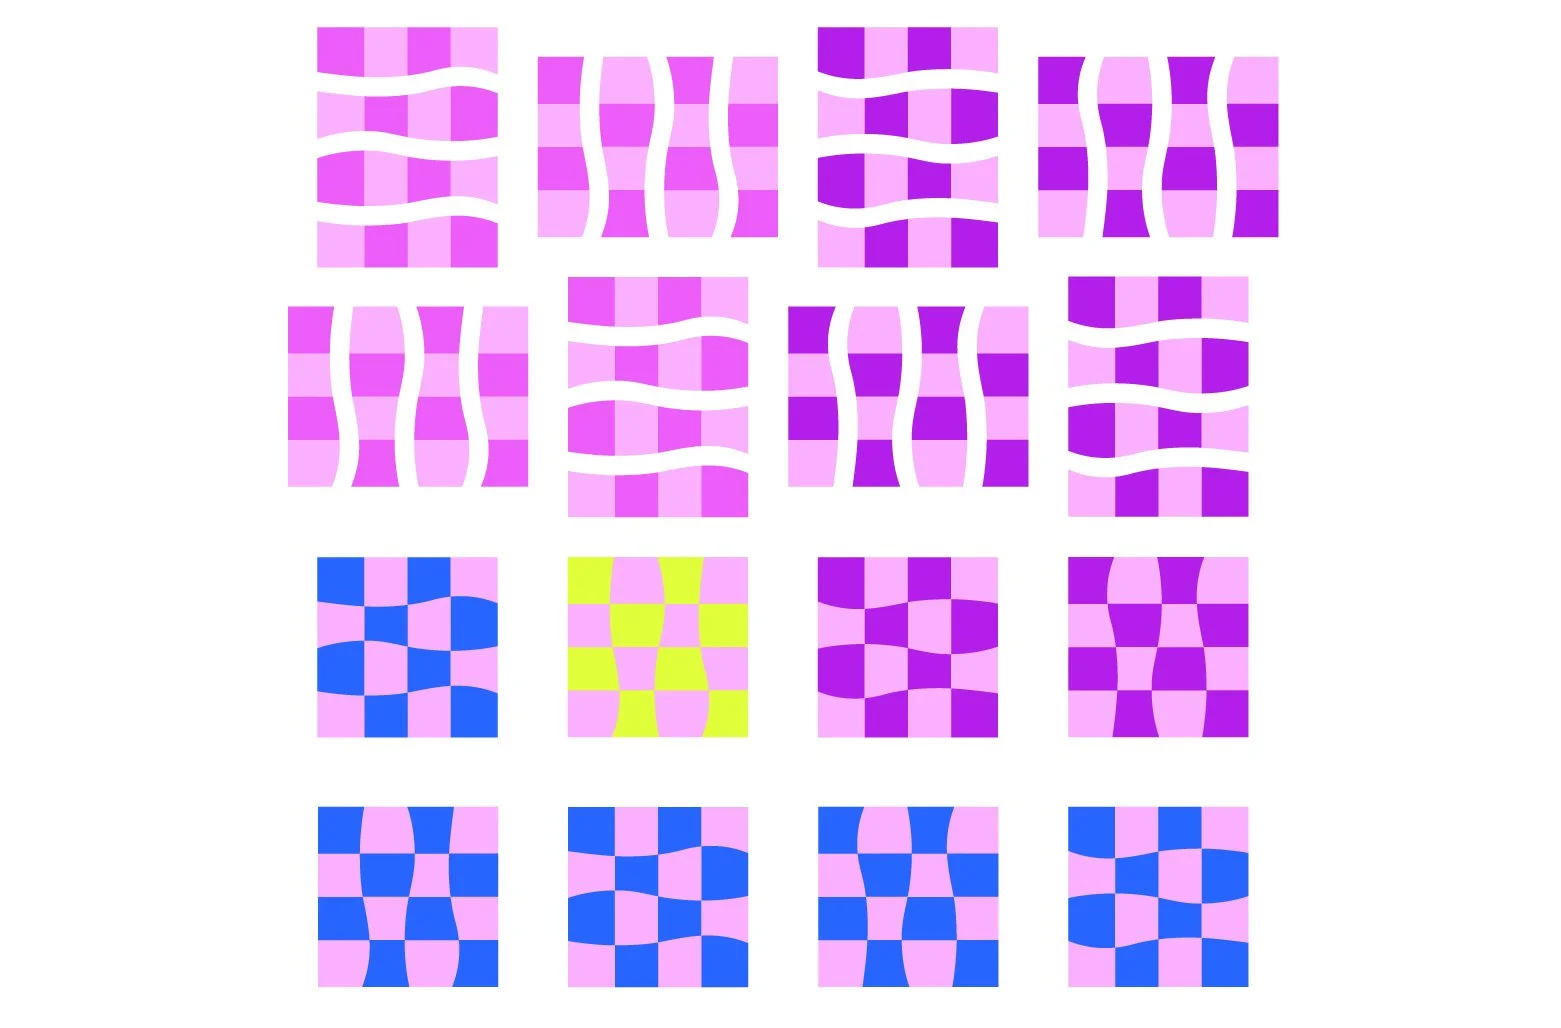
What this also means, however, is that if you want your colorblocking to go through the blocks so that the edge is a little more organic, you can’t just recolor squares willy nilly, because of the strip piecing. Remember, 1 unit = 1 blocks-worth set of templates = 1 block. In the illustration below, the first two rows of blocks are expanded out so you can see how the components of each block go together. So, you can’t just make the bottom right square in a pink block blue, unless you either seam rip out the single pink square and replace it with blue, or build that single Template 4 piece from scratch with individual squares.
What you can do, however, is strip piece and cut out all your template pieces (remember the template cutting is next week, this week you’re just strip piecing), and then swap some of the same template pieces in the same blocks. When I saw the below plans that @shiftercrafts posted on Instagram this past week, I immediately asked her if I could share them here, because it’s a perfect illustration for this section!
You can see that in nearly every row, Andrea is taking the top template in all the Block A’s, and shifting it down to be the top template in the next row’s Block A’s. In the outlined blocks in the illustration above, you can see that the top Butterscotch Template 1 piece replaced by the Crush has gone down to replace the top Pickle piece in the next row. The Pickle piece has gone down to replace the top template in the Malibu row, and so on. This won’t work out exactly because every other row has an extra Block A, plus the first Crush row doesn’t have any spares to kick down, so Andrea will need to piece a few couple extra Template 1 pieces (the simplest way to do this would be to follow the Truly Scrappy instructions for just those pieces). But because she’s only swapping around pieces in the Block A’s and ignoring Block B, and doing it row by row, this is a pretty great way to structure it to be not too complicated to pull off.
If you are wanting to try using different color strips in one block to achieve colorblocking, know that because of how the templates are rotated after cutting, below is what the finished block will look like. One color will be on the outside, and the second color with be together in the center. This is true whether you do it with Fabric 1 or Fabric 2.
If this all seems overwhelming, the easiest thing to do is just colorblock block-to-block like in the first example. You can always decide to switch some templates around before sewing the blocks together if you’re feeling frisky.
CHECKLIST
As a review, here is your checklist for the week:
Cut all 1/2 WOF strips in quantities listed on page 9/6
Strip piece and press all A/B units in quantities listed on page 11/7
Improv layout only: Strip piece and press all C units in quantities listed on page 15/9
Truly scrappy version only: Cut all Fabric 1 & 2 pieces, piece all A/B units and C units (C units Improv only) listed on pages 18-19/11 (ignore all checklist items above)
Try chain piecing if you haven’t before!
PRIZE & DISCOUNT INFO
Now the good stuff! To enter to win the weekly prize, post a photo in your grid on Instagram this week using the hashtag #omegaqal. It can be a photo of your cut pieces, your chain piecing, anything Omega related! One winner will be randomly selected from the hashtag to win a $50 gift card to By and By and two Ponderosa Thread Glosses. Post in your grid, not stories. Your profile must be public for the hashtag picker to see your photo. Open worldwide. You can post to enter multiple times but if you do they must be different photos (no spamming!). Post between 8am Feb 6 and 11:55pm Feb 12 (EST) to enter.
FABRIC/SUPPLIES DISCOUNTS
Everyone can get in on these discounts!
By and By: Use code OMEGA for 15% off all fabric! Code valid through Sunday Feb 12 (so, this week only). For orders over $100, use code FREESHIP for free domestic shipping!
Ponderosa Creative: Use code OMEGA for 20% off, and free shipping over $35! Discount applies to patterns and supplies. Code valid through Sunday Feb 19.
LONGARM QUILTING DISCOUNTS
These discounts are available throughout the whole quiltalong. Dig out those languishing quilt tops and send them away to be finished, and make plans for your future Omega!
Autumn Moon Quilting: Use code OMEGA for 10% off longarm services. Code valid Jan 30 - Mar 5.
Stitch Lab Quilting: 20% off longarm quilting services (batting and binding separate). Use code OmegaQAL23 on booking form. Offer expires June 6, 2023.
Thai Charm LLC: All Omega quilts sent Jan 30 - April 12 will automatically get 25% discount. Participants just need to mention the quiltalong when they fill out the quilting form.
Wild Phil Quilting: 20% off edge to edge longarm quilting services on any Omega top. Use code Omega20 when submitting form. Offer valid through May 5, 2023.

